Frozen Berry Slice

Pour yourself into each moment. By immersing ourselves in a song, we become part of the music.
— Tamara Levitt
IMG_8654.jpg

Guess what, y’all? It’s SUMMERTIME. And guess what that means?! ICE CREAM! Also, guess what this gal can’t have? Ice cream… You’ve heard me preach about my dairy free life (eye roll!), but I still try to get in a sneaky bite of it if my husband ever brings home a Ben & Jerry’s pint, heavily regretting it later. Anyways—I have made quite the dairy free and vegan ice cream slice for you today! It’s so refreshing. so magical. so necessary!

What is even MORE exciting is the chocolate hazelnut base! I’ve partnered up with Wild Friends Foods to make this kick ass chocolate hazelnut cookie-like raw crust. But who am I kidding, I consume Wild Friends nut butters so often, it’s not like this jar wouldn’t have been in our cupboard anyways! What do I love so dang much about their spreads?! They’re no BS, that’s what. They aren’t loaded with refined sugars and oils, just good old whole ingredients. I mean, take this chocolate hazelnut spread, for example. It has got some hazelnuts, some cocoa, a bit of sugar, and boom. THAT’S IT! It’s so simple, which makes for baking with, and consuming by the spoonful, so dang easy!

Okay, so let me get back to this recipe! I love nothing more in the heat than some fruit, some popsicles, anything that will allow me to cool off from the 90+ degrees and the 100%+ humidity that is Atlanta in the summertime. I’ve been consuming popsicles like NO OTHER for my late-night snack, yet still craving some ice cream, so that’s where this berry slice comes in. It’s got fruit, it’s got chocolate, it’s got that popsicle/ice cream feel—woof, this baby is perfect! It is truly sweetened by the fruit, nothing crazy added, which is alllll that we need these days!

Does this go over my one-nap time limit? Sure! But that’s really inactive time, if you will. At this point, Oliver loves chilling in his highchair, playing with all of the toys, so he’s totally content doing that while I quickly whip this baby up and throw it in the freezer to set! Did I mention that he has started to eat FOOD!!?? This encourages me to make even more things with whole ingredients so he can join me! Sure, we are in the single food per week, all mashed up phase, but soon he can get his own piece of this frozen berry slice!! *Instant smile*

Enough rambling about my FIVE-month-old baby’s eating habits, get yourself started on this thing so you can have a slice by afternoon snack time!!

IMG_8613.jpg
IMG_8618.jpg
IMG_8637.jpg
IMG_8642.jpg
IMG_8650.jpg
IMG_8651.jpg
IMG_8654.jpg


chocolate hazelnut base ingredients

Coconut Flour—5 oz, or 1 ¼ C

Cocoa Powder—1 oz, or 1/3 C

Shredded Coconut—0.75 oz, or 1/3 C

Coconut Oil—2 TBL

Wild Friends Hazelnut Spread—6 oz, or ½ C + 1 TBL


process

In your food processor or blender, combine all ingredients and pulse until combined

This mixture should be wet enough that it holds together when pinched, otherwise add in a TBL more of the Wild Friends Hazelnut Spread

Press into a tart pan or an 8”x8” baking dish

Set aside in the fridge until ready to use


berry filling ingredients

Cashews, soaked for 4 hours—9.5 oz, or 2 C

Berries—10-11 oz, 2 C

Vanilla Extract—1 tsp

Coconut Oil, melted—2 oz, or ¼ C

Coconut Cream—4 oz, or ½ C

Honey—2 tsp


process

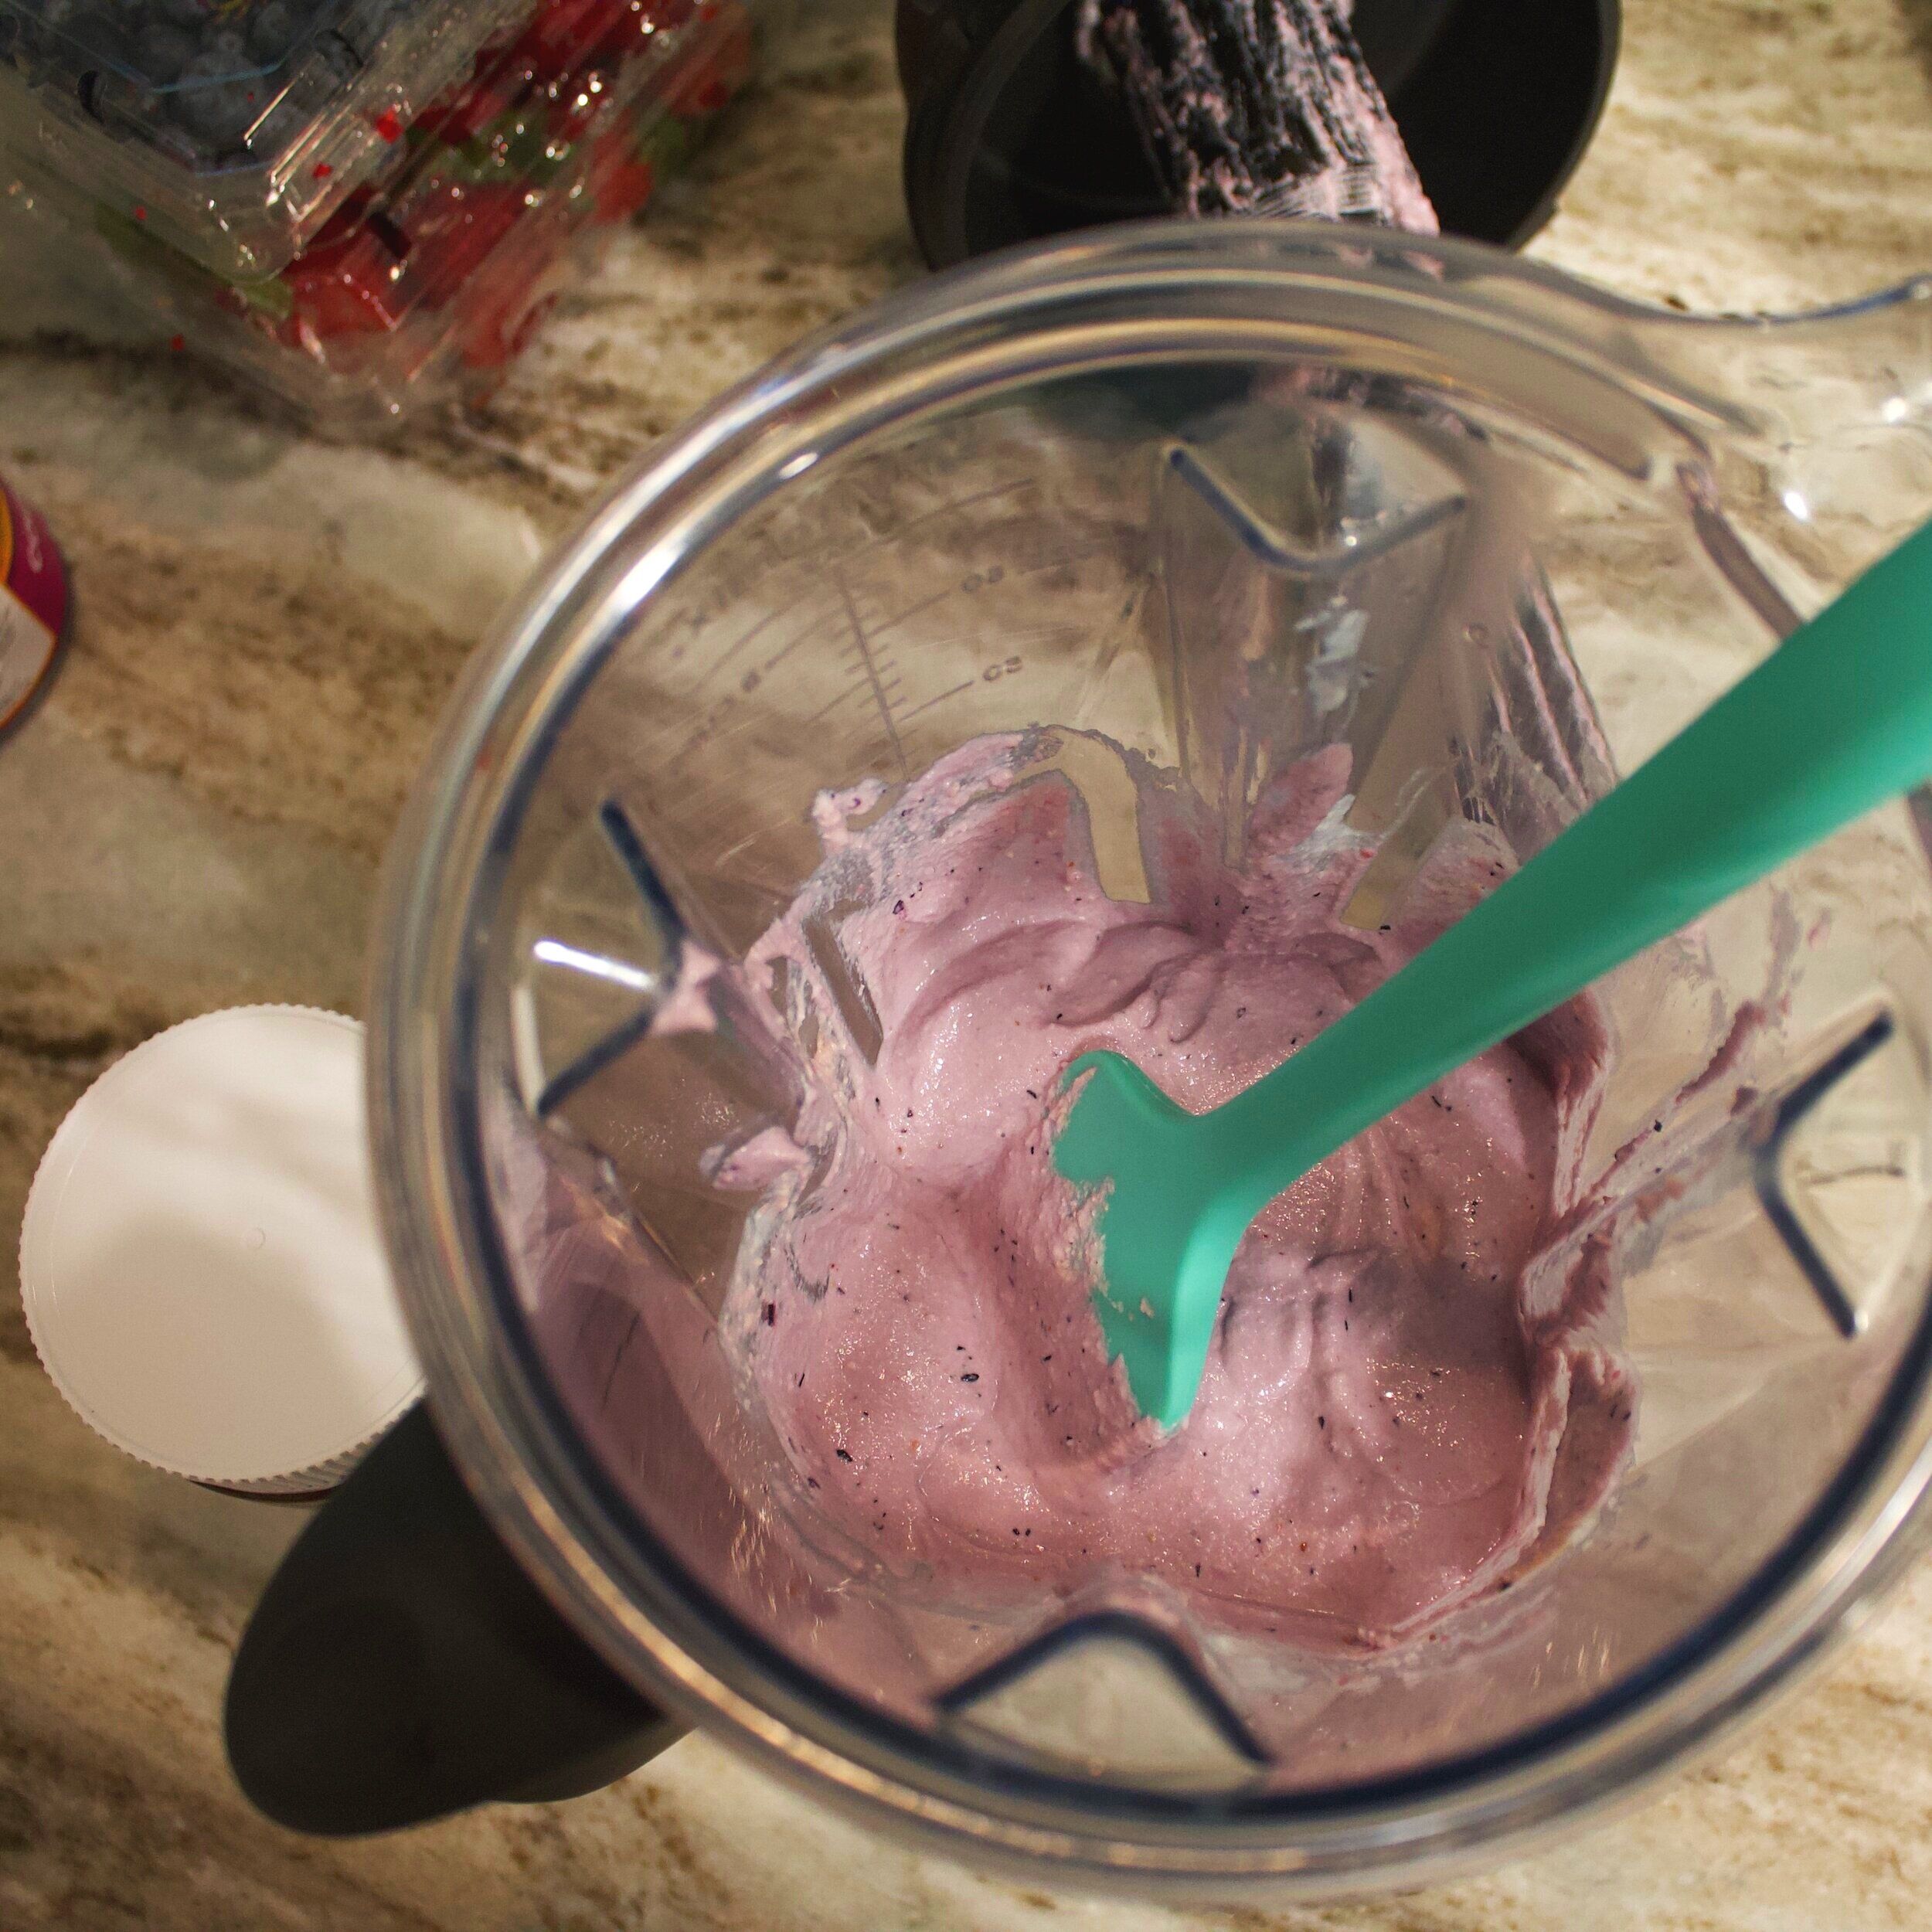
In a blender, combine all ingredients

Blend until becomes homogenous

This is quite thick, so don’t feel as if you need to add more liquid! Just continue to scrape and blend until all combined

Pour this filling evenly into your prepared tart pan

Put in freezer for at least 2 hours prior to serving

Slice and serve with fresh fruit and more Wild Friends Hazelnut Spread (trust me!!)

Note: if you allow this to sit at room temperature for about 20 minutes before serving, the texture is perfect!


Bon Appétit!

Sweet and Salty Snacking Bars

Live the actual moment. Only this moment is life.
— Thich Nhat Hanh

Can I call it consistent if it’s just two posts? Yes? Okay, perfect! As I have always been a HUGE planner and list maker, having a baby has taken that to an entirely different level. At the start of each week I make a nice long list as to what I want to get done, from the bigger things to the basically insignificant things (yes, I wrote ‘weed garden’ down…) just so that I can visually see and tick off everything throughout the week. There’s nothing like the feeling of completing a to-do list! That being said, I’ve been adding in time for me to recipe test and blog each week. Finally! I am back to it. Big win for this mama!

This week on parent-friendly-recipes-that-won’t-eat-up-your-whole-day, we are going back to a childhood favorite of mine! Do y’all remember Sunbelt granola bars?! The chewy ones covered in chocolate?! Yeah, they were AMAZING. I’m not afraid to admit that I used to eat multiple at a time—who could resist? To this day, I’m still a big snacker. Sure, I try my best to be better at three meals, but lunch isn’t always for me! Maybe it’s because I’m constantly eating handfuls of nuts or fruit or chocolate…

Anyways! Back to these granola bars. I’ve been wanting to spice up my snack game with a little something something homemade. Probably one of my all-time favorite things I make are these raw granola bars. They’re SO simple and quick, which, as we know, is my go-to these days. With these bars, I wanted to go even more back to basics! I’m hoping that once Oliver is old enough to eat and then old enough to talk, he will be ALL about my homemade bars. Is it too much to want him to bake with me and love eating raw cookie dough as much as I do?! Ugh I can’t wait!! There are so few ingredients in these, and I was able to make them AND clean up before his nap was over, so a win all over!

The base is sweetened from dates and loaded with oats, which I think is what gives it the very authentic childhood granola bar taste. Cashews, coconut, a little bit of salt, nothing too overwhelming so that every flavor can be tasted. Plain and simple. Of course, we had to jazz it up somehow! And so I went for it and added a chocolate layer in the middle. Oohhhh la la. Yes, please! A little bit of cocoa powder, coconut sugar (the flavor of coconut sugar is out. of. this. world.), and coconut oil or butter, and that’s it! Again, a basic yet extremely satisfying layer! More of the base on top, freeze them and boom – you’ve got yourself a nice sweet and salty snacking bar! I also am so tempted to do a jam filling. A peanut butter filling. A coconut-based filling. The limit does not exist!

Could I eat the entire tray of them? Duh, don’t even tempt me! Will I? No, because I’m a sweet wife who will let their husband have a few. In true mom/baker/health obsessed gal fashion, these bars won’t take you an entire afternoon to make, have a flavor that is so satisfying and nostalgic, and the ingredients are simple and wholesome. I have somehow done it again!


16-2” bars

base/topping layer ingredients

Cashews—7.5 oz, or 1 ½ C

Oats—5 oz, or 1 ½ C

Dates, pitted—8

Coconut flakes, unsweetened—1 oz, or ½ C

Coconut Oil, melted—3.25 oz, or ½ C

Salt—pinch


process

In the bowl of a food processor, combine the nuts, oats, dates, coconut and salt. Pulse until the nuts are almost fully ground.

Slowly stream in the coconut oil.

This base should hold together when squeezed in your hand. If it does not, add in more coconut oil (1 tsp at a time).

Reserve 1 cup of this for the topping.

Press the remainder into the bottom of an 8”x8” baking dish.

Set aside.


chocolate layer ingredients

Cocoa Powder—2 oz, or ¾ C

Coconut Sugar—1 oz, or 3 TBL

Butter—3 oz, or 6 TBL

Salt—pinch


process

In a small pot over the stove, melt the butter.

Whisk in the cocoa powder and sugar until homogenous.

This will be a slightly thick and like a fudge consistency!

Pour over the base layer into an even layer.

Sprinkle more salt over the chocolate.


Take the reserved crumble and sprinkle over the top of the chocolate, press into the chocolate, making sure that it is in nice chunks!

Stick in the freezer until it has frozen.

When ready to cut, remove from freezer and cut into 2” squares.

Best stored in the freezer!


Bon Appétit!