Kid Friendly Gingerbread Cookies

I hope your days are filled with countless tiny miracles unfolding continuously, sewn together in the mess you call life.
— Sjana
IMG_9346.jpg

CHRISTMAS IS THIS WEEK!!

Am I the most excited person in our house?! Absolutely! Am I hoping that in the coming years, Oliver will join me on the excitement train?! DUH! This has always been my favorite time of the year, there’s just no way around it. We have been binging all of the Christmas classics: Elf, The Santa Clauses, A Christmas Carol, terrible Lifetime and Hallmark movies, you name it! Oliver could care less, yet he has been becoming more and more attracted to the gifts under the tree, but he is still in his “I love dog toys” phase and “let me open drawers” phase.

While he may not be as keen about the holidays as I am (yet!), one thing that he does love is food! If we sit down for a snack, he needs a bite; if we have water, he needs a sip; if he sees something on our dinner plates that isn’t on his, he must have it—you get the picture! That being said, I have been waiting for this day, when I could bake with my little one, and it honestly was SO much fun! Oliver mainly just wanted to play with the dough and eat as many cookies as he could before I could stop him, but I rolled with it!

Growing up, making Christmas cookies and bread was quite an event! My mom would bake dozens of Challah and cinnamon swirl loaves to give to friends, tins and tins of spritz cookies, gingerbread, PB balls, galore! We would also always do a gingerbread house decorating contest (cannot wait for this in the years to come!), and I wanted to start some traditions with our little guy! That being said, I wanted to make a KID FRIENDLY recipe for Oliver. That means low on the sugar pole but stuffed with spices! We aren’t giving him chocolate just yet, he doesn’t consume that much dairy, and he seems to be ultra-sensitive to sugar, like he gets very hyper! Honestly, what would you expect with an (almost) 11-month-old?! So, I wanted to make these as low in sugar as I could, cutting the amount of molasses in half and using less brown sugar than normal. To me, I am all about the spices in a gingerbread cookie, so that is definitely not lacking whatsoever here! Due to cutting out some molasses, I added in some dairy-free milk to make sure these cookies are nice and moist! Overall, Oliver LOVED these (see below!), and I cannot wait until we decorate them next year with candies and icing and who knows what else! For now, I’m going to enjoy my sweet little bub and all of his craziness, hopefully we don’t eat all of them before Santa comes!

IMG_9350.jpg
IMG_9354.jpg
IMG_9363.jpg


ingredients

Butter—4 oz, or 8 TBL

Brown Sugar—3.5 oz, or ½ C

Molasses—3.75 oz, or 1/3 C

Vanilla Extract—1 tsp

Egg—1

Flour—18 oz, or 3 C

Baking Soda—1 tsp

Salt—1 tsp

Cinnamon—1 ¼ TBL

Ginger—1 ¼ TBL

Cloves—½ tsp

Allspice—½ tsp

Dairy-free milk—2.5 oz, or 5 TBL


process

In the bowl of your mixer, cream the butter and sugar until light and fluffy, about 5-10 minutes.

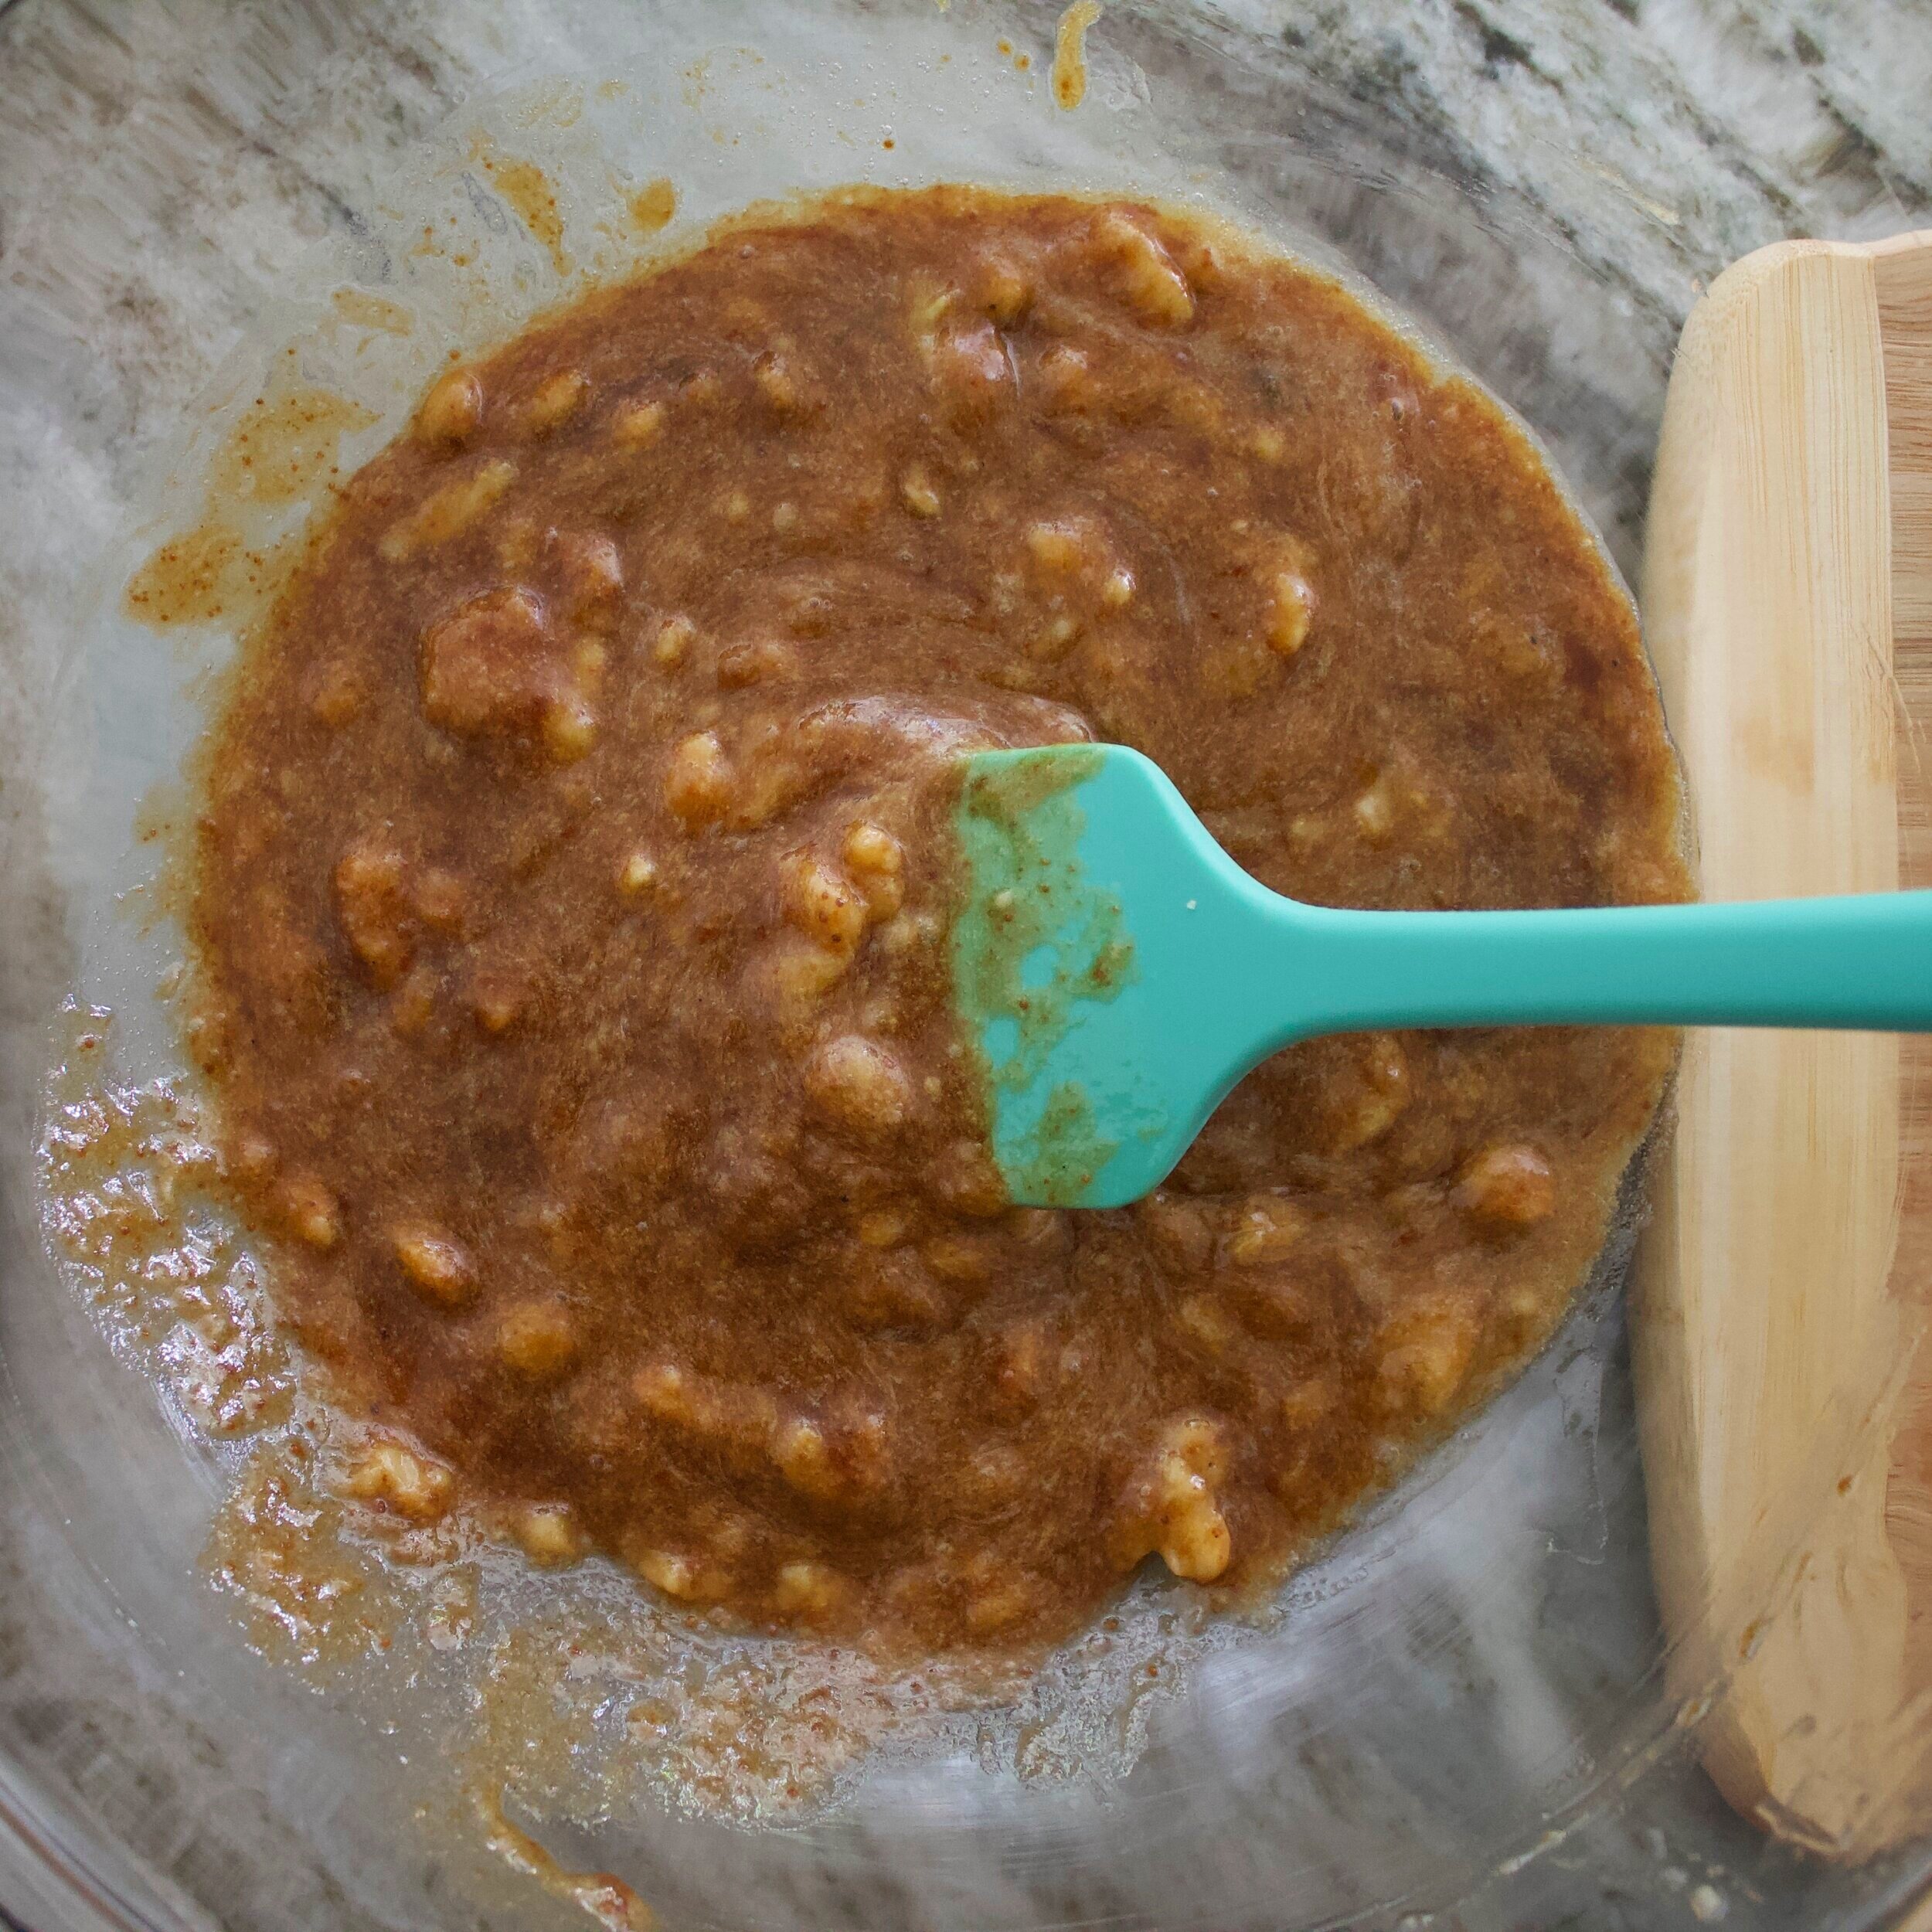
Add in the egg, vanilla and molasses to the mixer, making sure to scrape down the sides of the bowl every few minutes. It will begin to look slightly curdled—that’s okay!

In a separate bowl, sift together the flour, baking soda, salt, and all of the spices.

With your mixer on low, add this to your creamed mixture, mix until just combined.

Slowly stream in your milk, mix for about 30 seconds so that a homogenous dough forms.

Wrap dough tightly in plastic wrap and put in the fridge to firm up, either a couple of hours or overnight.

When you are ready to bake your cookies, preheat the oven to 350˚F.

Knead the dough with your hands a bit so that it warms up and is easier to roll out.

On a floured surface, roll out the dough until it is about ¼” thick.

Using whatever cutters you would like, stamp out cookies and place on a baking sheet that is lined with either parchment, a Silpat or nonstick spray.

Continue to reroll the dough until you have used it all, making sure to keep the cut-out cookies in the fridge until you are ready to bake them.

Bake in your preheated oven for 10 minutes, rotate the pan, 4 minutes.

Allow to cool on a rack prior to either decorating or eating!


Bon Appétit!

Cereal Crunch Bars

Nothing can bring you peace but yourself.
— Ralph Waldo Emerson
IMG_9321.jpg

It’s the most wonderful time of the year!

While celebrating the holidays has kind of an odd feeling around it this year, I’m destined to still make it as fun as possible not only for our little 10-month-old, but for my husband and I as well! I took out the decorations as early as possible, started listening to Michael Bublé and John Legend’s Christmas albums on repeat, even found some amazing mint mocha dairy free creamer—we are READY in this house!

I will say that most of this is for me and my sanity. I am obsessed with this time of year, so I’m not holding back one bit. Oliver really just wants to play too aggressively with the nutcrackers, climb on the gifts under the tree and just point to all of the ornaments hung up—so I’m waiting for next year for his excitement to be as high as mine! That being said, this little dessert is also more for me than him…oops.

While I would have given this boy chocolate the day he was born (exaggeration, but, I mean, another true love of mine!), I’m of course holding off until he’s at least one—and I read that usually around 2 is when it’s “acceptable” to give kids chocolate?! Yes, waiting until he’s at least 1 sounds better to me! Okay, back to it… I found this little chocolate bar/dessert to be this beautiful hybrid of no bake cookies + brownie batter + a Crunch bar, which is honestly kinda perfect! Your gal LOVES chocolate bars, but I never eat them, so I figured why not make some?! The peanut butter Panda Puffs cereal adds the most amazing texture and crunch to these cake batter/brownie-esque bars! This cereal was a true love of mine in high school, so we are bringing it back!

Sure, is this recipe “healthified?” A bit. But is the flavor all there and will you be hiding them in the fridge, so no one steals any of them?! Absolutely! I cannot wait for little O to be the age that he loves chocolate as much as his mom, but I’m totally cool not sharing these homemade Crunch bars for at least a few more months!

IMG_9299.jpg
IMG_9301.jpg
IMG_9323.jpg
IMG_9326.jpg


ingredients

Coconut Oil—1.75 oz, or ¼ C

Brown Sugar—6.5 oz, or ¾ C

Oat Milk—4 oz, or ½ C

Cocoa Powder—2.25 oz, or 2/3 C

Peanut Butter—6.5 oz, or 2/3 C

Vanilla Extract—1 TBL

Cereal [Panda Puffs]—4.5 oz, or 3 C

Salt—¾ tsp


process

In a medium saucepot, combine coconut oil, sugar, milk and cocoa powder on the stove. Allow to all combine together and lightly boil for 1-2 minutes.

Remove from the heat and add in the peanut butter and vanilla extract.

With your cereal of choice in a large bowl, pour the chocolate peanut butter mixture over it, mixing to combine and coat evenly.

Sprinkle with salt.

Pour into an 8”x 8” pan that is either lined with parchment or a nonstick spray.

Press down evenly.

Place in the refrigerator to set for at least 1-2 hours.

Once firm remove from the fridge and cut into desired size!

Best stored in an airtight container in the fridge.


Bon Appétit!

Thick Mint Cookie

When you own your breath, nobody can steal your peace.
— Unknown
IMG_6153.jpg

My idea behind this was short and sweet—I love Thin Mints, I love all things chocolate and mint, it’s the holiday season, why should I have to wait for it to be Girl Scout cookie season, so let’s make a thin mint! But then, I was like OH NO, let’s make a THICK mint. A big, big cookie, single serve if you want, so instead of sitting down to eat an entire sleeve of Thin Mints, you can just eat one cute little skillet cookie!

As my husband isn’t the biggest fan of the chocolate-mint combination (crazy, right?!!??) and my 10-month-old son is too young to eat chocolate (I just read that it is recommended to wait until they are TWO to eat chocolate…), I got this baby all to myself! There is just something about the way that anything chocolate and mint tastes in the winter, as you listen to holiday music for 2 months, wishing snow was trapping you inside instead of a pandemic… it all sounds so dreamy. Unfortunately, it’s still in the 60’s here in Atlanta and the only reason we aren’t going anywhere is because it’s too dangerous to!

BUT! Let’s just enjoy these moments that we are forced to stay home, watch all of the cheesy Christmas movies on Hallmark and Lifetime, eat delicious food, light all of the balsam scented candles, listen to Michael Bublé Christmas for the millionth time, and eat a giant single-serve cookie because why the hell not! If 2020 has taught me anything, it’s that enjoying a THICK MINT cookie to myself is MORE than okay, as there will be zero guilt here in the KBemBakes household! Now back to dancing to my regularly scheduled holiday music with my son while my husband both laughs at us and looks like we are slightly nuts!


IMG_6140.jpg
IMG_6143.jpg
IMG_6151.jpg

ingredients

Butter, room temperature—4 oz, or ½ C

Brown Sugar—6 oz, or ¾ C

Eggs—1

Vanilla Extract—1 tsp

Peppermint Extract—1 ½ tsp

Flour—6 oz, or 1 C

Cocoa Powder—2.25 oz, or ¾ C

Baking Powder—2 tsp

Salt—½ tsp

Chocolate Chips—3.75 oz, or ½ C


process

In the bowl of your mixer, combine the butter and brown sugar, cream until light and fluffy, about 10 minutes.

Add the egg and both extracts. Mix until combined, making sure to scrape down the sides of the bowl.

In a separate bowl, sift together the flour, cocoa powder, baking powder and salt.

Slowly add this to the creamed mixture in the mixer, making sure to scrape down the sides and bottom of the bowl.

Add in the chocolate chips.

Preheat your oven to 350˚F.

Butter a small cast iron skillet.

Press the cookie dough evenly into the pan and allow to firm up slightly in the fridge while your oven preheats.

When ready to bake, bake for 15 minutes, rote the pan 180˚, and then bake for 12 minutes.

Remove from the oven and allow to cool for about 10 minutes.

Optional Topping: melt together about ¼ C of chocolate chips with 1 TBL of coconut oil for about 30-45 seconds in the microwave (stirring every 15 seconds), drizzle on top of cookie skillet.

Dig in with a spoon for maximum deliciousness!

If you want to make individual drop cookies, bake for 7 minutes, rotate, 7 minutes.


Bon Appétit!

Caramel Apple Upside Down Cakes

Can we get to the place where there is no place to get to?
— Michael Stone
IMG_9165.jpg

How is it possible that in 30 years of my life, I am just now making an apple upside-down cake?! These little babes have changed the game!

There’s nothing like a pineapple upside down cake, am I right? It’s so sweet and gooey and honestly, perfect. Years ago, I made a pineapple upside down layer cake—now THAT was extravagant! But, this year, it’s like something hit me and I finally made a caramel apple upside down cake. YUM. As my husband loves all things apples—he has his own honey crisp apple section at our house, loves apple pie, we had an apple pie tier in our wedding cake… I decided to make these for our anniversary this year! Sadly, it was sort of a fail, they just didn’t come out the way that I wanted, mainly because it was so last minute, and I was pressed with time as our baby was most likely crawling around like a madman! Anyways, I knew that I needed another go with these, so, voilà, we did it!

To start, I made a caramel. All on its own. On the stovetop, like the true pastry chef that I am! (laughs a little) And from there, I used a tried and true banana cake recipe that I have, tweaked it slightly, and made that the cake! It’s so dang moist (sorry!), not overly sweet, the perfect blend of fall spices, this is what dreams are made of—thank you Hilary Duff. Was I nervous that the caramel would stick when I took them out of the oven? Duh! But did it? Hell no. This cake seriously must love me because it came out so. dang. perfect.

So now, about a month after our anniversary, I have the most incredible anniversary cake for you! Of course, I did make these mini chocolate anniversary cakes years ago, and those are GOOD, but these are better! What can I say, we love an upside-down cake, we love an apple!

Oh, can I also add in that I made these all within Oliver’s 90-minute nap?! I believe it took me under an hour from start to finish, including the clean up!


IMG_9136.jpg
IMG_9138.jpg
IMG_9142.jpg
IMG_9143.jpg
IMG_9146.jpg
IMG_9162.jpg
IMG_9168.jpg
IMG_9165.jpg

caramel ingredients

Butter—2 oz, or 4 TBL

Brown Sugar—2.75 oz, or 1/3 C

Cinnamon—1 tsp

Vanilla Extract—½ tsp

Apple—1 medium


process

In a small sauce-pot, melt the butter and brown sugar together

Allow to boil for 1 minute

Remove from the heat and mix in the cinnamon and vanilla

Pour into the bottoms of your muffin pan, I used a large muffin pan, this makes 6

Press your apple slices on top of the caramel and set aside while you make the cake batter


cake ingredients

Butter, softened—4 oz, or ½ C

Coconut Sugar—4 oz, or 2/3 C

Banana—2 medium, ripe

Vanilla Extract—1 tsp

Flour—5.5 oz, or 1 C

Baking Powder—¾ tsp

Baking Soda—½ tsp

Salt—½ tsp

Cinnamon—2 tsp

Cloves—½ tsp

Milk—2 oz, or ¼ C


process

Preheat your oven to 350˚ F

In a large bowl, combine your softened butter and sugar

Mix in the mashed banana—I find very brown bananas are best for the job!

Add vanilla

In another bowl, soft together the flour, baking powder, baking soda, salt, cinnamon and cloves

Add this to the wet ingredients and fold in until just combined

Add in the milk

Fill up each muffin cup until they are about ¾ of the way full

Bake in the oven for 15 minutes, then rotate the pan, and bake for another 10-12

The cakes should spring back when touched, and you can always do the toothpick test.

Remove from the oven and allow to cool for a couple of minutes

Carefully, flip the muffin pan over before the caramel becomes too solid and cool

To enjoy, warm up so you have a soft caramel and a warm cake!


Bon Appétit!

IMG_9183.jpg

Tahini Chocolate Chunk Cookies

The present is the only thing that has no end.
— Erwin Schrödinger
IMG_9118.jpg

This may be a little crazy to say, but these cookies deserve an award! They honestly taste like fudgy brownie cookies, and I am shook.

When I made them for the first time, I immediately texted my old roommate, apologizing for turning down tahini all of those times that we lived together. She tried to get me to try it in every form, even the wonderful chocolate halva bars—I always turned it down. But now, many years later, I’m in LOVE! The flavor is never too strong for me, but it adds this richness that I simply cannot explain, taking anything from good to outright insane and necessary and mouthwatering.

The wonderful thing about these little bites of deliciousness is that they do not need a mixer, there are no fancy baking steps involved, just mixing the wet ingredients together, the dry together and combining the two for a rich and decadent batter, which makes an unreal cookie. As we know, I’m all about the speedy yet worth it desserts or treats these days, as my little one is on the go when he’s awake! He’s also still not eating chocolate or sugar or any of my specialties yet as he is still only 8-months-old, SO it’s not like he can take part in all of this fun because he also puts everything into his mouth!

Anyways, these cookies are worth going to the store to get a HUGE jar of tahini if you don’t keep some in your fridge or pantry at all times! It’s hard to believe that these taste like brownie batter but in cookie form, but they do—trust me. Hell, you can even make them vegan if you want to sub in a banana for the egg, make them GF if you swap out the flour, these are quite friendly to any changes that you feel necessary to make. Just know, these won’t last long, and if you think that the 1 dozen that this recipe makes is enough for the week, HAH (!), think again, my friends!

IMG_9096.jpg
IMG_9099.jpg
IMG_9118.jpg


ingredients

Tahini—5 oz, or ½ C + 2 TBL

Eggs—1

Vanilla Extract—1 tsp

Honey—1.75 oz, or 3 TBL

Coconut Oil, melted—1.75 oz, or 3 TBL

Cocoa Powder—2 oz, or ½ C

Flour—1.5 oz, or ¼ C

Salt—1 ½ tsp

Maca Powder—2 tsp

Baking Powder—½ tsp

Dark Chocolate—3 oz bar, or ½ C


process

In a large bowl, sift together the flour, salt, maca, and baking powder

In another bowl, whisk the tahini, egg, vanilla and honey

Add in the coconut oil once it has been cooler slightly so that it doesn’t cook the egg

Combine the wet and dry ingredients, folding together with a spatula

Fold in the chocolate, this can either be chips or a chopped up dark chocolate bar

Scoop into about 2 TBL sized balls either onto your baking tray or into a container to allow to firm up in the refrigerator for at least an hour

When you are ready to bake them, preheat the oven to 350˚F

Place on your baking pan that has either been sprayed with nonstick spray or is lined with parchment or a Silpat

Bake for 10 minutes

Remove from the oven, allow to cool for a few minutes on the tray before transferring them onto a cooling rack

Store in a sealed container in the fridge


Bon Appétit!