Caramel Apple Upside Down Cakes

Can we get to the place where there is no place to get to?
— Michael Stone
IMG_9165.jpg

How is it possible that in 30 years of my life, I am just now making an apple upside-down cake?! These little babes have changed the game!

There’s nothing like a pineapple upside down cake, am I right? It’s so sweet and gooey and honestly, perfect. Years ago, I made a pineapple upside down layer cake—now THAT was extravagant! But, this year, it’s like something hit me and I finally made a caramel apple upside down cake. YUM. As my husband loves all things apples—he has his own honey crisp apple section at our house, loves apple pie, we had an apple pie tier in our wedding cake… I decided to make these for our anniversary this year! Sadly, it was sort of a fail, they just didn’t come out the way that I wanted, mainly because it was so last minute, and I was pressed with time as our baby was most likely crawling around like a madman! Anyways, I knew that I needed another go with these, so, voilà, we did it!

To start, I made a caramel. All on its own. On the stovetop, like the true pastry chef that I am! (laughs a little) And from there, I used a tried and true banana cake recipe that I have, tweaked it slightly, and made that the cake! It’s so dang moist (sorry!), not overly sweet, the perfect blend of fall spices, this is what dreams are made of—thank you Hilary Duff. Was I nervous that the caramel would stick when I took them out of the oven? Duh! But did it? Hell no. This cake seriously must love me because it came out so. dang. perfect.

So now, about a month after our anniversary, I have the most incredible anniversary cake for you! Of course, I did make these mini chocolate anniversary cakes years ago, and those are GOOD, but these are better! What can I say, we love an upside-down cake, we love an apple!

Oh, can I also add in that I made these all within Oliver’s 90-minute nap?! I believe it took me under an hour from start to finish, including the clean up!


IMG_9136.jpg
IMG_9138.jpg
IMG_9142.jpg
IMG_9143.jpg
IMG_9146.jpg
IMG_9162.jpg
IMG_9168.jpg
IMG_9165.jpg

caramel ingredients

Butter—2 oz, or 4 TBL

Brown Sugar—2.75 oz, or 1/3 C

Cinnamon—1 tsp

Vanilla Extract—½ tsp

Apple—1 medium


process

In a small sauce-pot, melt the butter and brown sugar together

Allow to boil for 1 minute

Remove from the heat and mix in the cinnamon and vanilla

Pour into the bottoms of your muffin pan, I used a large muffin pan, this makes 6

Press your apple slices on top of the caramel and set aside while you make the cake batter


cake ingredients

Butter, softened—4 oz, or ½ C

Coconut Sugar—4 oz, or 2/3 C

Banana—2 medium, ripe

Vanilla Extract—1 tsp

Flour—5.5 oz, or 1 C

Baking Powder—¾ tsp

Baking Soda—½ tsp

Salt—½ tsp

Cinnamon—2 tsp

Cloves—½ tsp

Milk—2 oz, or ¼ C


process

Preheat your oven to 350˚ F

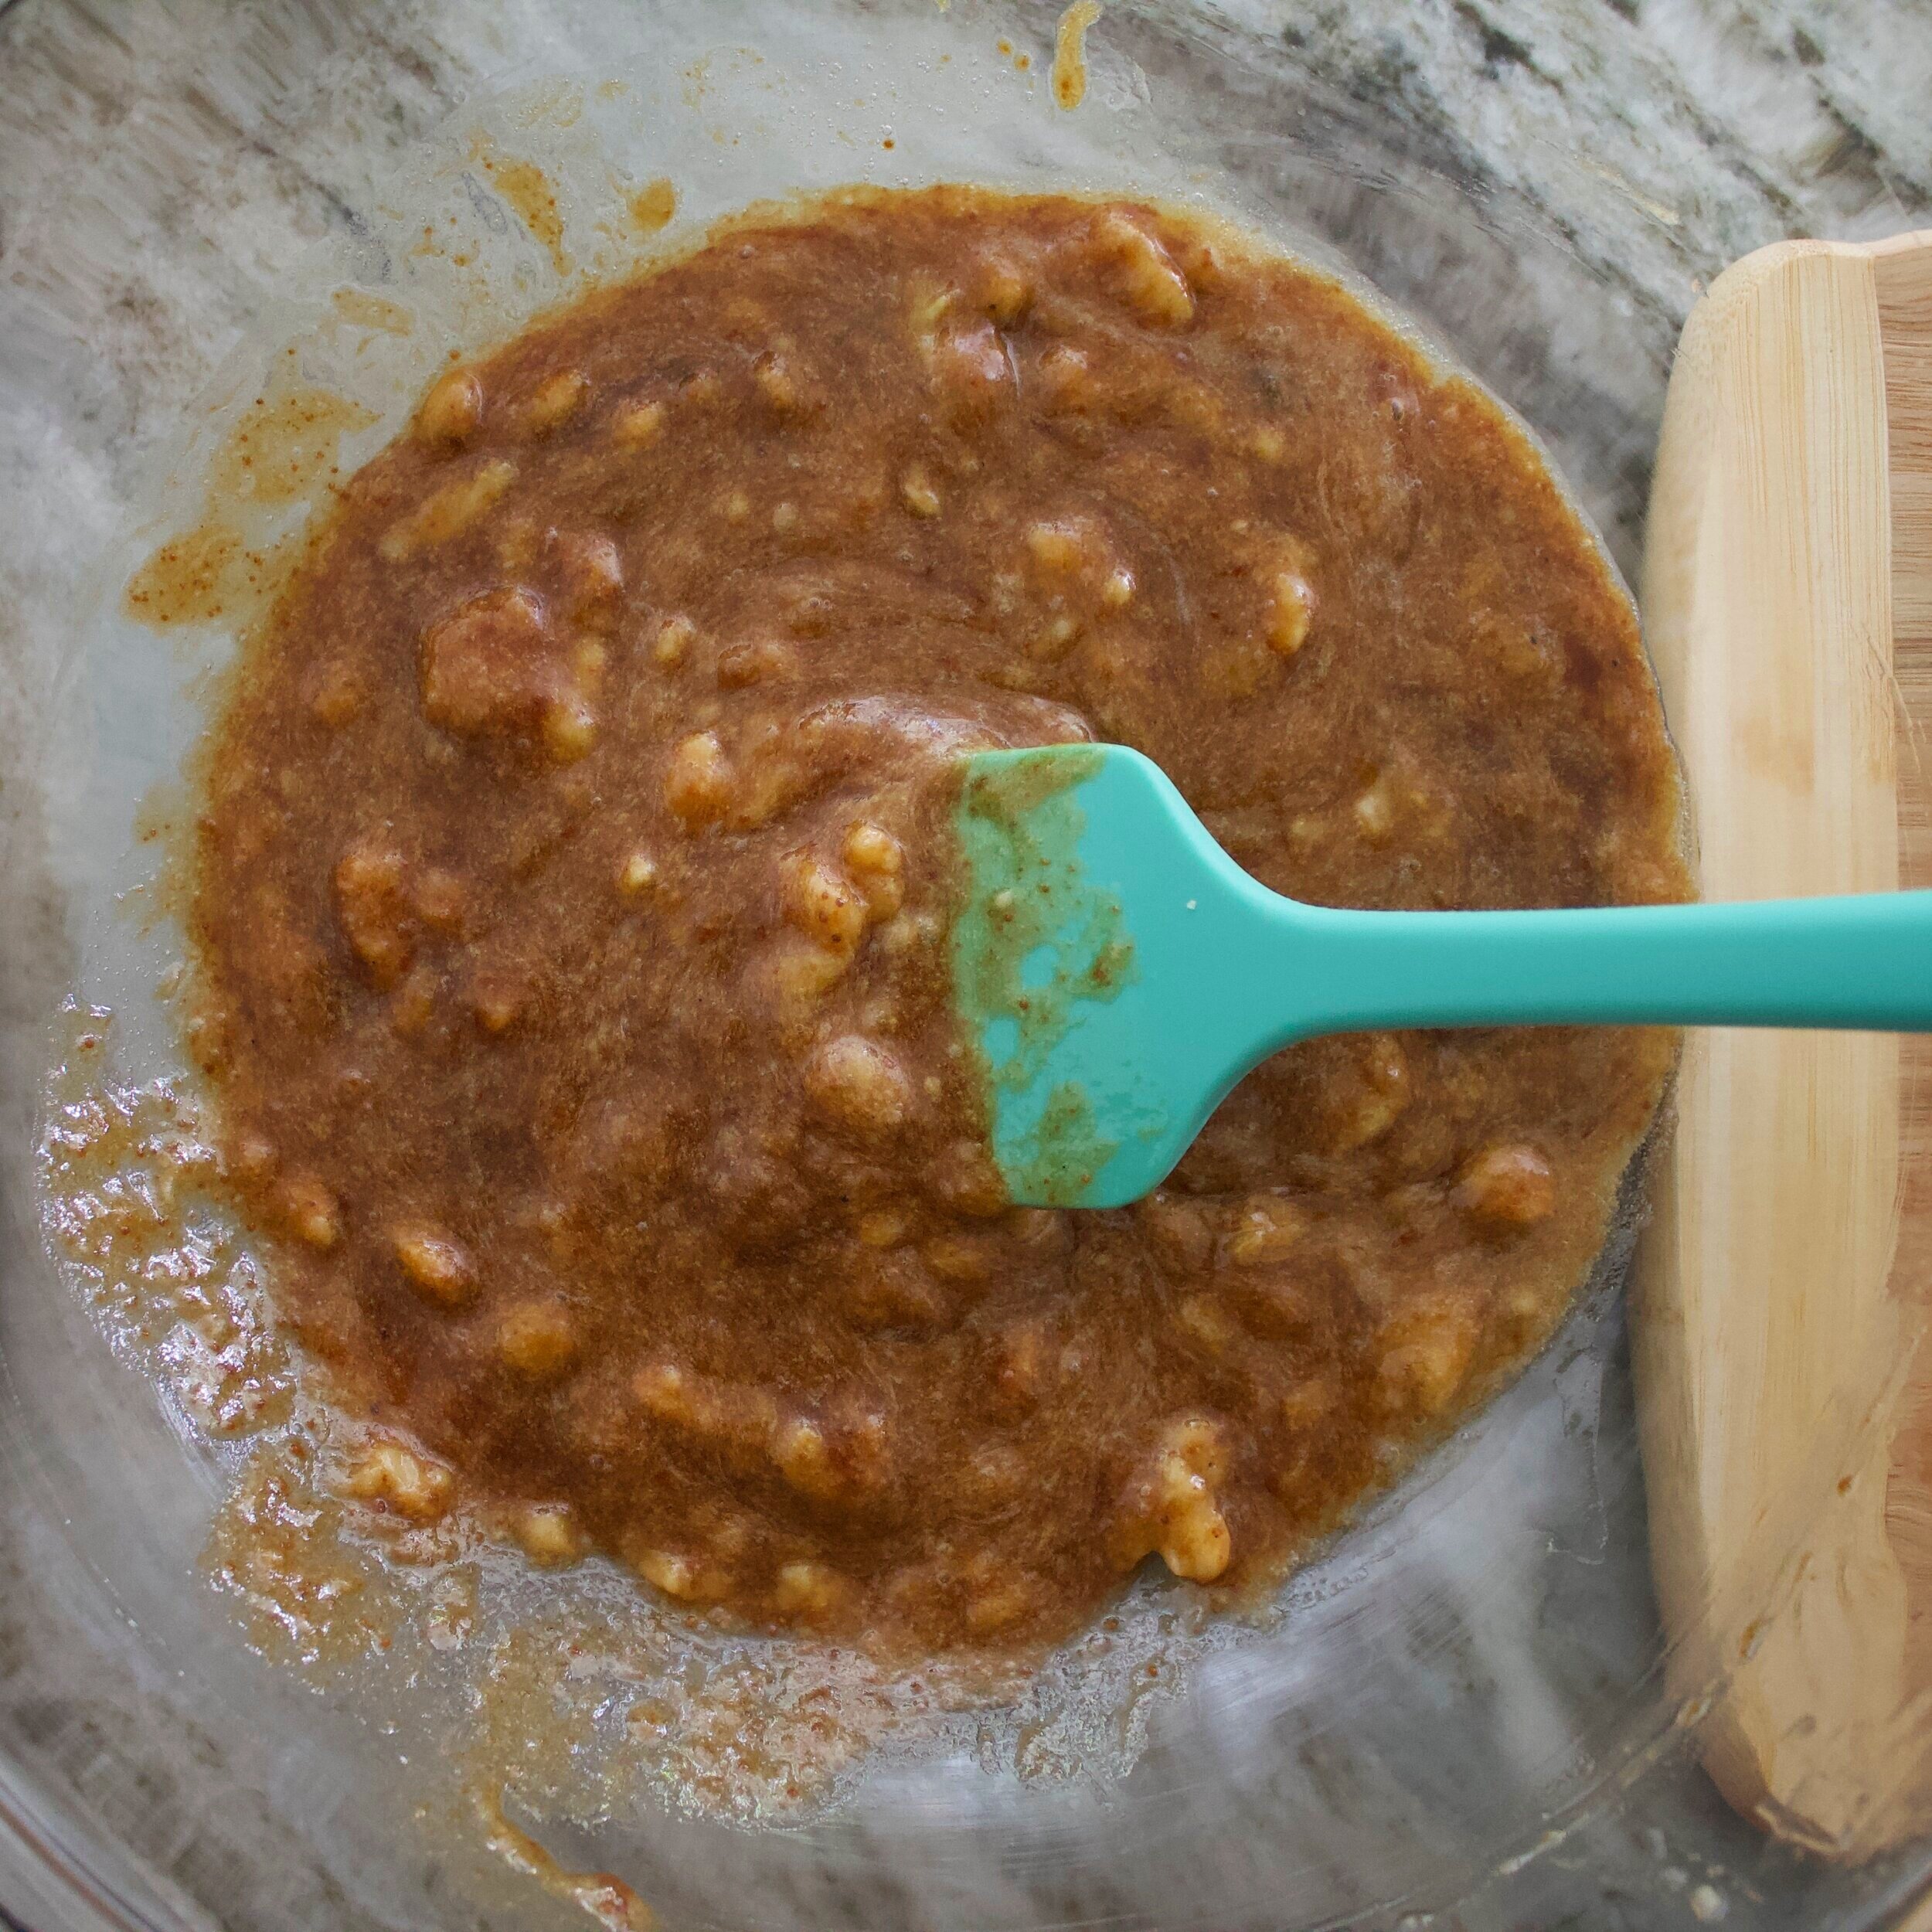
In a large bowl, combine your softened butter and sugar

Mix in the mashed banana—I find very brown bananas are best for the job!

Add vanilla

In another bowl, soft together the flour, baking powder, baking soda, salt, cinnamon and cloves

Add this to the wet ingredients and fold in until just combined

Add in the milk

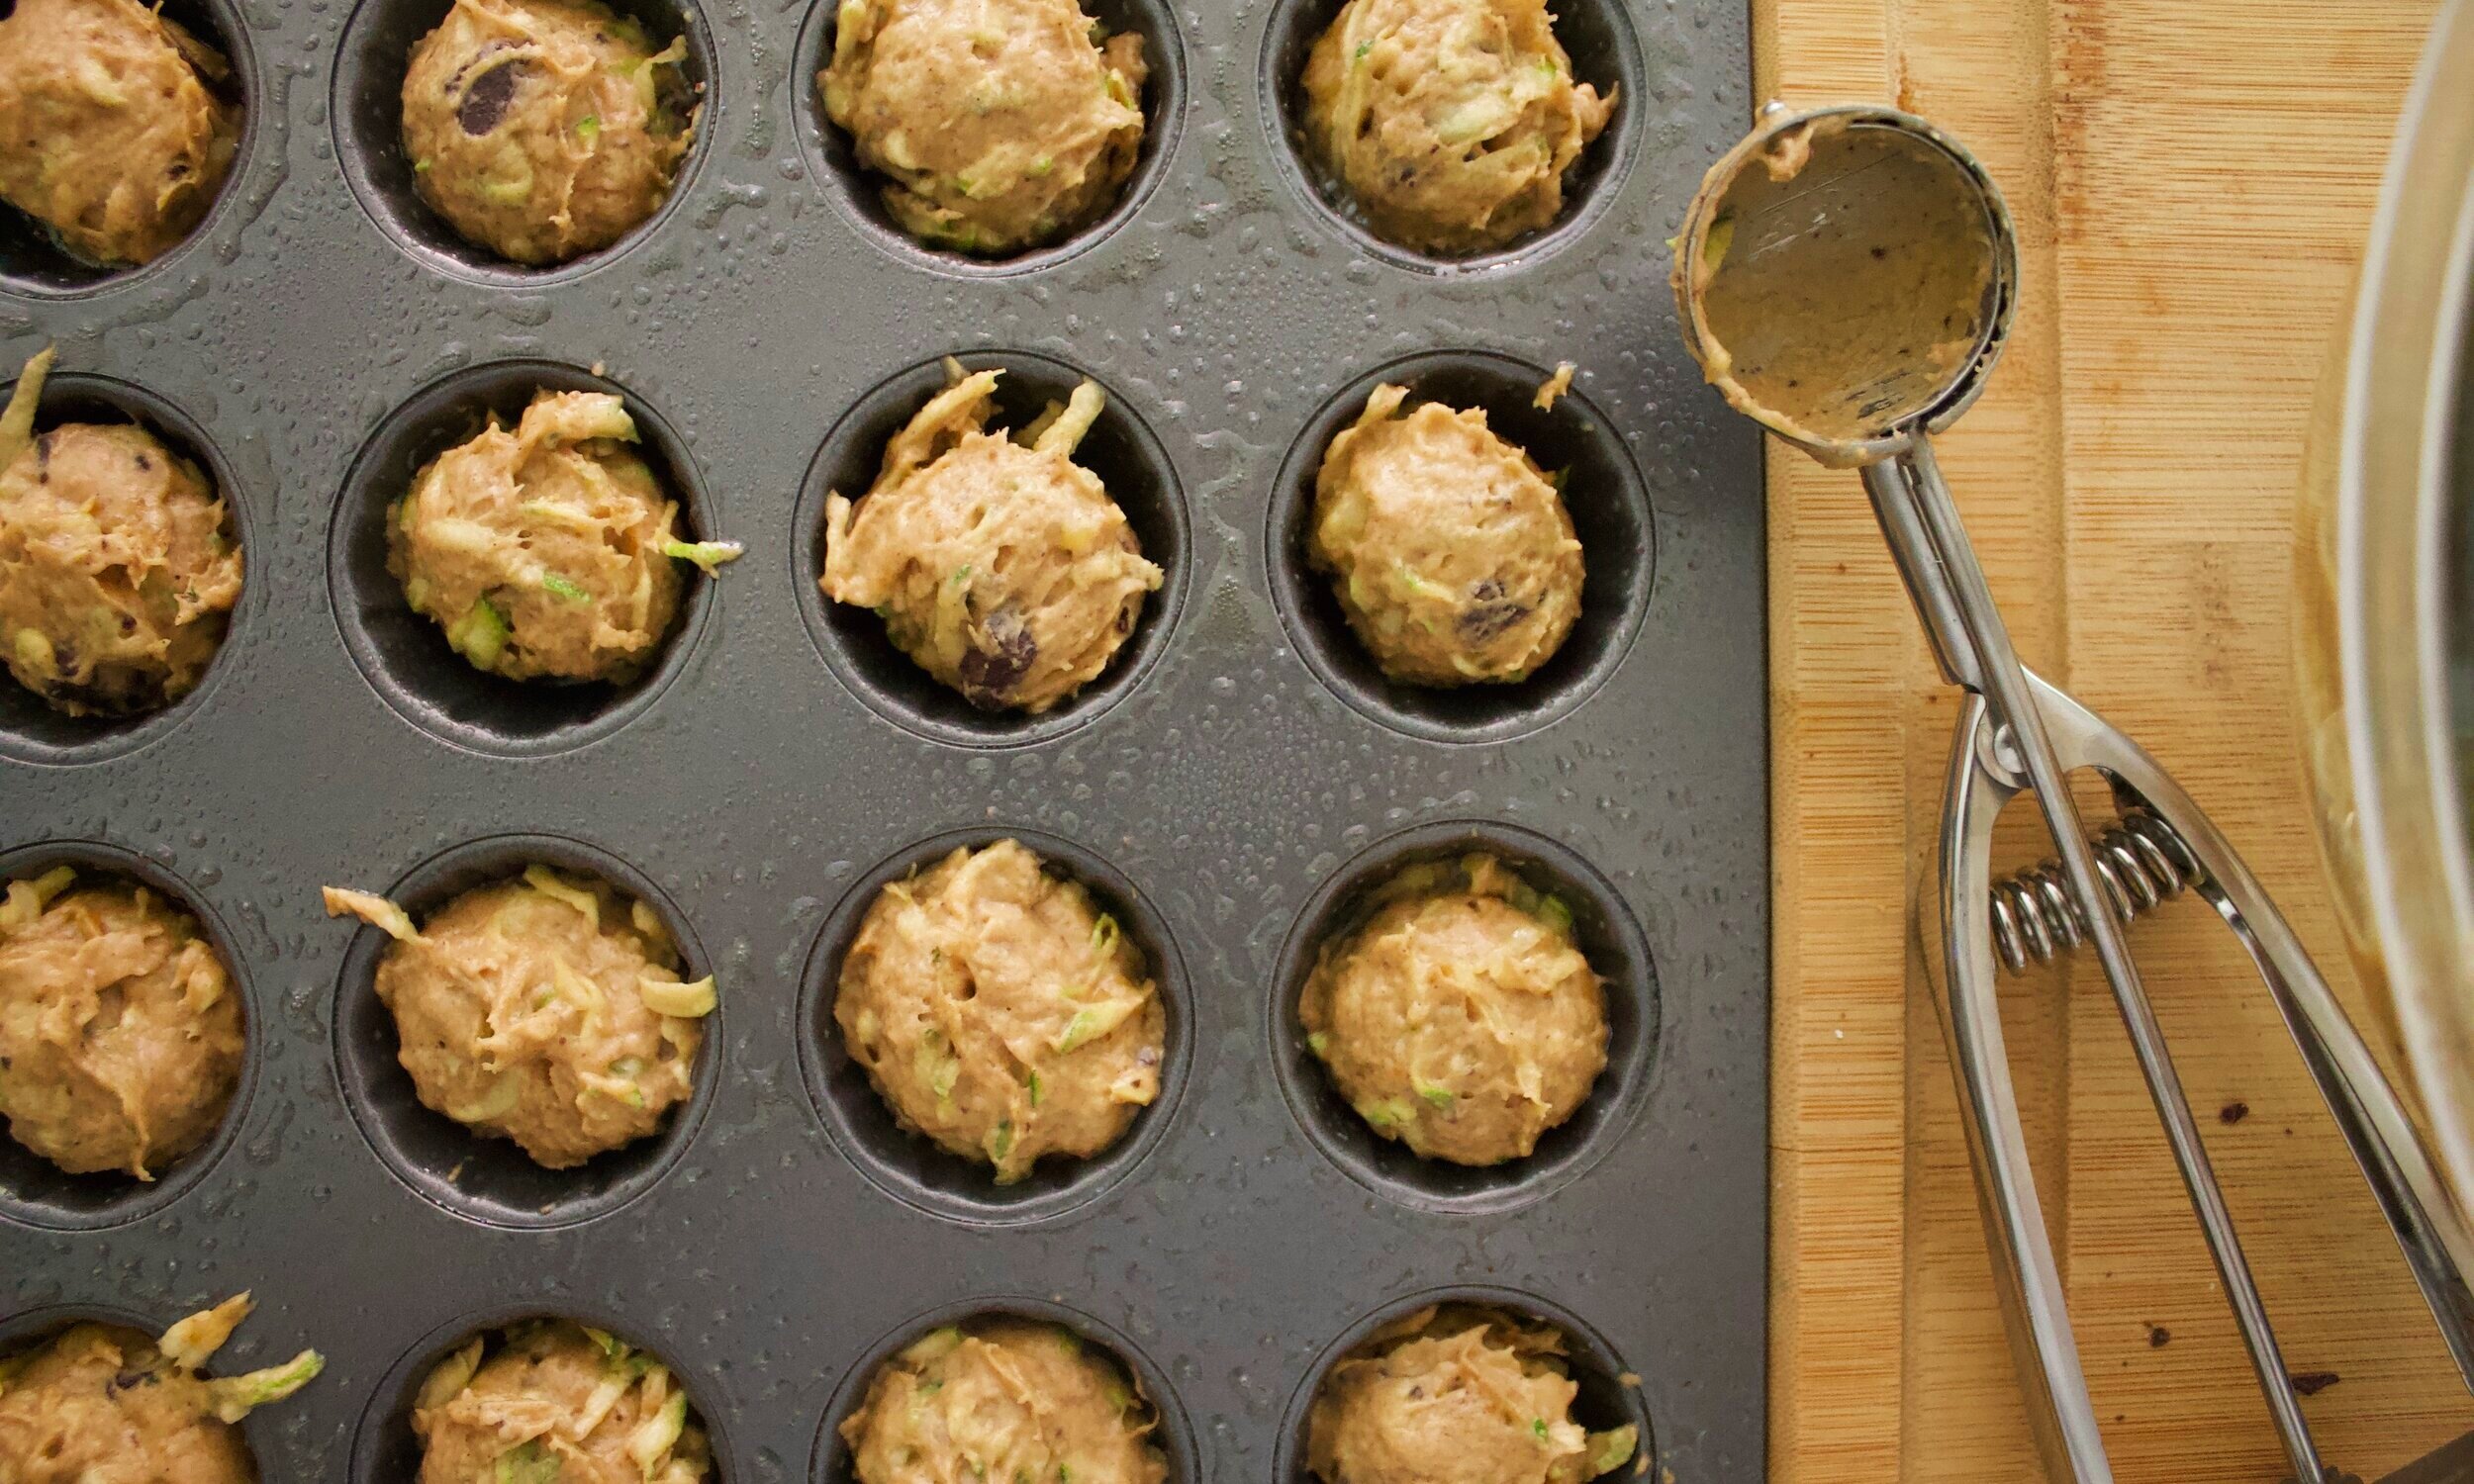
Fill up each muffin cup until they are about ¾ of the way full

Bake in the oven for 15 minutes, then rotate the pan, and bake for another 10-12

The cakes should spring back when touched, and you can always do the toothpick test.

Remove from the oven and allow to cool for a couple of minutes

Carefully, flip the muffin pan over before the caramel becomes too solid and cool

To enjoy, warm up so you have a soft caramel and a warm cake!


Bon Appétit!

IMG_9183.jpg

Zucchini Banana Cakes

Obstacles do not block the path. They are the path.
— Zen Proverb
IMG_8722.jpg

Can we just start by saying that I forgot how much I LOVE adding things like zucchini, banana, and the like to my baked goods?! They are like an instant moist maker (if you know, you know) and I couldn’t be happier! With this recipe, I wanted to see if I could go eggless, just as a fun little challenge for myself—and I was not prepared to fall in love with these little cuties as much as I did!

To me, zucchini cakes and breads are such a summer staple, as zucchinis are truly thriving and, even during this time, they can be found in abundance at the grocery store. At our local shop, they are front and center in the produce section, so naturally, I grabbed way too many of them for our weekly consumption! Then I was like seriously, Katie?! Why haven’t you baked with zucchini yet this season?! And these little bites were born! To go even a step further, I threw in a banana (#quarantinebananabread), subbed the butter for coconut oil (a true obsession of mine), used some coconut sugar (if you haven’t tried this yes, DO IT! Your life will be changed), and, the pièce de résistance, TAZA CHOCOLATE!!

What do I love about Taza?! Uhm well for starters it’s dairy free. Yes, so your girl can eat it with a happy tummy! And there are truly just a handful of ingredients, no added sugar, no added anything, it’s such a nice bean to bar company and I am living for it!! The dark chocolate I used in these babies is unreal! The perfect combination of just a bit bitter with just a bit sweet, so you aren’t having any sugar spikes in these mini cakes! For the glaze? Oh, I went for it and used their coconut chocolate bar. It is so. dang. divine!! We all know your girl loves chocolate, so when I got a big box of both their traditional and nut milk bars, I was on cloud 9!

Anyways, let me come down a bit here! Let’s just end this little bit by saying that 1. They are the perfect size, so popping in a few of these at a time is truly encouraged; 2. My husband loves them—and when he likes something, it makes me even happier!! Mainly so I’m not the only one eating them; 3. These are SO great for summer! Easy to whip up, simple ingredients, take only 15 minutes to bake, what more could you ask for?!

As a lover of all things chocolate and then adding in fresh produce into something as well, I’m SUCH a happy camper—and trust me, you will be too once you stop reading my ramble and get to baking!!


IMG_8660.jpg
IMG_8683.jpg
IMG_8688.jpg
IMG_8691.jpg
IMG_8699.jpg
IMG_8703.jpg
IMG_8725.jpg
IMG_8714.jpg
IMG_8722.jpg

ingredients

Coconut Oil—3.75 oz, or ½ C

Coconut Sugar—3 oz or 2/3 C

Banana—1 medium

Vanilla Extract—1 tsp

Flour—5.5 oz, or 1 C

Baking Powder—¾ tsp

Baking Soda—½ tsp

Salt—½ tsp

Cinnamon—1 tsp

Zucchini, grated—4.75 oz, or 1 C

Oat Milk—1.5 oz, or 3 TBL

Chocolate, chopped—1 bar (2.5 oz)


Chocolate, chopped—1 bar (2.5 oz)

Coconut Oil—1 TBL


process

Preheat your oven to 350˚F.

In a bowl, combine softened coconut oil and coconut sugar, mix until homogenous.

Fold in the mashed banana and vanilla extract.

In a separate bowl, sift together the flour, baking powder, baking soda, salt, and cinnamon.

Gently alternate folding in this mixture and the milk into the banana mixture.

Fold in the grated zucchini and chocolate.

Spray either a mini bundt pan or cupcake pan with nonstick spray.

Scoop this batter until it is ¾ way up the sides of each cup.

Bake for 7 minutes, rotate, then 7 more minutes.

Remove from the oven and allow to cool completely on a cooling rack.

To make the glaze, melt together another TAZA chocolate bar with 1 TBL of coconut oil.

Dip each mini cake into the melted chocolate, allow to set before storing.

These keep wonderfully in the refrigerator, while still very moist due to both the banana and zucchini!


Bon Appétit!

Berry Filled Tea Cake

Happy Spring, y’all!

I hope that it has been as warm, beautiful, and blooming where you are as it has been in Atlanta! While I am still not used to this 80˚F weather in April and now even warmer in May, I must say that I kind of love all of the life it has brought! Cherry blossoms, hydrangeas, gardenias, the list of stunning flowers that are right outside of our little apartment goes on and on. Even beyond that, the farmer’s market season is in full swing, everyone seems to be outside running, walking, and biking, the wonderful months of grilling and margaritas have arrived—ahh can you tell I’m so excited?!

With this just incredible time of the year upon us, I wanted to give you a recipe that is just as light, refreshing, bright and simply sweet to enjoy during these warmer days ahead of us!

This cake recipe below is truly perfect for Mother’s Day, summer brunches, showers, BBQ’s—and that’s all because it is not overwhelmingly sweet. I don’t know about you, but when it’s 85˚ outside with about 90% humidity, there’s nothing I want less than a heavy dessert, which is where this idea came about. I’ve replaced any white sugar or brown sugar with honey and maple syrup, giving it a little bit more of a floral and earthy taste to the cake. From there, I used one of my current favorite teas—Ginger Turmeric—and steeped that in a honey simple syrup for a slight twist and a little kick. Lastly, the “barely-there” cream cheese flavor in the buttercream, combined with some lemon extract gives you that pop of citrus that we all crave in the summer, especially with en entire orange worth of zest in the cake! I took this one step farther and chopped up some fresh strawberries for the filling of this cake, because why wouldn’t you want that?!

Et voilà!

This cake is, to me, as lovely and stunning as all of those amazing flowers outside! It adds a nice fresh touch to any party, brunch, heck, even an afternoon snack if you’re me! With a summer that is sure to be filled with lots of dog snuggles, outdoor adventures, weekend getaways and possibly Sunday mornings when you wake your husband up too early for a “beat the sun” run…this berry filled, tea soaked cake, is exactly what you’ll be craving!

cake ingredients

Milk—4 oz, of ½ C

Canola Oil—3 oz, or ½ C

Honey—4 oz, or 1/3 C

Maple Syrup—3 oz, or ¼ C

Eggs—2

Vanilla Extract—1 ½ tsp

Flour—11 oz, or 2 C

Baking Powder—2 tsp

Baking Soda—½ tsp

Salt—½ tsp

Orange Zest—1 orange


process

Preheat your oven to 350˚F.

Whisk together all of your dry ingredients—the milk, oil, honey, maple syrup, eggs and vanilla.

In another bowl, sift together the flour, baking powder, baking soda and salt. Add the orange zest

Combine the wet and dry, whisking together until just combined.

Prep 2-6” cake pans by spraying with nonstick spray, and then either covering the bottom with a light dusting of flour, or some parchment paper.

Add half of the cake batter to each pan, which should only fill each about halfway.

Put in your preheated oven and bake for 20 minutes, rotating, then another 10.

When fully baked, the center of the center of the cake should spring back nicely when pressed.

Allow to cool completely on a cooling rack until you are ready to assemble the cake.


syrup ingredients

Water—6 oz, or ¾ C

Honey—8 oz, or ¾ C

Tea Bags—4

Salt—small pinch


process

In a small saucepot, combine the water and honey; bring to a light boil, just so that the honey dissolves into the water.

Remove from the heat and steep your tea bags anywhere from 15-30 minutes, depending on how intense you want this honey-tea syrup to be!

*Note: I used a Ginger Turmeric tea for this recipe—it is quite subtle but adds a great warmth and spice to the sweet syrup, but the options are endless!*

Once you remove the tea bags, add the salt.

Allow to cool completely before using it on your cake!


buttercream ingredients

Butter (room temperature)—10 oz, or 1 ¼

Cream Cheese—4 oz, or ½ C

Vanilla Extract—1 TBL

Lemon Extract—1 tsp

Milk—1 oz, or 2 TBL

Confectioner’s Sugar—27 oz, or 5 ¼ C


process

In the bowl of your mixer, using the whisk attachment, cream together the butter and cream cheese until verrryyyy smooth and creamy—this should take you a good 5-10 minutes depending on the consistency of the butter.

Once smooth, slowly add in the sifted confectioner’s sugar, scraping down after about every cup added.

When all the sugar has been added and the bowl has been scraped down, add in the vanilla and 1 TBL of the milk.

Mix and scrape.

Add in the second TBL of milk.

Turn your mixer on about medium-high so that your buttercream becomes nice and fluffy.

Now it can be used to finish your cake!


assembly

When your cake has completely cooled, trim the tops off of both cakes so that they are flat.

Using the syrup that you made earlier, brush a healthy amount on each cake layer, specifically the side that you just trimmed off—this will keep it nice and moist the longer that it sits!

Using either a plate or a cake turntable, evenly spread on your buttercream—I do about ½” for the center.

*Optional: you may put fresh fruit in the center for even more flavor—I have used strawberries here!*

If you opt to put fruit in the middle, press it down to make sure that it is in place, and you may even want to add more buttercream over the fruit to secure it even more.

Now place the other cake layer, syruped side down, on top of the fruit, buttercreamy center you just created.

Place a good dollop of the buttercream on top and spread a thin, even layer. Do the same with the sides—this doesn’t have to be perfect, and it may have crumbs in it, it is just a base coat!

Place this “crumb-coated” cake in the fridge to firm up for about 20-30 minutes.

Once your outside layer has set just a bit, it’ll be easier to spread on more buttercream, this time there will be no crumbs that get in your beautiful frosting job!

When you have applied the second coating of buttercream and are satisfied with how absolutely beautiful and yummy it looks, decorating it however you wish—I used some dried orange peel that I had kicking around—you may cut into it and enjoy!

At this point, like me, you may have almost forgotten about the surprise of fresh fruit inside—and this, plus the syrup keeps the cake tasting extremely moist!


Bon Appétit!

Orange Cornmeal Cakes with PB Chocolate Buttercream

After a much needed break (AKA my job was basically forcing me to take daily afternoon naps…ask Roberto, he’s come home to me asleep more times than I can count), KBB is back in action!

While I knew that this incredible baking job that I started back in November would be hella rewarding, I did not think that would still be struggling this bad with the 2:30am wake-up time! We allllll know that this girl LOVES the morning, I mean, I was waking up to do marathon training runs at 4am last summer, but to actually think at 4am is a totally different ballgame!

Anyways! No one really needs to hear me rambling on and on and on…

I hope that everyone had an eventful few months—even though January-March have never been my favorite of the year, at least they’re just about over and we can focus on the best ¾ of the year!!

Hi Spring! Hi Summer! Hi Fall!

So, as we get into the most lovely, colorful, fully in bloom months, I have learned that here, in Atlanta, Spring isn’t exactly what I’m used to. To me, it’s rain, then SO MANY FLOWERS, cool mornings, mild days…but oh no, it was 85˚ this week…it’s still March. Ahh, at least there’s already beautiful tulips all over! Another plus to this wildly early summertime weather? Farmer’s Markets! They all begin April 1st! What?! YES!

The bakery I work at is all about dem markets, meaning 3 days a week you can see us Lil’ Tarts representin’ our baked goodies around the city! Woo! Bring on busy season from April-December, I’m ready—insert muscle emoji here.

Oh…but this isn’t just a blog where I chit chat for 3 pages, it’s actually about baking. And recipes. And slightly interesting content. So, while I mayyyyy have been MIA (or asleep) for that past few months, at least I came out of hibernation with this bomb recipe—a not-too-sweet cake with a surprise filling and an irresistible frosting!

As (I hope) you all know, my cornbread is amazing. I’m not one to toot my own horn, but, like, it’s so good that I normally eat about half of it, mainly sneaking bites so that I don’t get that girl, are you going to leave me any?!?! look from my darling husband! Now this may be the next best idea I’ve had aside to my cornbread—turning it into CUPCAKES! Whaattttt. Dessert cornbread you say?!

As it warms up, my sweet tooth goes down ever so slightly just because I’m too hot to consume anything that’s not butter lettuce, a green smoothie, popsicles and cold, cold pizza. Okay, sort of exaggerating but you get the idea, right? I came up with this subtly sweet dessert for moments just like described above, and it helps that it’s packed with orange zest to give a refreshing element to it! Hmm, how can we make it even better? Adding a Maine blueberry jam to the center? OKAY! Last, but not least, I had to add something chocolate, because, come on, it’s me…who are we kidding, right?! So all of this goodness is topped with a chocolate peanut butter buttercream…excuse me while I go scarf one down.

So, as I came up with this ingenious idea to turn my cornbread slightly sweeter and force it to become a cake, I’ve also accepted the fact that it’s going to be a bit hotter than I’m used to for a lot longer than I thought possible, but, hey! Give me a box of popsicles, maybe a pint or two of Ben & Jerry’s and these cupcakes that are bursting with citrus, jam and chocolate, and I think I’m on board!

Yield: 1 dozen cupcakes

cornmeal cake ingredients

Brown Sugar—4.25 oz, or ½ C

White Granulated Sugar—2 oz, or ¼ C

Flour—4 oz, or ¾ C

Cornmeal—2 oz, or ¼ C + 2 TBL

Salt—1 tsp

Baking Powder—1½ tsp

Cinnamon—1 tsp

Orange Zest—1 TBL, or 1 large orange

Eggs—1

Milk—4 oz, or ½ C

Olive Oil—2.25 oz, or ¼ C


process

Preheat your oven to 350˚ F.

In a large bowl, combine both sugars, the flour, cornmeal, salt, baking powder and cinnamon.

In another bowl, whisk together the egg, milk, olive oil and orange zest.

Add the wet ingredients to the dry, mixing until just combined.

Like a 12-count cupcake pan with liners.

Fill each up about 2/3 of the way.

Optional: sprinkle with coarse turbinado sugar for a nice crunch/texture before you bake.

Put in your preheated over for 12 minutes, rotate, then another 15 minutes.

Allow to cool completely before frosting them!


peanut butter chocolate buttercream ingredients

Peanut Butter—2.25 oz, or ¼ C

Butter (room temperature)—2.5 oz, or 5 TBL

Confectioner’s Sugar (sifted)—6.25 oz, or 1 ¼ C

Cocoa Powder (sifted)—1.25 oz, or ½ C

Milk—2 TBL

Orange Extract—½ tsp

Vanilla Extract—1 tsp


process

In the bowl of your mixer, cream together the butter and peanut butter until very smooth.

While this is creaming, sift together the confectioner’s sugar and cocoa powder.

In another measuring cup, combine the milk and both extracts.

Once your butters are nice and smooth, slowly add half of your sifted ingredients.

Scrape down the sides of your bowl.

Add in half of your wet ingredients.

Add the final amount of confectioner’s sugar and cocoa powder, then the remaining milk/extracts.

Scrape down the bowl.

Turn your mixer up to about medium speed and allow to whip for a good 10 seconds, making your buttercream smooth and fluffy.

Once your cupcakes have cooled completely, you may use this to frost with!


assembly

As this first step you may omit, I highly recommend that you don’t!

First, using a paring knife, cut out small little cones out of the center of each cake.

Fill them with jam—I have used a Maine blueberry jam, but any kind will work! I find that orange + blueberry complement each other oh so well!

Once each center has been filled, use either just an offset spatula or piping on a nice dollop of buttercream using a round tip, to both completely cover the jam as well as add a good 2 TBL of it on top!

This can be as messy or as clean as you’d like—all depending on your technique and preference!

I have used a medium-sized round tip in my pastry bag to cover the jam with the buttercream, and then also to put enough on before spreading out with the offset.

Finish with any type of sprinkle or sugar that you’d like, or just leave plain as is!


Bon Appétit!

Candy Cookie Cake

Happy Halloween, my friends!

What are your plans?! Trick-or-treating? Passing out candy? Ridiculous parties? Or, if you’re like me, you'll be devouring all of the candy you had to buy, knowing that no one will come up to your apartment door ringing the bell…

Yes. That’s me. I can’t resist the candy aisle for any holiday, and when you can get an assorted bag of all of the best mini-size chocolates, you go for it! As a chocolate-obsessed gal, I just can’t help myself and I’m not ashamed. Funny story—I recently did a small “about me” for my job’s website and had to write about my favorite foods…all I could think of was, well, chocolate…

Yes, Katie’s favorite food is chocolate…who am I?!

ANYWAYS! Back to this glorious cookie cake. As I mentioned in my post here, cookie cakes are just like a dream of mine—and I always am tempted to buy one when walking past Mrs. Fields. So, of course, challenge accepted, and I had to make this, especially since I’m trying to use the pounds of Halloween candy that I bought so I don’t binge eat it every night.

I also feel like, if I was to get actual Trick-or-Treaters and if handing out baked goods was acceptable, this would be the most incredible treat ever!! Like, oh yeah, if you go to Katie’s house, you can get slices of a cookie cake that is stuffed with candy…basically a 2 for 1! Ahh in my wildest dreams…

AND what I love so much about this is that you can put anything you want in it—yum! I mean, Kitkats, Twix and Snickers are the best chocolates to choose, but I won’t judge if you chose something a little less exciting and wonderful. So, if you’re like me and you bought way too much candy, this is a perfect way to use it! Bake up a few of these cakes, invite over some friends, watch Hocus Pocus, or even Saw, drink so wine—really there’s nothing you can do wrong with this candy-filled cake. While I do sometimes miss the weeks of costume making and end up wearing basically a black dress with cat ears, this new tradition I have of putting on big sweats and stuffing my face with candy and wine (maybe “Crazy Dog Lady” is this costume?) is something that I can get on board with!


cookie ingredients

Butter—4 oz, or ½ C

Brown Sugar—3 oz, or 1/3 C

Sugar—1 oz, or 2 TBL

Eggs—1

Vanilla—½ tsp

Flour—6 oz, or 1 C

Salt—½ tsp

Baking Soda—½ tsp

Halloween Candy, chopped—3 oz, or ¾+ C


process

In the bowl of your mixer, cream together the butter and sugars until light and fluffy.

Add in the egg and vanilla.

Sift together the flour, salt and baking soda. Slowly add this into your creamed mixture.

Scrape down the sides of your bowl.

Add in your chopped candy (reserve a small handful)—whatever you like best!

In terms of Halloween candy, I chose chocolate because, to me, that goes yummiest with this cookie cake! From there, pick your favorites. Mine happen to be Twix, Snickers and Kit Kats, but the candy aisle is your oyster!

Spray a spring form pan or a tart pan with nonstick spray.

Press the cookie dough in the pan, leaving about ½ an inch around the edge so that the cookie can spread slightly.

Sprinkle the remaining chopped candy on top of the cookie dough.

Refrigerate for at least 30 minutes so that it will firm up.

When you are ready to bake, preheat your oven to 350˚ F.

Bake your cookie cake for about 20 minutes, until the edges are slightly golden.

The center may look underbaked, but it will finish baking from the heat of the pan outside of the oven.

Allow to cool completely before decorating!


buttercream ingredients

Butter—2 oz, or ¼ C

Shortening—0.5 oz, or 1 TBL

Confectioner’s Sugar, sifted—5 oz, or 1 C

Cocoa Powder, sifted—0.5 oz, or 2 TBL

Milk—0.5 oz, or 1 TBL


process

In the bowl of the your mixer, cream the butter and shortening until smooth and fluffy.

Sift together the confectioner’s sugar and the cocoa powder.

Slowly add this into the mixer, scraping down the sides when necessary.

Add the milk in about a teaspoon at a time—you may need more if you want it a little creamier.

Scrape down the sides of the bowl, and then turn the mixer up to medium-high to give the buttercream a nice, final whip.


When your cake is completely cooled, you can begin to decorate with the buttercream!

Put it into a piping bag with whichever tip you’d like to use—a star tip will make nice rosettes or a rope, but it’s whatever look you’re going for.

Pipe around the outside boarder, decorate with some sprinkles or some more candies of your choice, and devour!


Bon Appétit!