Banana Pumpkin Oat Bars

What did you do as a child that created timelessness that made you forget time? There lies the myth to live by.
— Joseph Campbell
IMG_9012.jpg

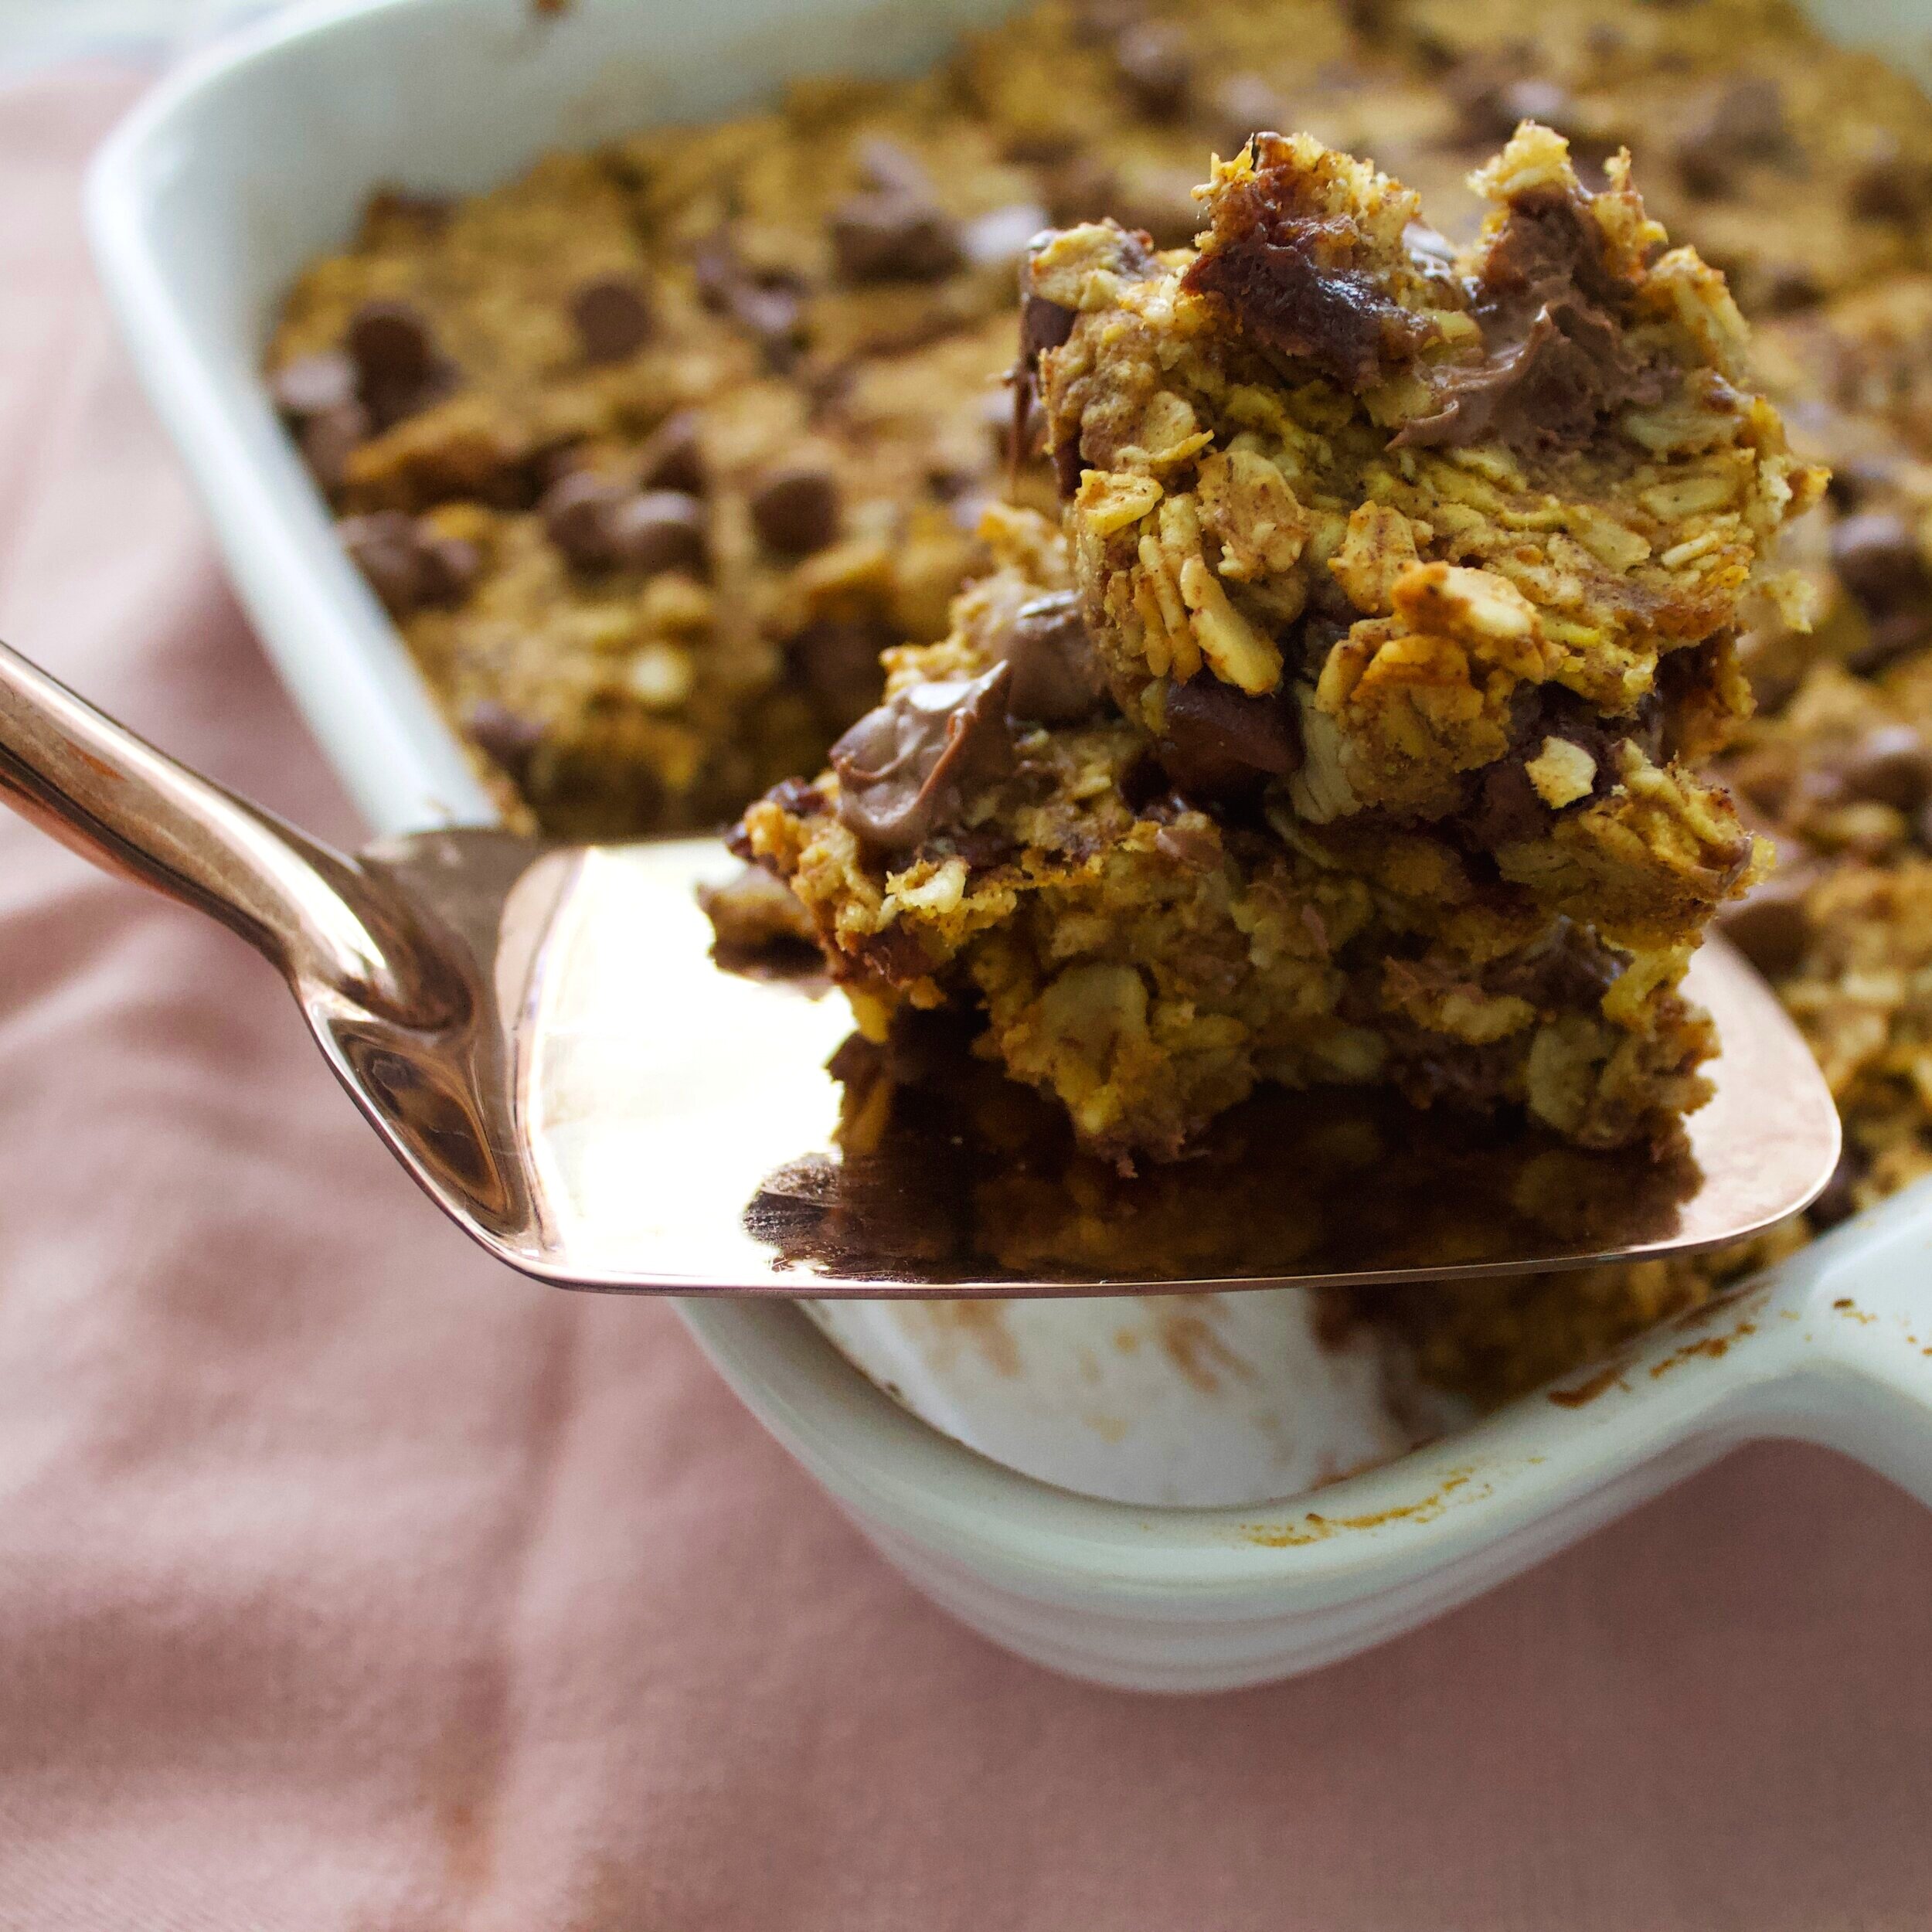
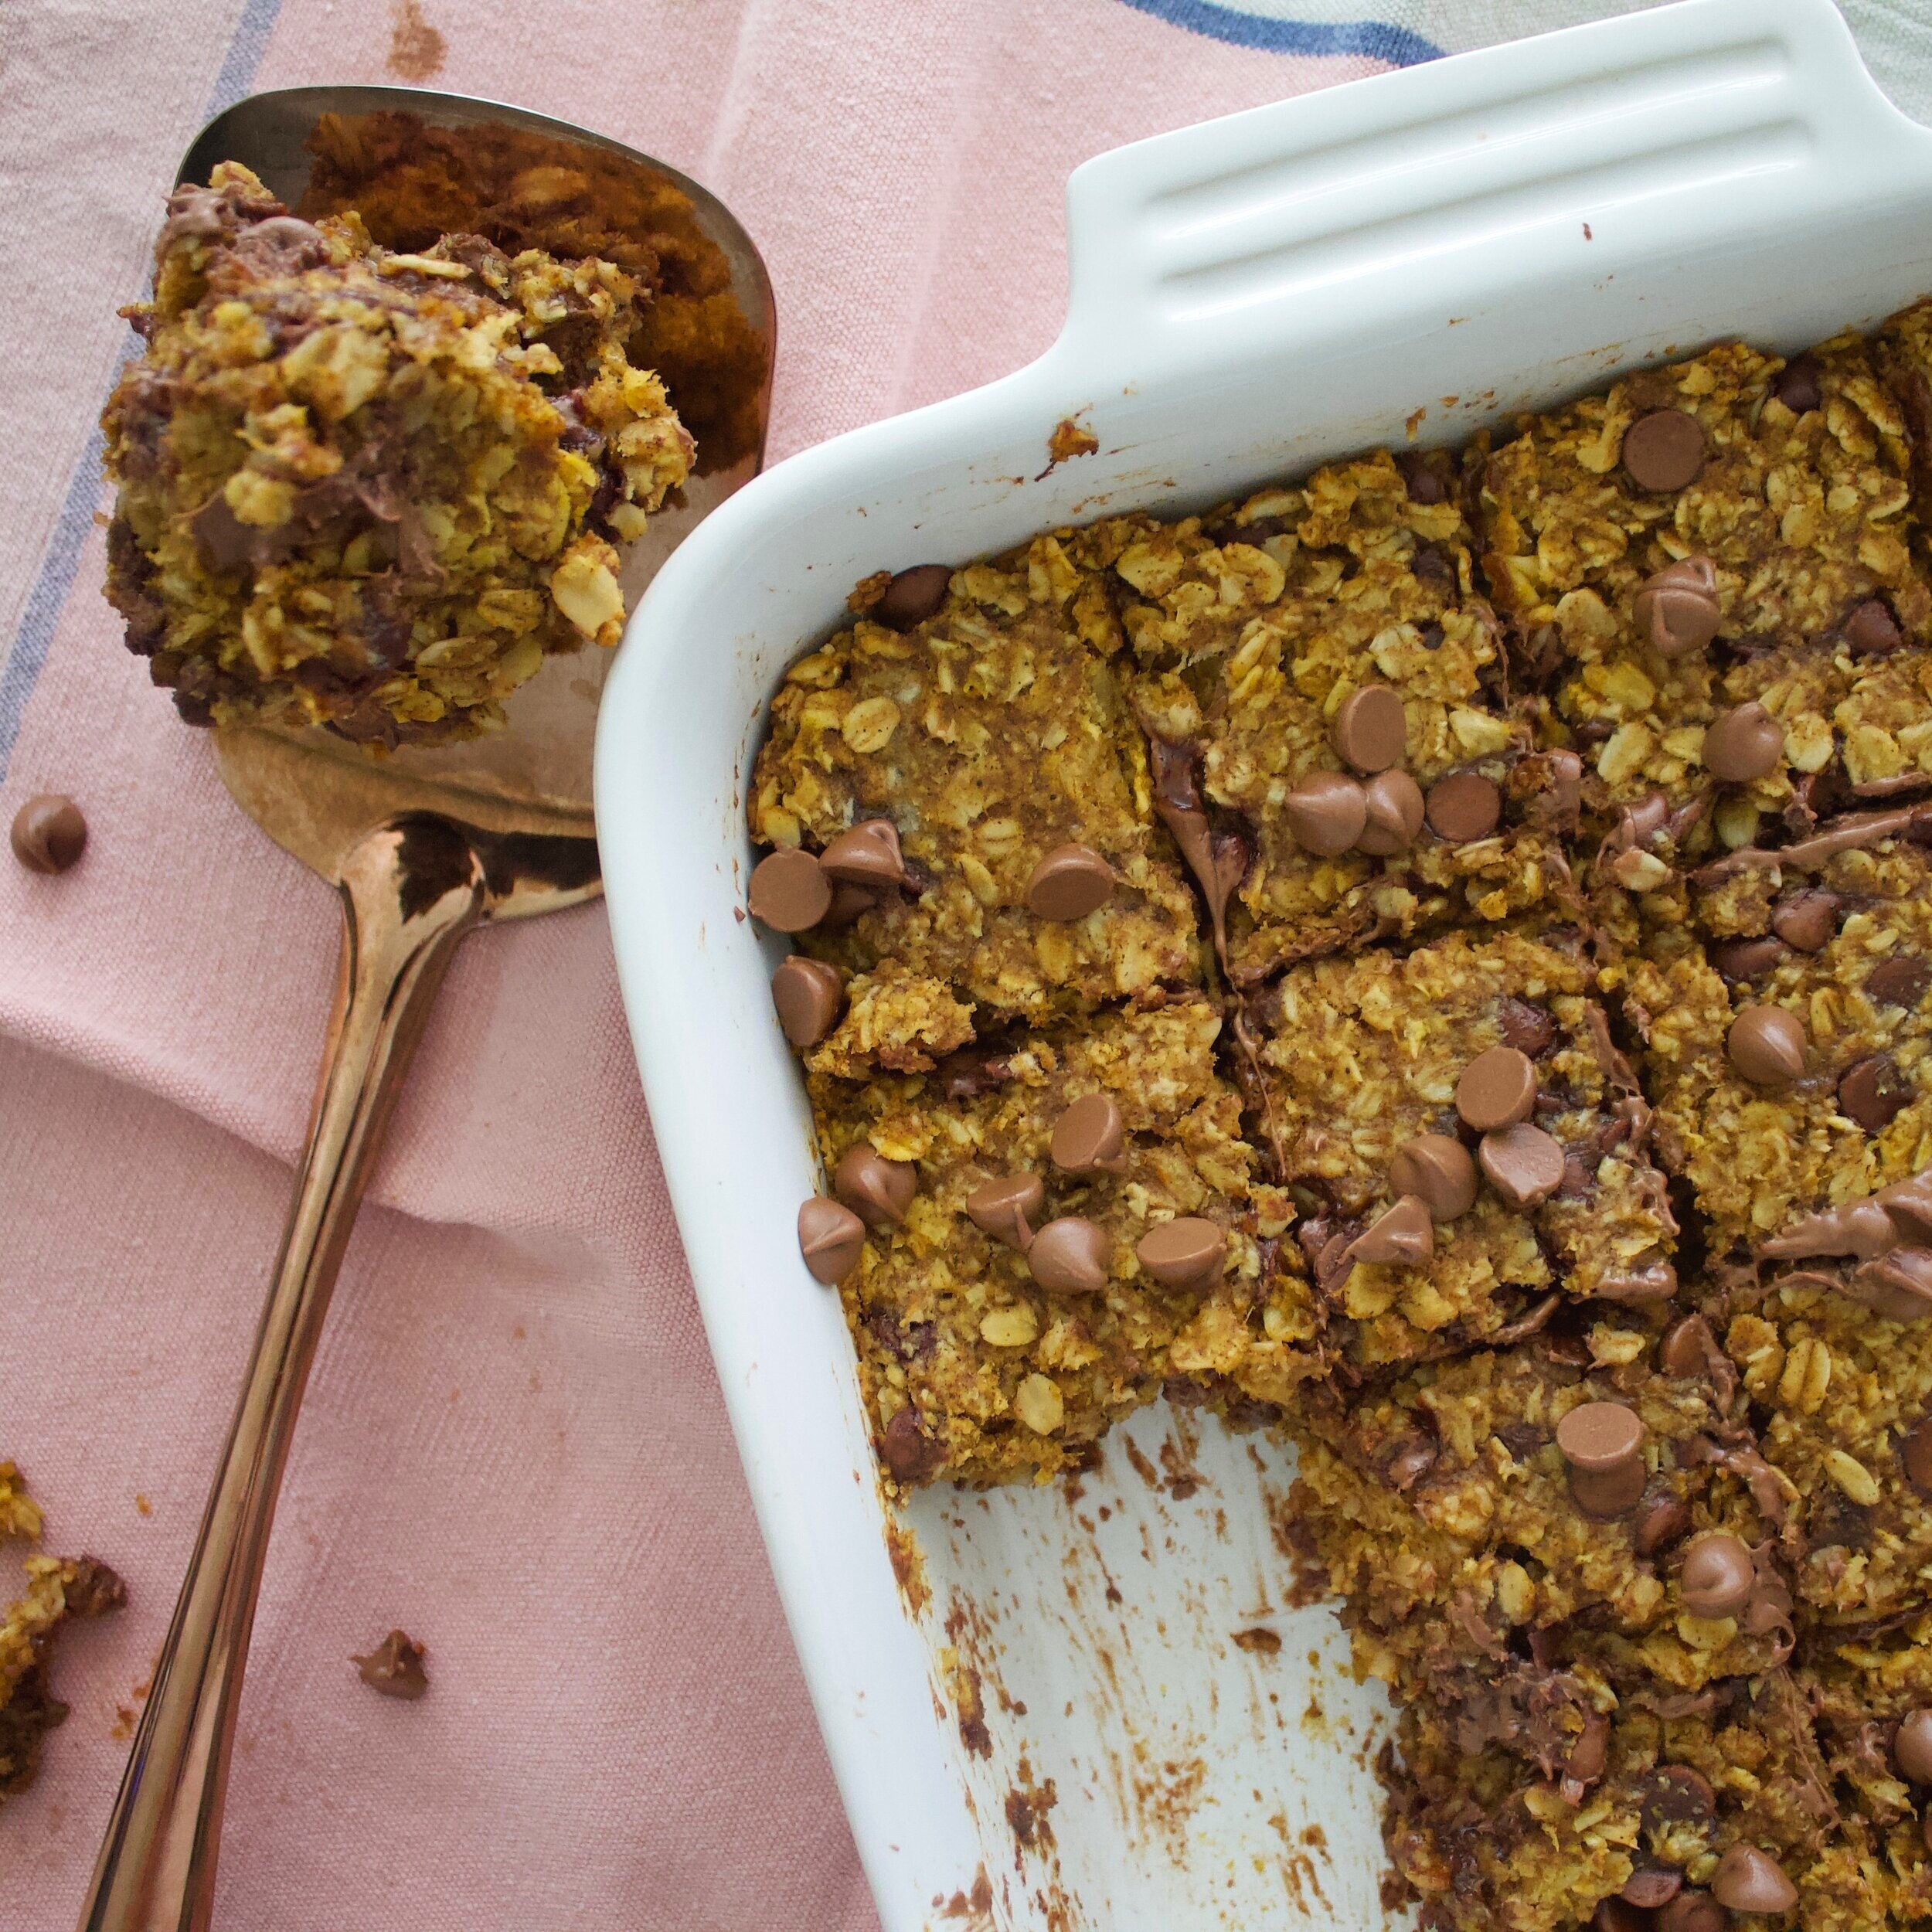
I figure one pumpkin recipe is a must for the start of each fall, so here you go! A [basically] raw dessert that’s packed full of spice, oats, pumpkin and chocolate—how can one go wrong here?! Ya can’t.

I have been seeing this meme a lot lately about how blogs go on and on in the intro about their personal life when all you want is the damn recipe…this hit hard for me because that’s exactly what I do! Anyways…I’ll try to make these intros short and sweet, but I mean, I also love to spill my thoughts here, so you get what you get!

Back to the excitement of these bars! If you haven’t caught on yet, my entire world changed 8 months ago when little O was born! Do I have less time to do things? Sure. Am I always running after him now and making sure he doesn’t eat the dog food? Of course. Do I love every dang second with this guy? Hell yes! Even though my life is quite different now that I have this wild boy, I didn’t want to just STOP baking. I want him to be that kid whose mom makes the best dessert that his friends get excited about coming over for! Duh. But now I need to do things at DOUBLE SPEED. His naps are becoming less and less as he gets older and his ability to just stay in one spot is nonexistent! Which is why I’m about #quickbaking for us parents!

These bars take 5-10 minutes to throw together, or if you have a baby who is trying to eat all of the dirt in your potted plants, it may take you about 20. From there, throw these babies into the oven for about 25 minutes and BAM! you’ve got the gooiest, perfectly sweet lovely little snacks.

Super allergen friendly if that’s something you’re worried about, too! Gluten free, vegan (if you think honey isn’t vegan, sub that for agave or maple syrup!), nut free! They aren’t over-the-top sweet which is my jam these days, they have the PERFECT flavor of pumpkin, of spices, of chocolate—honestly, they blow all other pumpkin desserts and snacks out of the water!

IMG_8982.jpg
IMG_8984.jpg
IMG_8991.jpg
IMG_8996.jpg
IMG_9002.jpg
IMG_9005.jpg
IMG_9012.jpg
IMG_9018.jpg
IMG_9021.jpg

 ingredients

Oats—12 oz, or 4 C

Baking Powder—1 tsp

Cinnamon—2 tsp (heaping)

Nutmeg—1 tsp

Ginger—1 tsp

Cloves—½ tsp

Salt—1 tsp

Pumpkin purée—8.5 oz, or 1 C

Banana, mashed—1 small, or ½ large, about 3.5 oz

Coconut Oil, melted—2.75 oz, or 1/3 C

Honey—4 oz, or 1/3 C

Chocolate Chips—8 oz, or 1 C


process

Preheat your oven to 350˚F

In a large bowl, combine your oats, baking powder, cinnamon, nutmeg, cloves, ginger and salt

Mix to combine

Mix in the pumpkin purée and mashed banana

Add the melted oil

Fold in the chocolate chips

Put into an 8” x 8” baking pan

Bake for 22-25 minutes, until the center looks set

Allow to cool either at room temperature or in the refrigerator for at least 30 minutes

Cut into squares, I did 16 for this batch

Store in a sealed container in the fridge!


Bon Appétit!

Dairy Free Chocolate Truffles

Love is the bridge between you and everything.
— Rumi
IMG_8593.jpg

Since having Oliver, I have truly found that there is nothing I love more than a quick snack, especially one that I can also enjoy as a dessert!

Could I take the time to make something that takes me hours and is super complex? Sure! Do I want to? No! Like I’ve mentioned, I cannot wait until Oliver is old enough to help me in the kitchen (if he wants to, of course!), so maybe I will feel more inclined to spend over an hour+ baking. For now, I like things short and sweet! I get the bulk of my things done while he is napping, which now we are lucky if he naps 3 times per day! When he’s up, it’s constant playing, reading, going for walks, bouncing, swimming, eating…the list goes on and on! If I really need to get something done or take a break myself, sure, I will put some Moana on for a few minutes and he is SO fine just zoning out to watch them. And, who am I kidding, I’m all about it, too!

About a week ago, during a nap, I tried to make the oh-so-popular energy balls/bites, what have you and they tasted like SAWDUST. I actually thought I was going to choke with how bad they were! Must husband took 1 bite and gladly passed. Nothing helped them go down easy, so they went right in the trash! This week, I didn’t want another dry, choking hazard recipe, so I made sure to add in something other than just coconut oil to bind the nut flour. BOOM. Got it!

Nut butter for the win!

Once I perfected the recipe and ate probably half of the dough, I knew it was a winner. These babies taste like chocolate truffles!! They’re rich, creamy, satisfying, while also dairy free (!!), vegan (!!), and just SO DANG GOOD. As always, they’re nice and quick. They can be a dessert, an afternoon pick-me-up, a pre-workout energy bite—these babies have some range, let me tell you! So, while we are still all at home, spice up your date nights with them, give yourself a boost with them, treat yo’self with a few while you watch a movie on a wild Friday night, just be careful because these are ADDICTING!

IMG_8568.jpg
IMG_8573.jpg
IMG_8577.jpg
IMG_8579.jpg
IMG_8589.jpg
IMG_8595.jpg


ingredients

Almond Flour—4.25 oz, or 1 C

Nut Butter—4 oz, or ½ C

Dates, pitted—8

Cocoa Powder—1.5 oz, or ½ C

Collagen Powder—2 scoops

Salt—1 tsp

Cinnamon—1 TBL

Vanilla Extract—1 tsp

Coconut Oil, melted—2 oz, or ¼ C

Chocolate Chips—2.25 oz, or 1/3 C


process

In the bowl of your food processor, with the blade, combine the almond flour, nut butter**, dates, cocoa powder, collagen, salt, cinnamon and vanilla extract.

Pulse until combined.

Once combined and with the food processor on, stream in the coconut oil. Stop when all combined and forms a ball.

Add in the chocolate chips and pulse for 5-10 seconds.

Take a small scoop and scoop out the dough, placing them on a parchment lined tray or a Silpat.

Place in the refrigerator to firm up a bit.

This part is optional, but so worth it! Melt either some chocolate or nut butter, drizzle on top of the set truffles, sprinkle with salt.

Allow to set again in the refrigerator.

Once set, can all be stored together in an airtight container in the fridge.

**For the nut butter, I did a combination of peanut butter and almond butter, as I find that peanut butter can be VERY sweet! The combination here is great, it doesn’t overpower any of the chocolate in these bites, or make them overly sweet, either! Of course, all peanut butter, or any other nut butter, is perfectly fine!**


Bon Appétit!

Granola Brownies

Be the change you wish to see in the world.
— Mahatma Gandhi
IMG_8563.jpg

Did you know that brownies seem to be the most difficult thing for me to make? I have tried what seems like a million recipes and they’re either too dry, not enough flavor, too cakey, I can’t seem to get it right. Until now! I finally did it! Sure, it took me a couple of tries, but we now have the most perfect brownie. They’re moist and dense, which is, honestly, just what I wanted. I’m quite surprised that I continued to test out recipes for these babies, but as a brownie is basically a STAPLE baked good, how could I not?!

And so once I got these amazing single-nap brownies finished, I figured why not use up another of Oliver’s naps to take them to the next level?! Yep. I measure everything in naps. How many naps does it take for me to get in my workout? About half of one. How many to clean to house? A full nap. How many to make these granola stuffed brownies? Two whole naps! For a baby who naps 3-4 times per day, I’ve become a pro at using up every second of them - even if it means I’m napping during one of those, too!

If you haven’t had them already, these toasted oat raw granola bars are the best things on the PLANET. Like, I try to have our freezer full of them whenever possible! So, I decided to use the same idea but make a granola layer on top of these brownies, then just throw on some more chocolate after that! I will say these are probably some of the best things I’ve made. They’re so thiccc and decadent. Oh my. The brownies have coffee and orange zest in them (you’re welcome for this combo), then a nice peanut butter granola, all covered in chocolate. These are a TREAT for sure! Wholesome ingredients, rich flavor, I’ve outdone myself with these 2-nap brownies!

IMG_8531.jpg
IMG_8538.jpg
IMG_8540.jpg
IMG_8561.jpg
IMG_8556.jpg
IMG_8554.jpg

brownie ingredients

Butter—4 oz, or 1 stick

Coconut Oil—3.5 oz, or ½ C

Coconut Sugar—2.5 oz, or ½ C

Coffee, ground—1 TBL

Orange Zest—from 1 orange

Eggs—2

Coconut Sugar—5 oz, or 1 C

Flour—7.5 oz, or 1 ¼ C

Salt—1 tsp

Baking Powder—½ tsp

Cocoa Powder—2 oz, or 2/3 C

Chocolate Chips—5.5 oz, or ¾ C


process

Preheat your oven to 350˚F.

In a small saucepot, combine the butter, coconut oil, first amount of sugar (2.5 oz) and coffee. Melt on the stove until the oils are melted. Set aside

Whisk together the eggs, orange zest and second amount of sugar (5 oz) until just combined. Set aside.

In a large bowl, sift together the flour, salt, baking powder and cocoa powder.

Slow add the melted oil mixture and egg mixture into the dry. Fold together with a spatula until just combined—you do not want to over mix!

Fold in the chocolate chips.

Pour brownie batter into a 9”x9” baking pan.

Bake for 28-30 minutes.

Allow to cool completely before going to the next steps.


granola ingredients

Oats, toasted—5.25 oz, or 1 ½ C

Peanut Butter—6.5 oz, or ¾ C

Honey—3.5 oz, or 1/3 C

Salt—½ tsp

Vanilla Extract—½ tsp


process

In an oven preheated to 350˚F, toasted your oats for about 10 minutes.

Once out of the oven and cooled, mix your oats with the peanut butter, honey, salt and vanilla until all of the oats are covered and the mixture is homogenous.

Spread this over the top of your cooled brownies.

Put in the refrigerator to firm up while you do the next step.


chocolate topping ingredients

Chocolate Chips—6.25 oz, or 1 C

Coconut Oil—1 TBL


process

In a heat proof bowl, melt together the chocolate and oil in either the microwave or over a double boiler until smooth.

Pour over the top of the oat layer.

Chill in refrigerator until set, cut into squares.


Bon Appétit!