Coconut Chocolate Tart

When you get to a place where you understand that love and belonging, your worthiness, is a birthright and not something you have to earn, anything is possible
— Brené Brown

I believe I say this with each recipe, but dang, this gf/df coconut chocolate tart is making mama proud this week!

As I (think?) mentioned, your girl has joined the dairy free club! I always insisted that I just ate too much whenever I was getting sick from ice cream, pizza,  lattes ... but guess what? I stopped consuming dairy and BOOM! my stomach issues are almost nonexistent!

I'm sure that story was so whatever to y'all, but sometimes I just need a disclaimer, okay?!

I'm currently transitioning my life to a place that I want, not what annnyyyyone else wants, and it feels SO damn good. See that quote up at the top? Yeah, we're all worthy of every single happiness and we need to stop tricking our minds to think otherwise. It breaks my heart that I was really self-sabotaging, I was telling myself I had to do x, try y, be z all for every. one. else. Then these past few months I said screw that, get your booty back into school because you want to, make a decision for your career that's going to make you happy, join that kickboxing gym you've had your eye on for months because it'll make you feel like a badass (and hopefully become one soon enough!). I was tired of letting my anxiety control my life - no one's letting that happen but me!

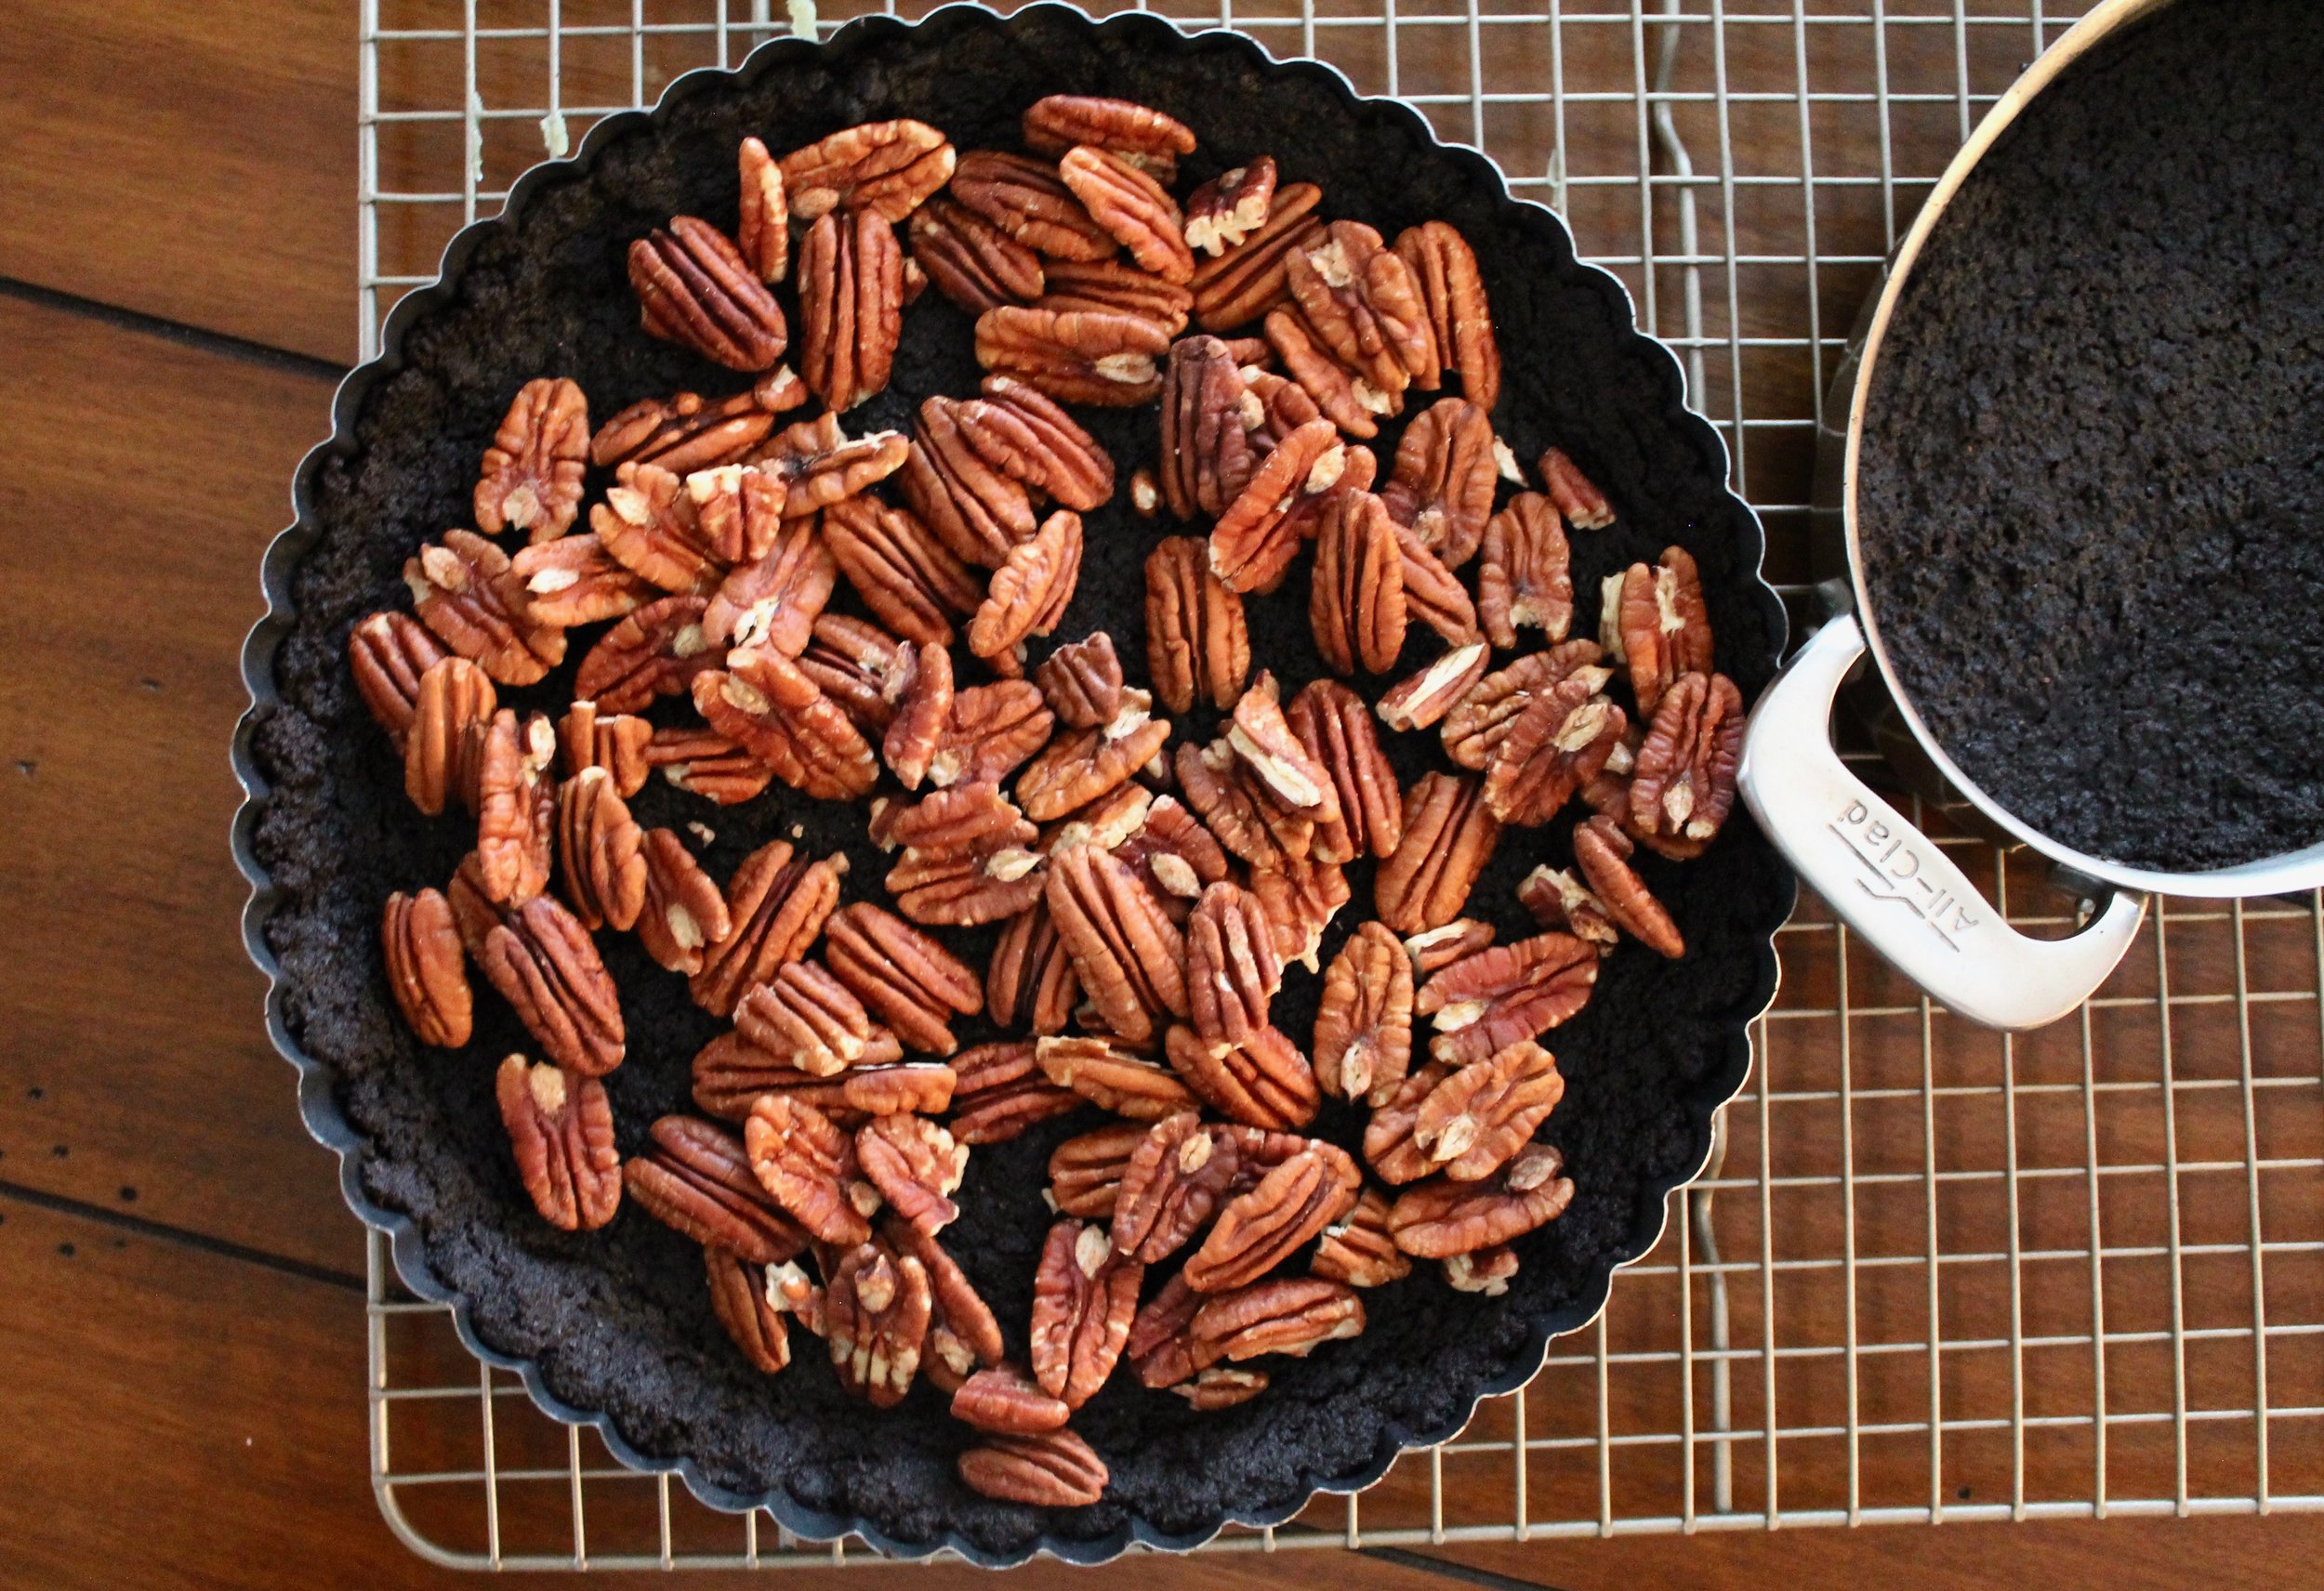
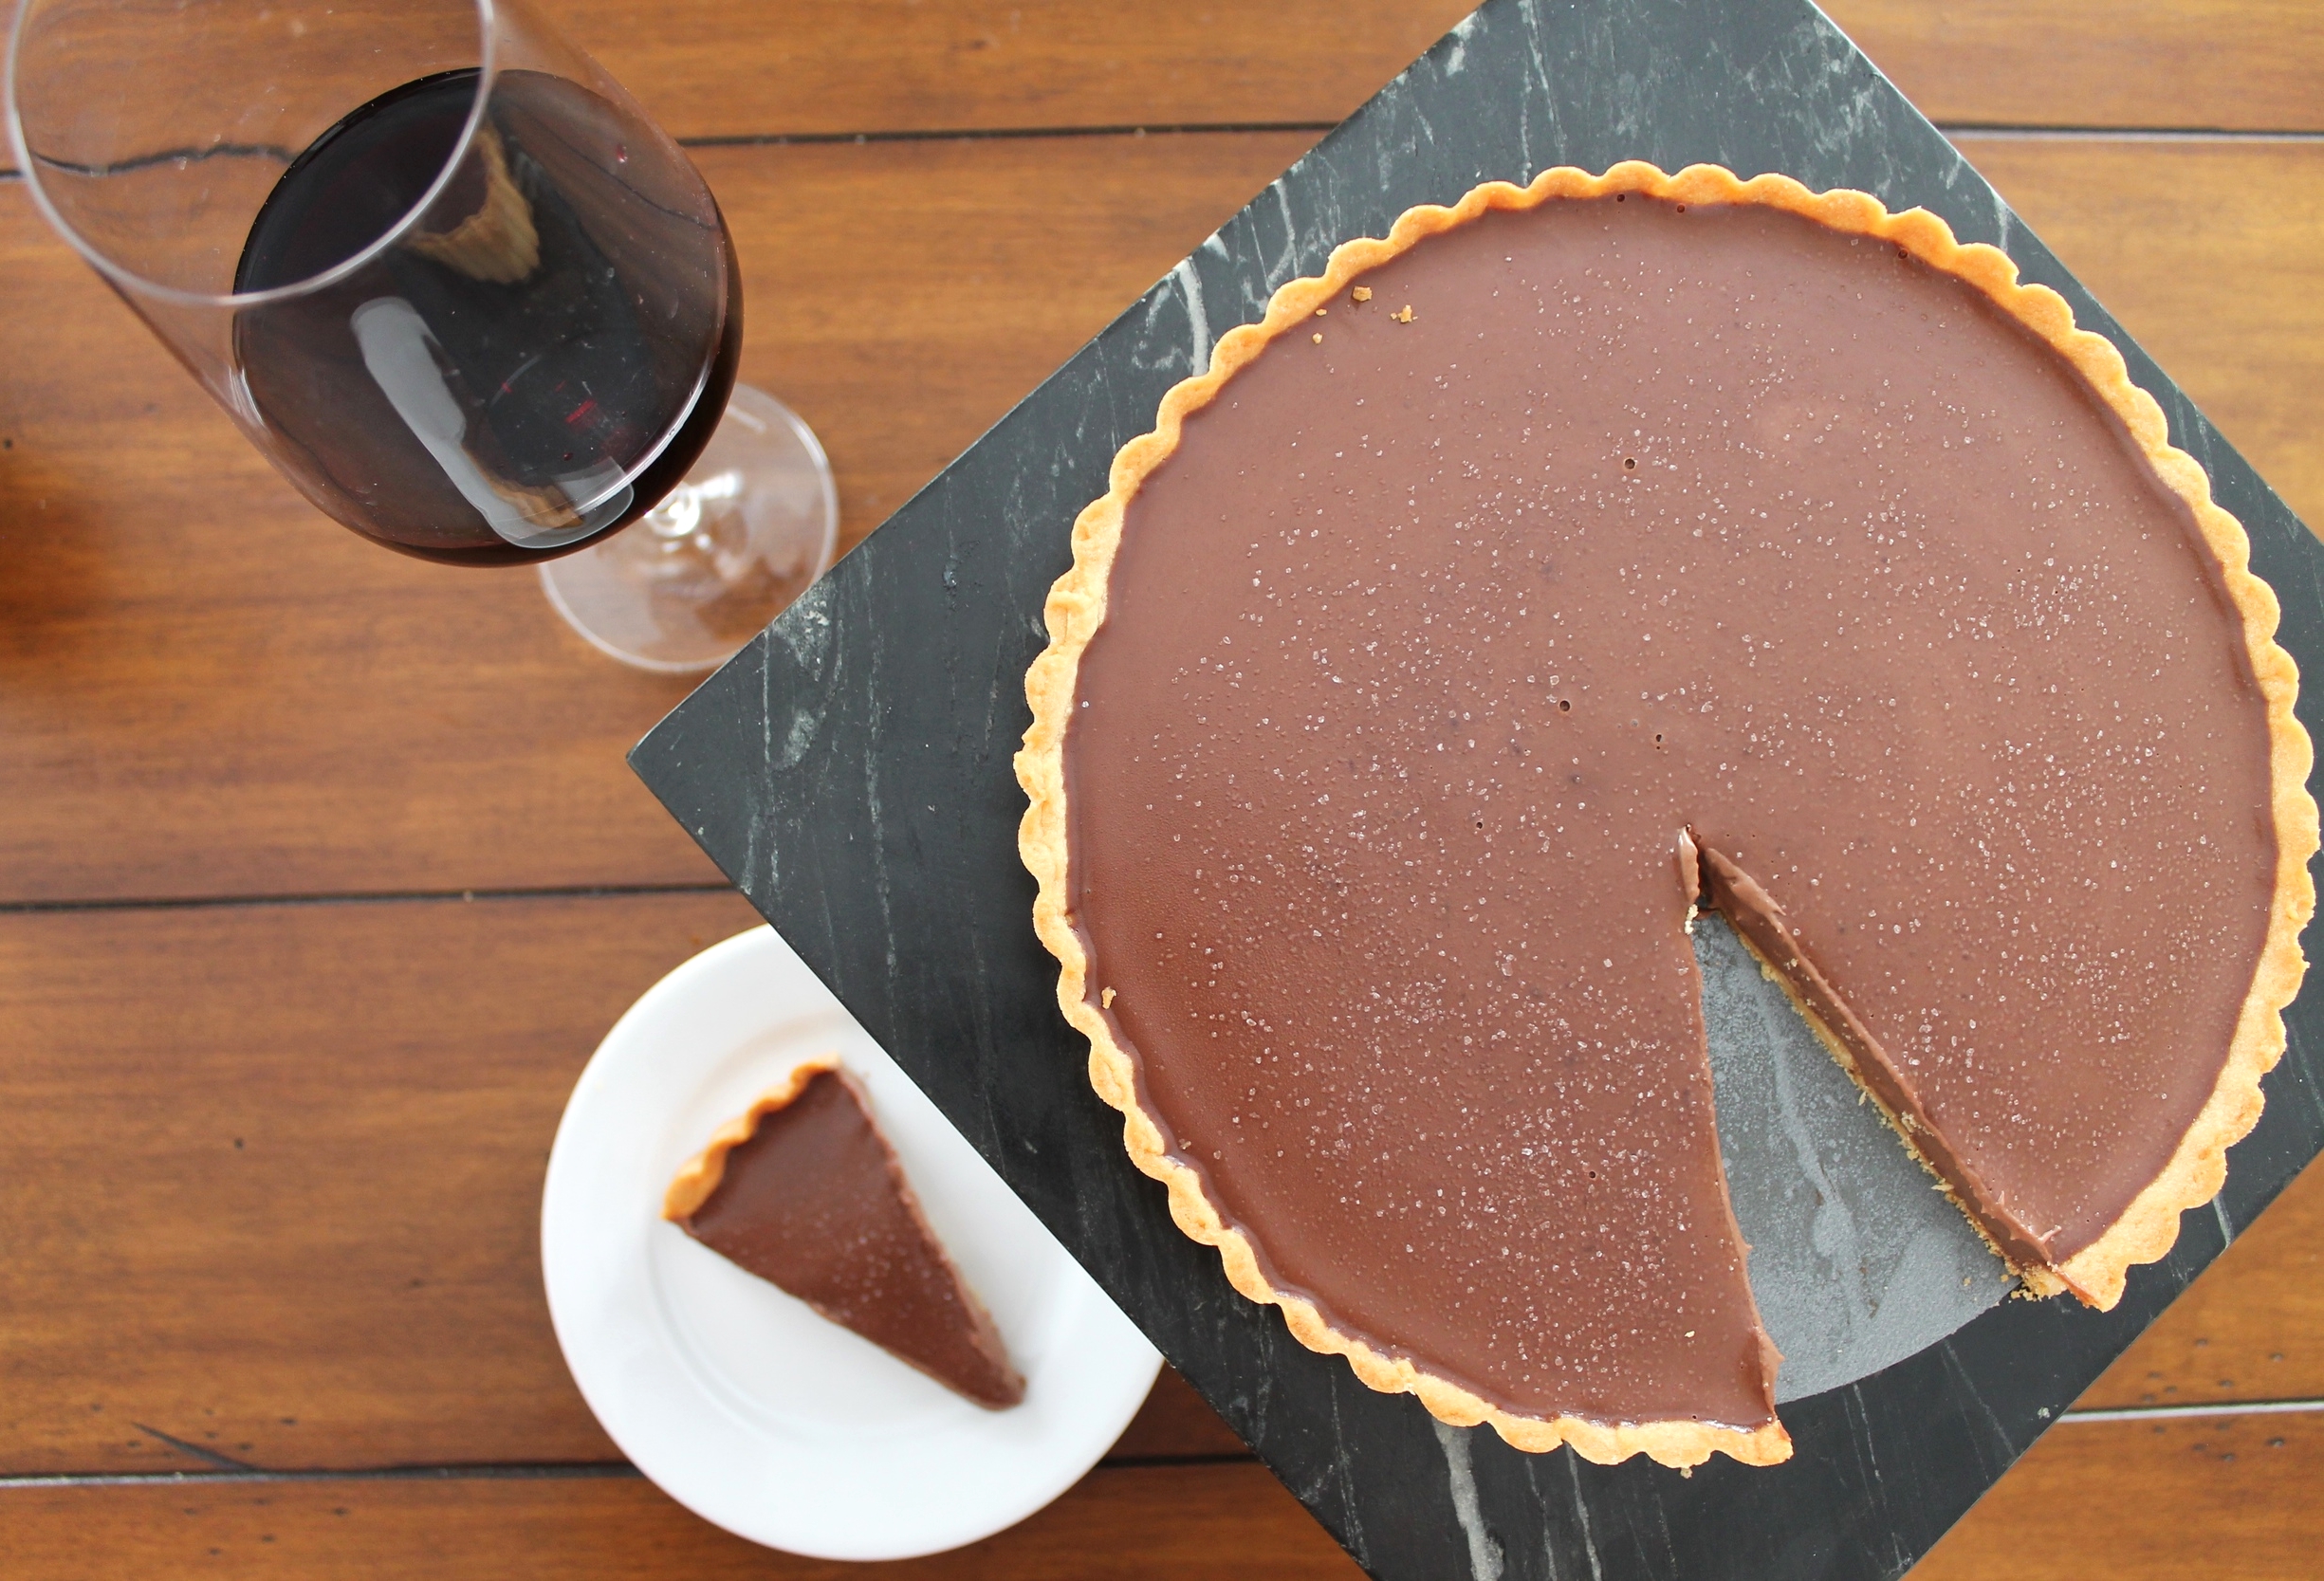
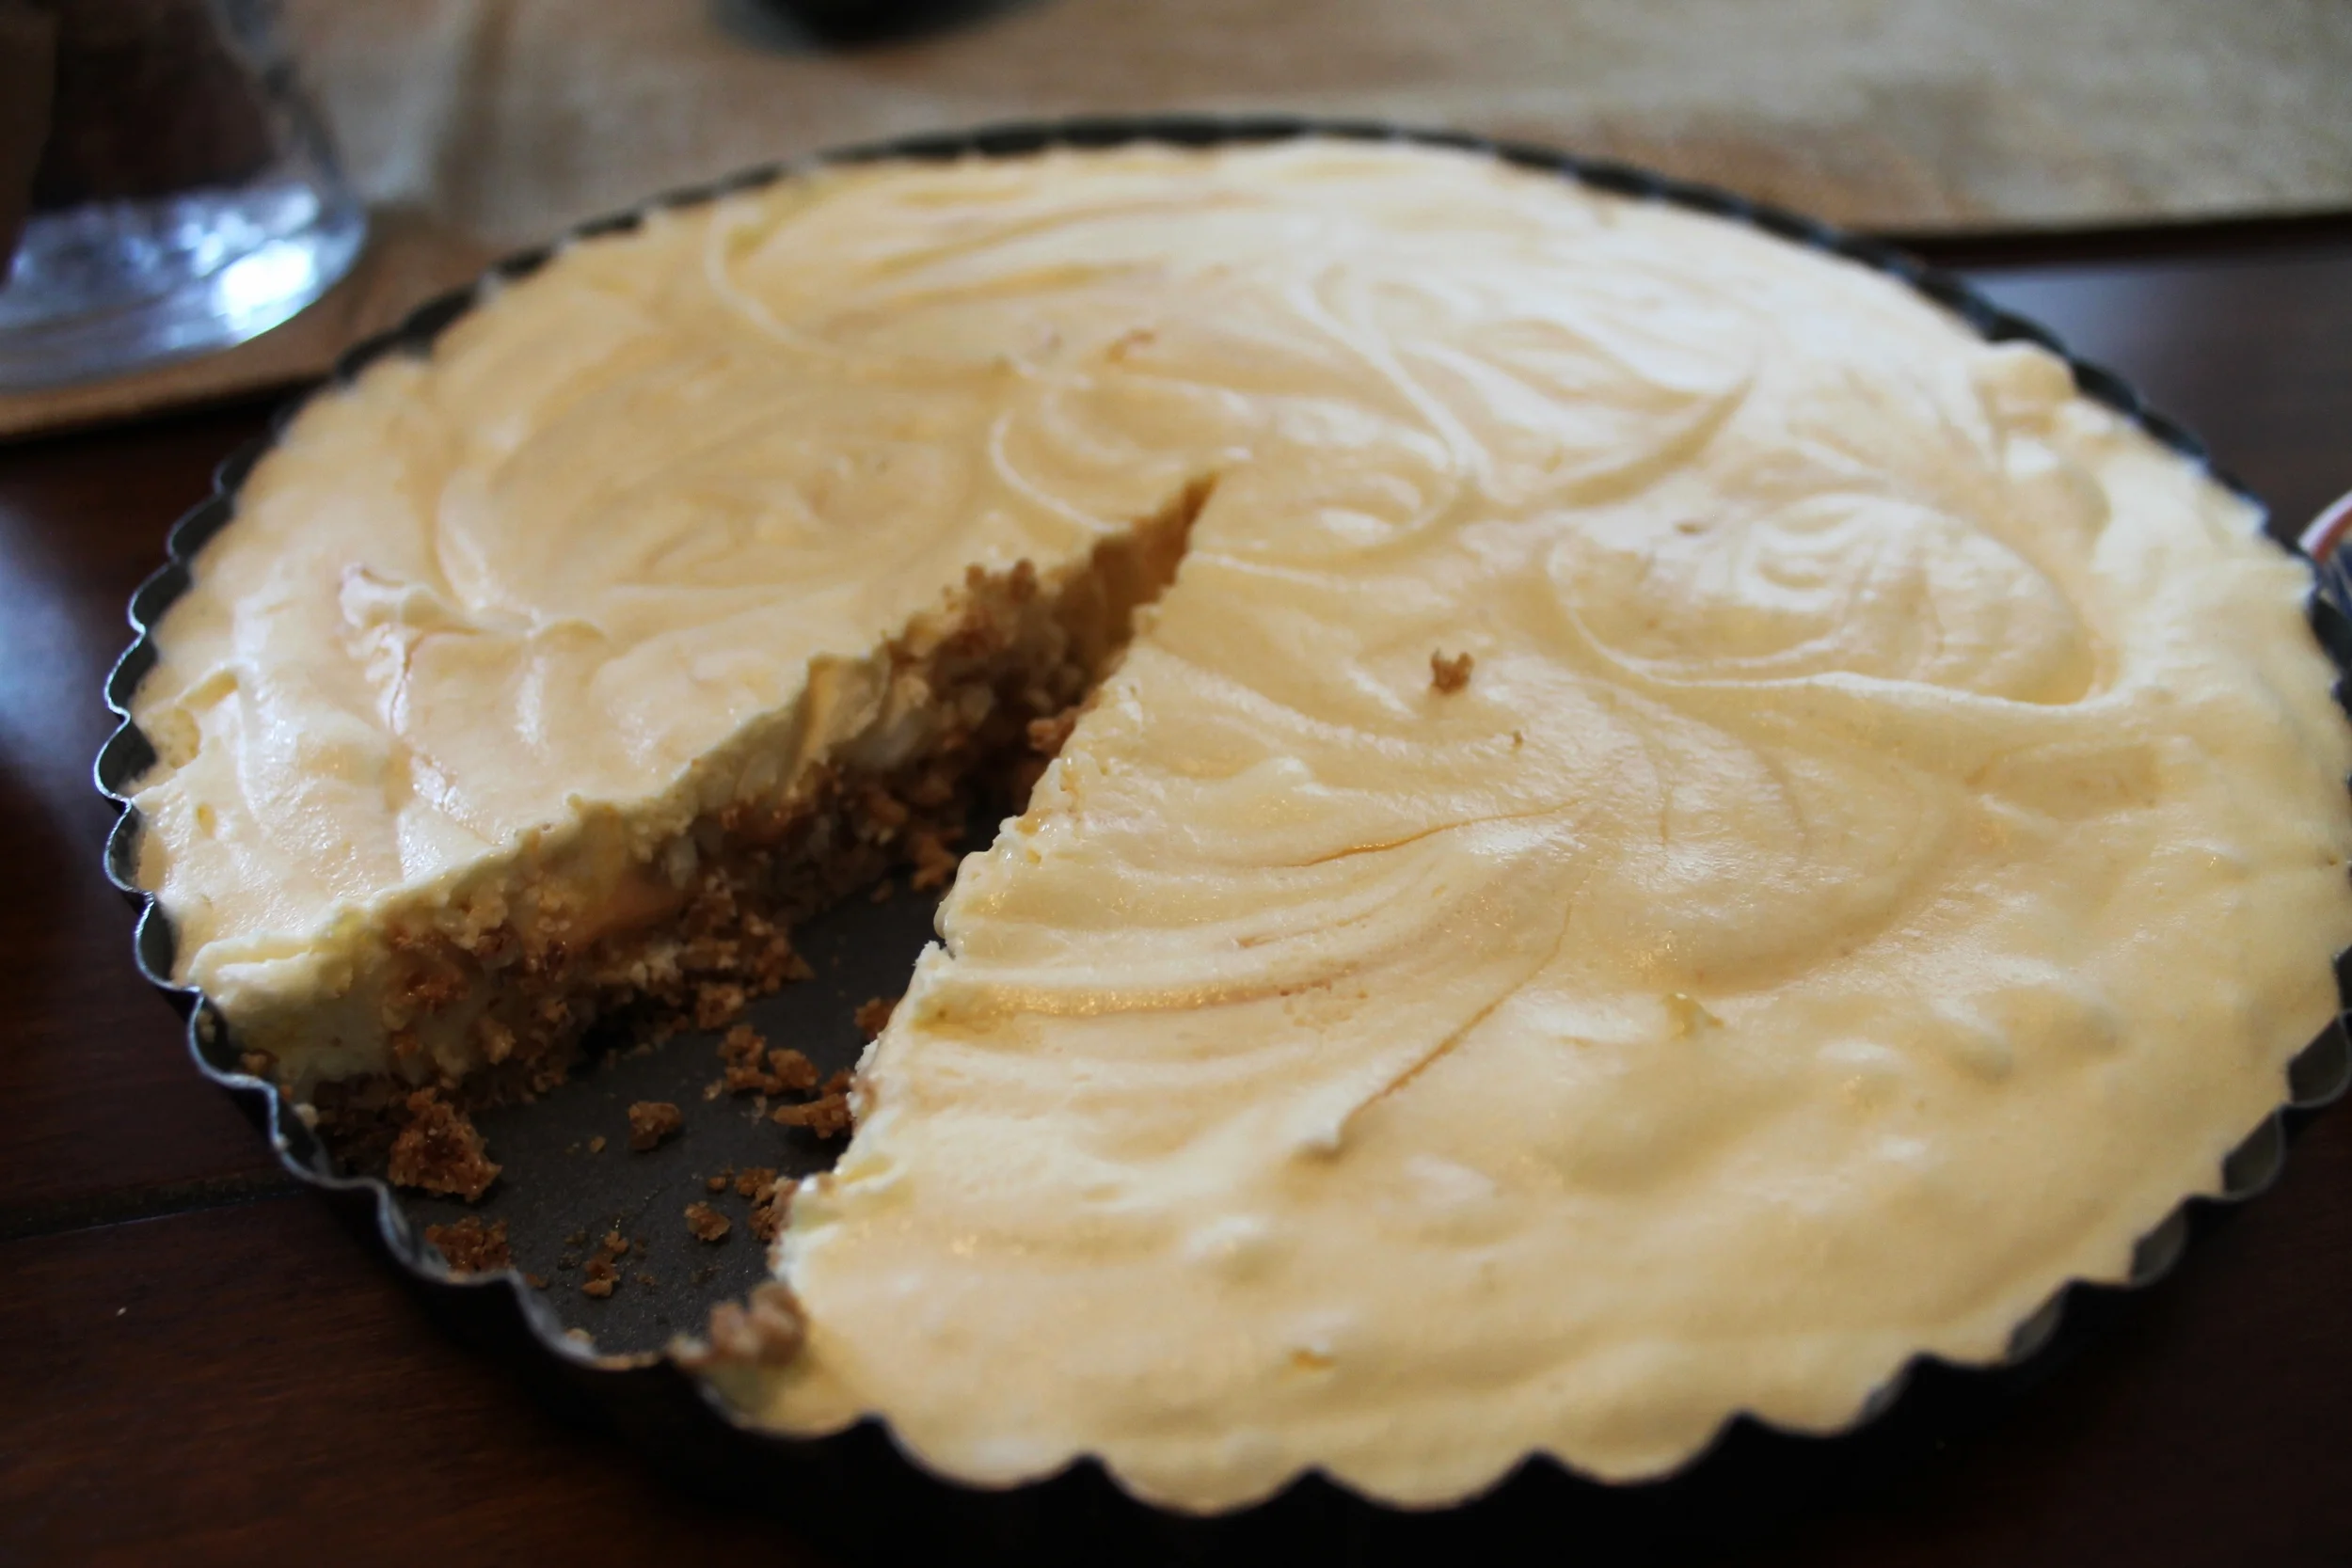
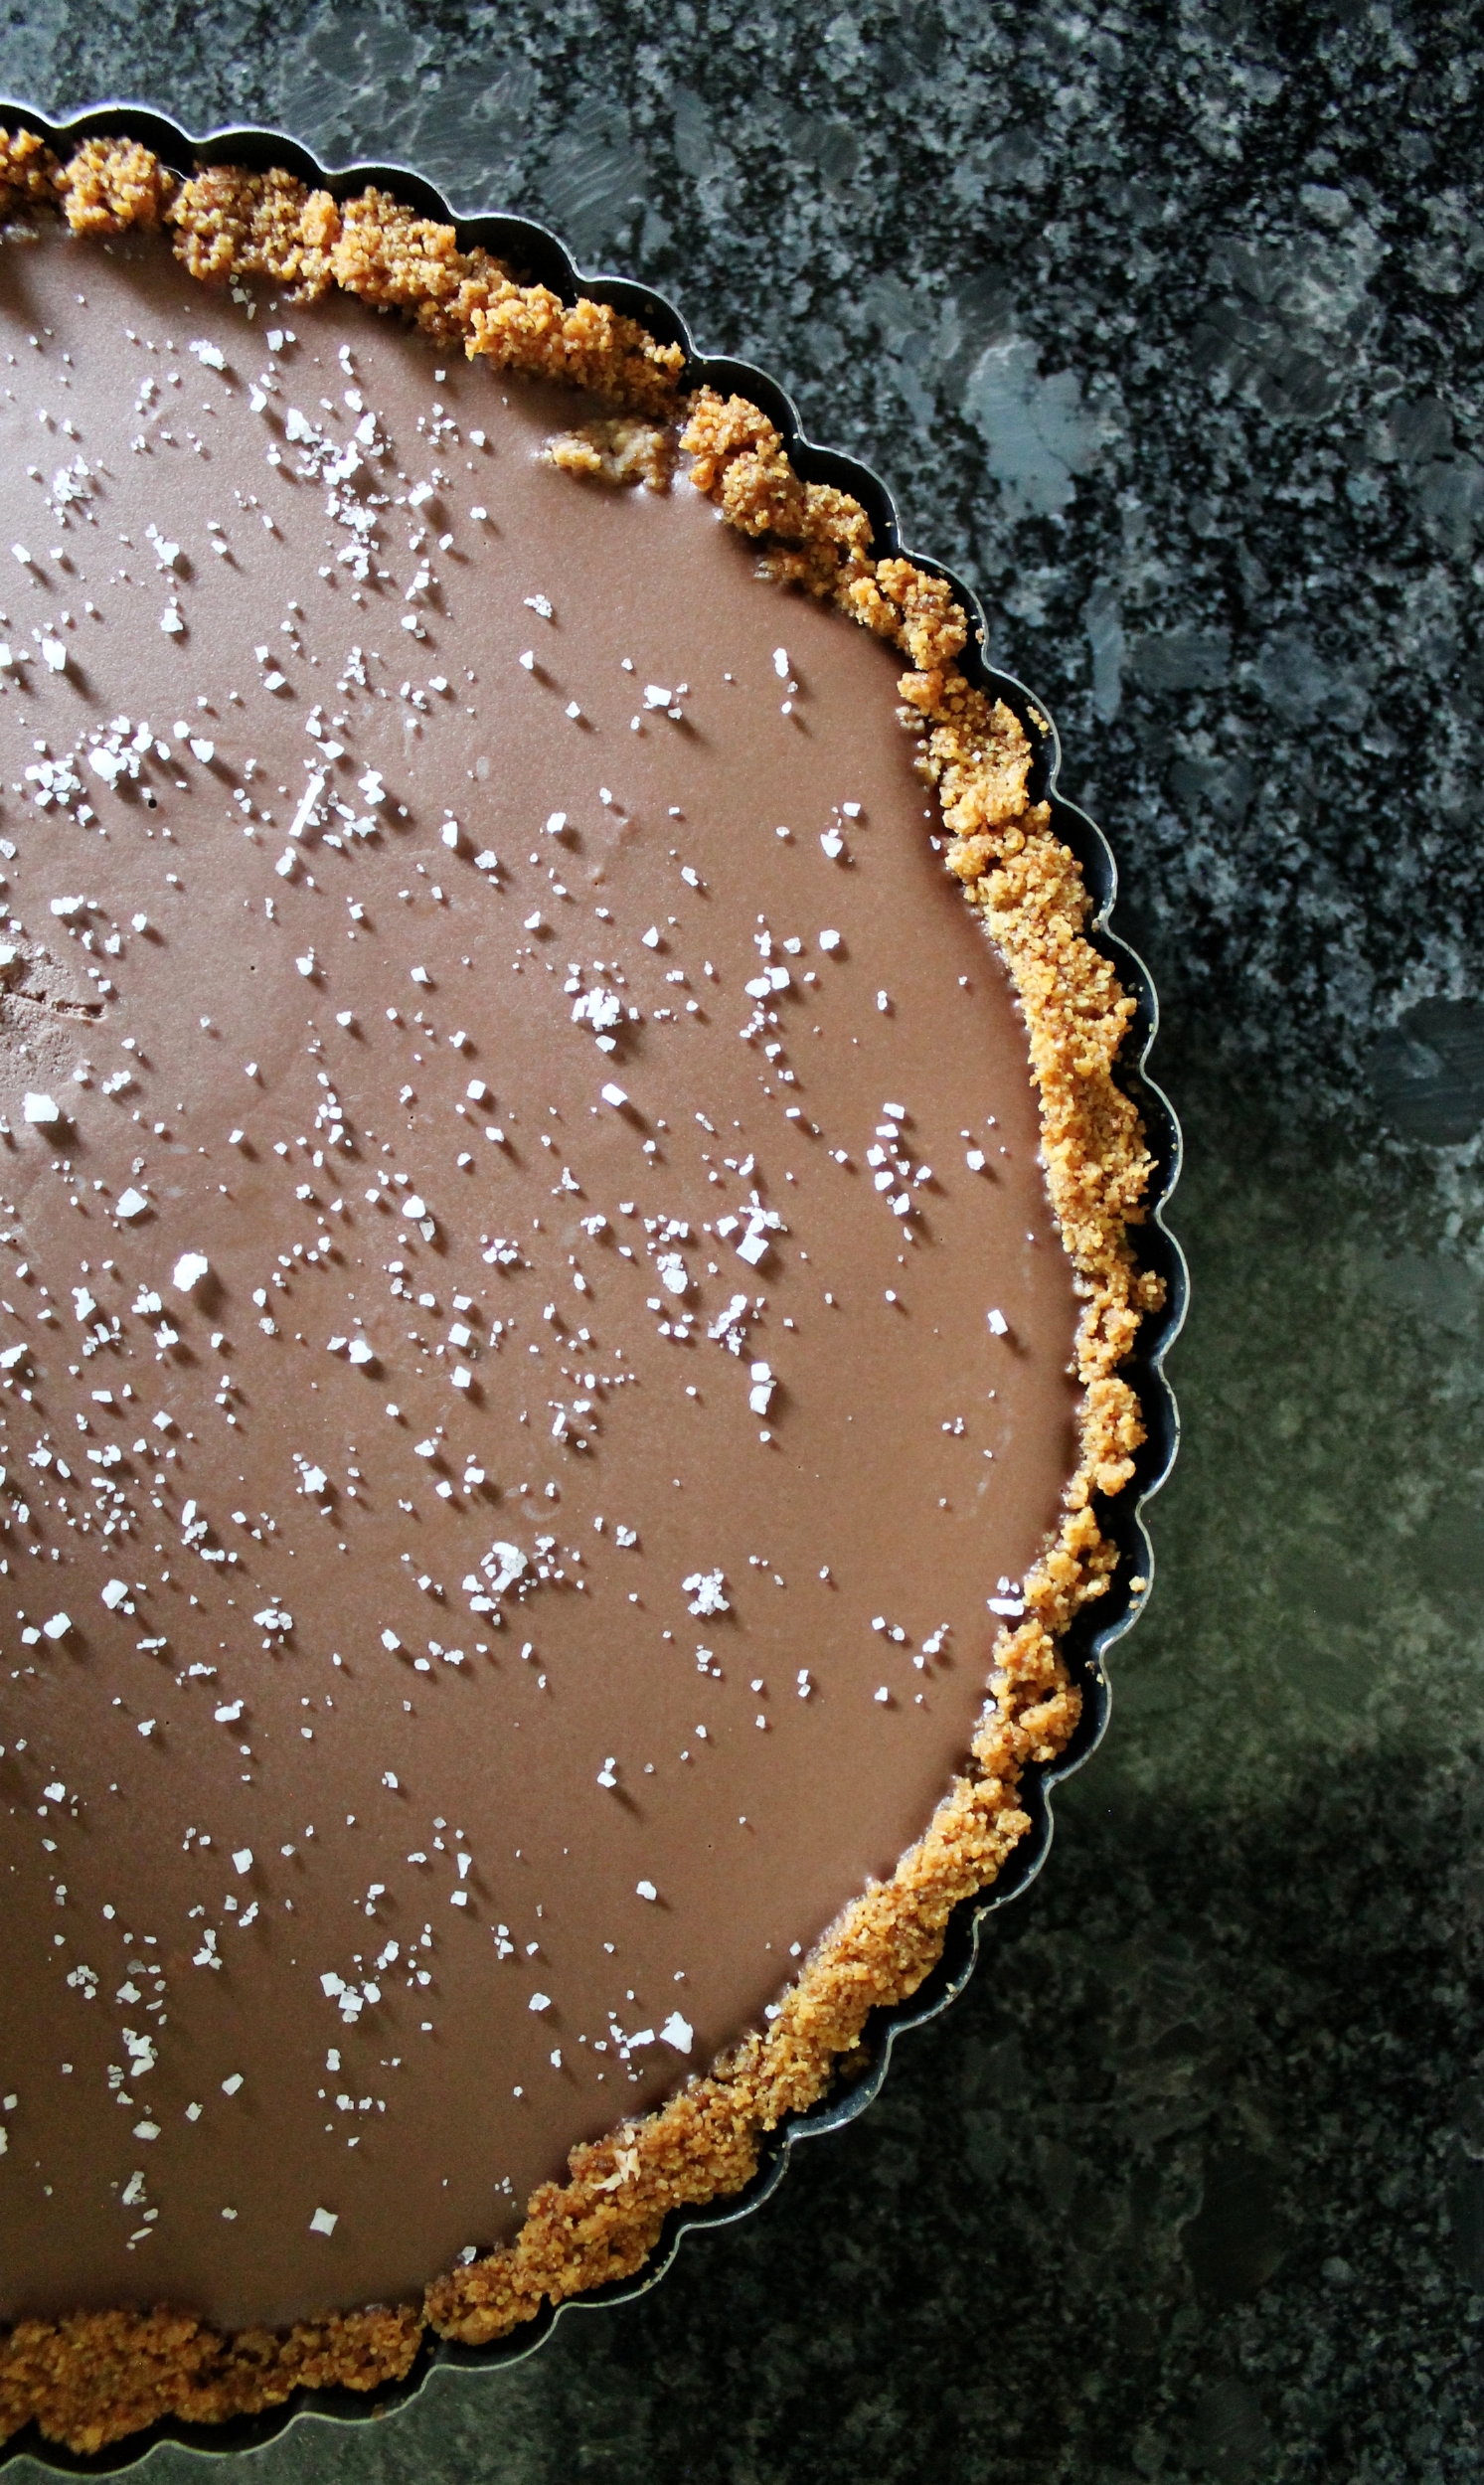
Et voilá! My (soon to be) M.S. in Nutrition + my degree in baking + my LOVE for sugar has all brought me here. All brought y'all this recipe! I'm honestly so in love. Like a few notches below my love for my pup and husband (...yes, you see who I put first there, oops!). First off, we all love a good graham cracker crust. This one happens to have some coconut sugar, maca powder (hellloooo salted caramel taste and energy boost) and it's all combined with coconut oil! How could it not be a winner? And what else - uhh how about a layer of toasted coconut then topped with a dairy free chocolate filling. AH I need a slice right now, please. The filling is so dang simple: coconut milk + 70-80% dark chocolate + coconut oil. Add some coarse salt after it has set and THERE YOU HAVE IT! Something so beautiful.

With the help of my amazing husband, who tried everything I asked/begged him to, the perfect gluten free/dairy free coconut chocolate tart was born! Ohhhh and is it a beauty. It is just one of those desserts that I know will become a staple because 1. it's quick, 2. minimal and clean ingredients, 3. it will satisfy all of those dietary restrictions, and 4. IT'S SO FREAKING GOOD! I'm not kidding. I mean I just screamed that at you, didn't I?!

Decided to go light on the rambling today because, I mean, you need to just get to the photos, to the recipe, get yourself a bit covered in coconut and chocolate, and have yourself a sweet evening! You can thank me in about 4 hours when the tart is finished and you're on your third piece ;)

crust ingredients

Graham Cracker Crumbs—5.5 oz, or 1 ½ C

Coconut Sugar—1.75 oz, or 1/3 C

Coconut Oil, melted—5.5 oz, or ½ C

Maca Powder—1 tsp


Coconut, toasted—1 oz, or 1/3 C


process

Preheat your oven to 350˚F.

Spread the coconut onto a sheet tray and toast for ~10 minutes.

You want the coconut to be a nice, golden brown.

While coconut is toasting, combine the crumbs, coconut sugar and maca powder (optional!) in a medium bowl.

Melt the coconut oil over low heat. Once melted, pour over the crumb mixture.

Mix to combine.

This should be a wet-like-sand consistency.

Press the crust into a tart shell—pie shell also works fine!

Bake in the already preheated oven for 8-12 minutes, until slightly more golden.

Allow to cool completely before sprinkling the coconut flakes evenly in the bottom of the crust.

Store wrapped in freezer until ready to use.


tart filling ingredients

Coconut Milk—10 oz, or 1 ¼ C
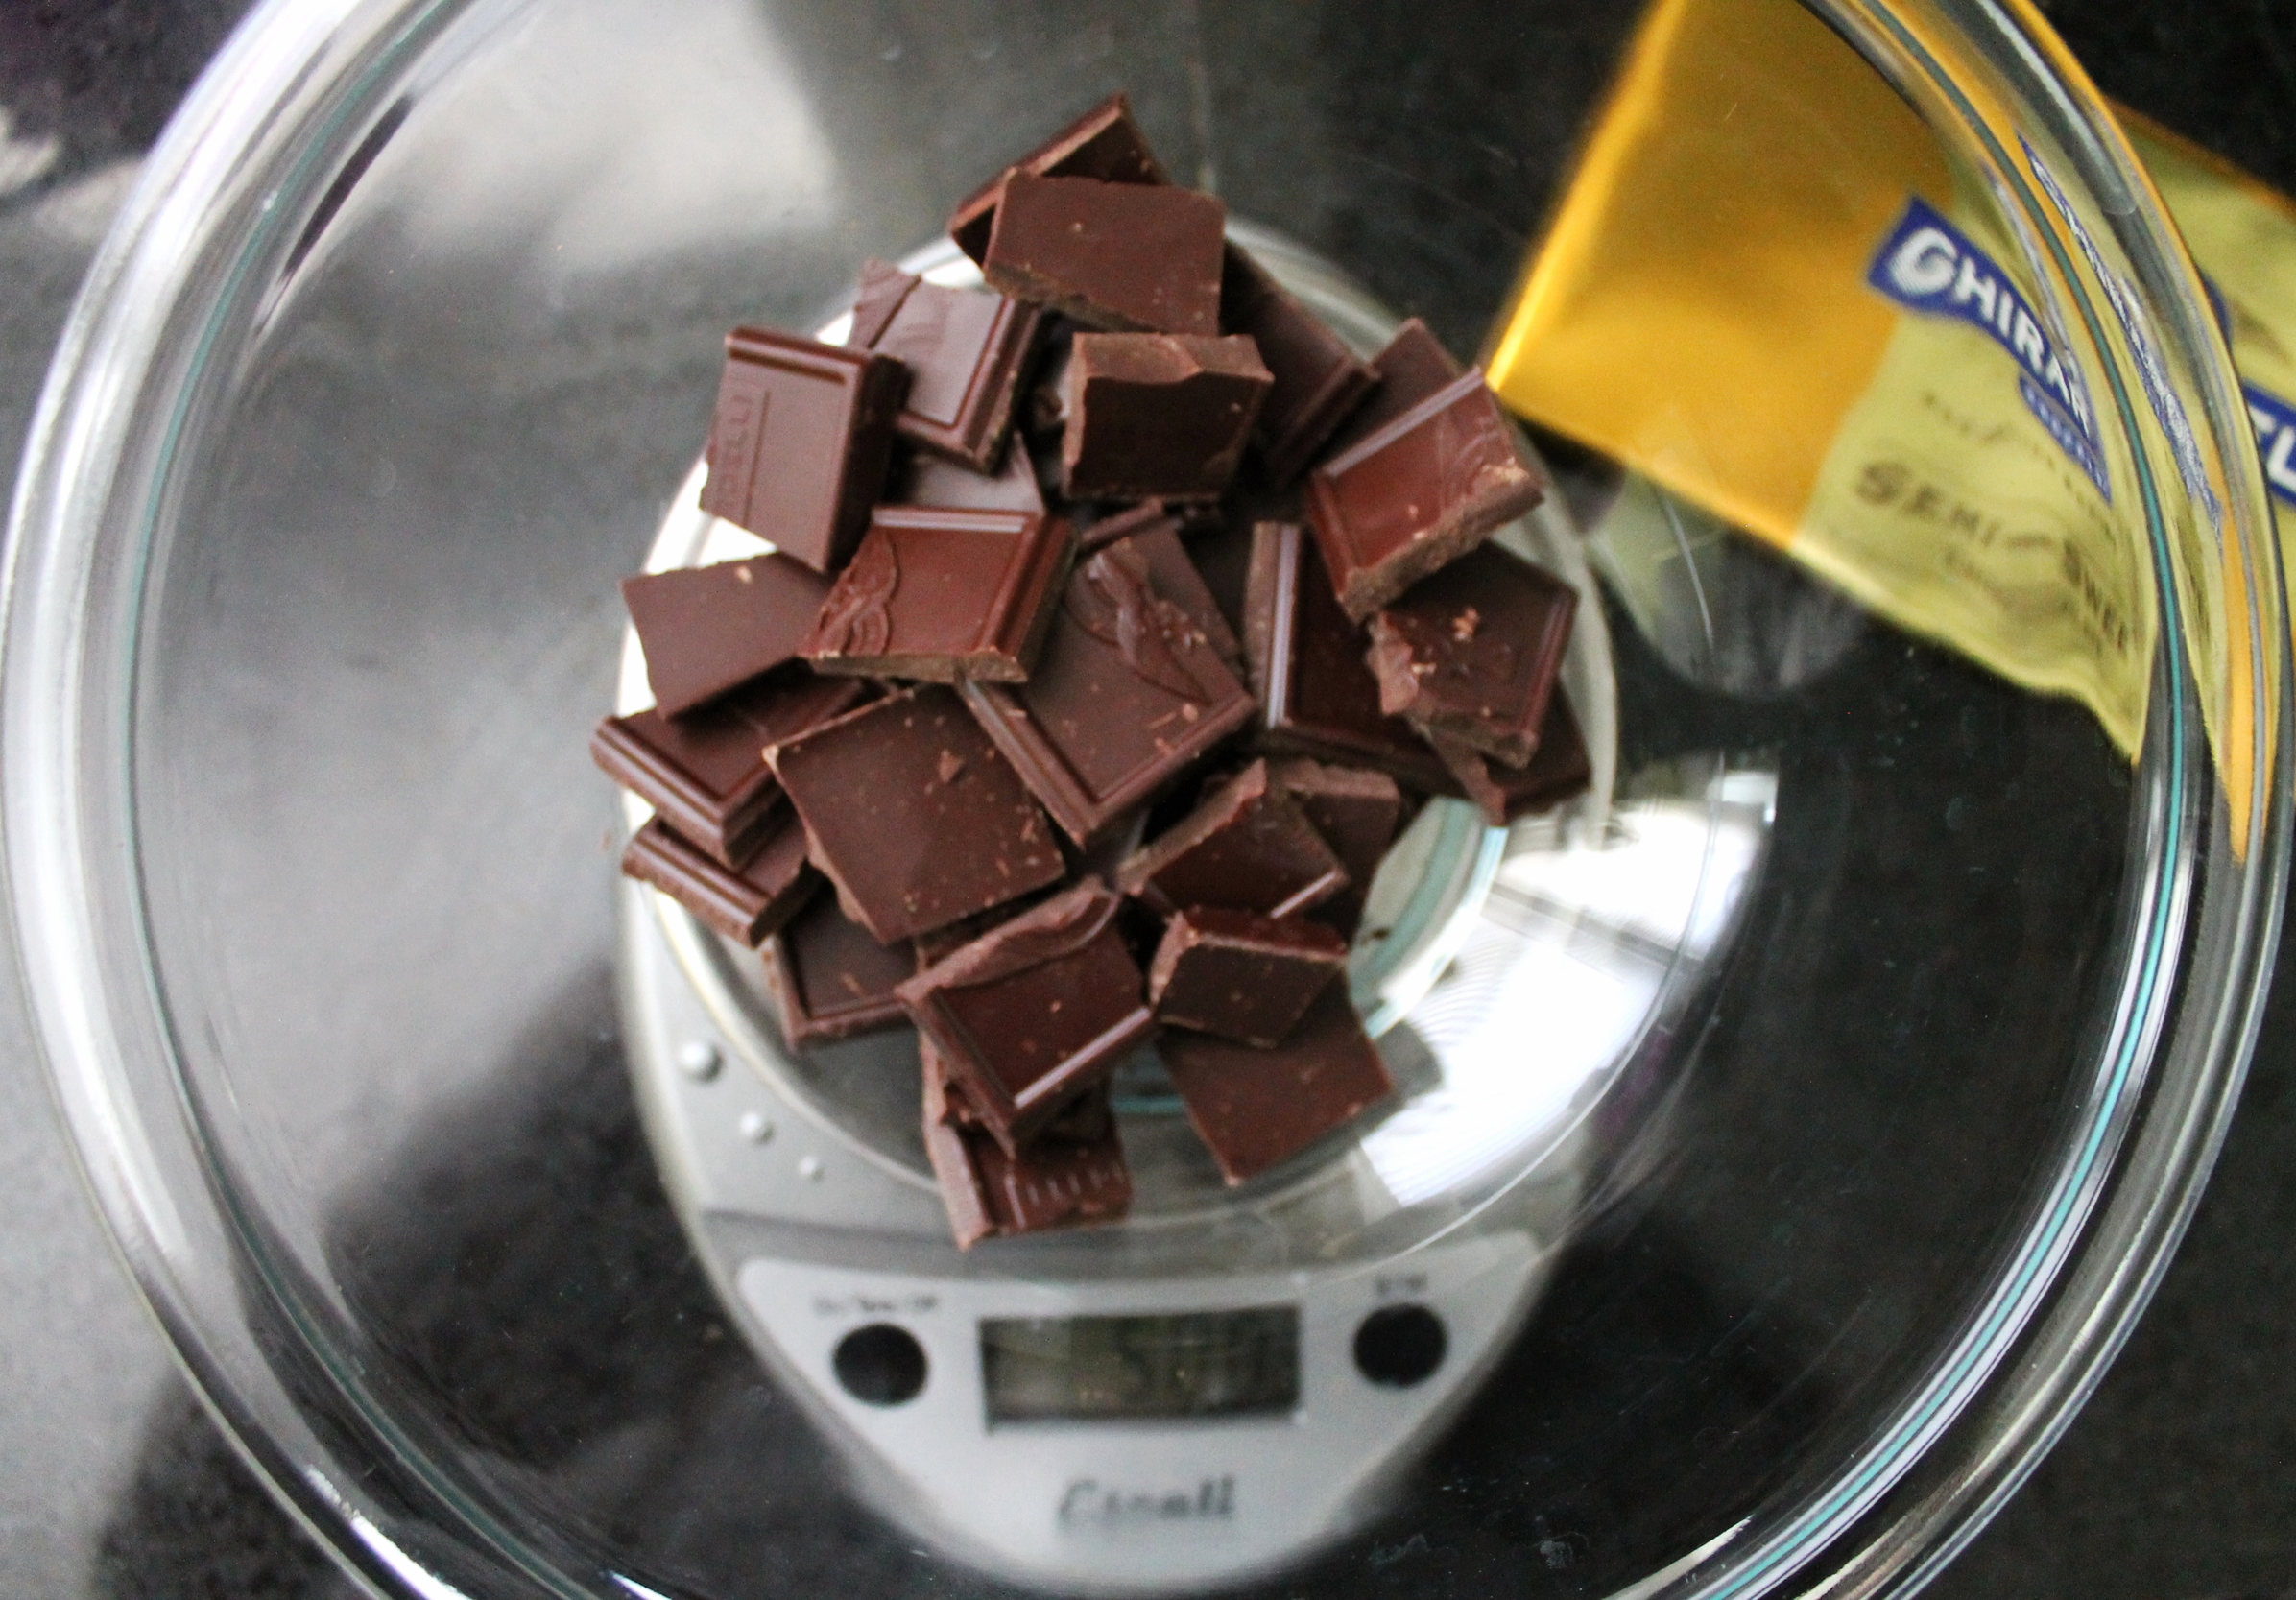
Chocolate, 70%—5 oz

Coconut Oil, melted—2.75 oz, or ¼ C


process

Scale out all of your ingredients separately.

Melt the coconut milk over low-medium heat.

Once it begins to simmer, pour over your chocolate (chopped, in a heat proof bowl).

Allow to sit for 5-10 minutes.

Stir with a spatula or wooden spoon until the milk/chocolate mixture is homogenous and smooth.

Add in the coconut oil, stir.

Once all of the ingredients are completely combined and smooth, pour into your prepped graham crust shell.

Place in refrigerator for at least 3 hours so the chocolate filling can set.

Once set, sprinkle some coarse salt on top, slice and enjoy!


Bon Appétit!

Crispy Chocolate Molasses Cookie Crust

HAPPY BEST MONDAY OF THE NEXT 2 MONTHS!!

Why, you ask?—you’re probably thinking that I’m crazy..

Hmm, maybe because Thanksgiving is this week?! And that means for the next 5 weeks it’s basically a holiday celebration every. single. day. Y’all know how much I love the holidays, my husband groans when September/October comes around because I’m just going crazy with my urge to start decorating! No, no, I don’t put a tree up that early (although I do beg!), and I don’t put any Christmas lights up until November 1st, no holiday music until the middle of November…I’m not that bad!

What do I do that’s over-the-top? I light every single wintery smelling candle, I put far too many warm spices into our coffee, I break out all of the cozy sweaters and blankets, and I START BAKING ALL THINGS HOLIDAY THEMED!! How much is too much molasses to eat every single day?

So here you go, a little bit of my September-December obsession for you!

It all started when Roberto and I agreed to host Thanksgiving this year in Atlanta. The savory side of the meal doesn’t really stress me out—I can manage some sides, rolls, salad, while I throw all of the other stuff on my husband (…like the 17# turkey…). It’s the desserts that I was obviously pumped about but also got a little bit of the sweats when planning it all out. The Big 3 had to be in there: Apple, Pumpkin and Pecan. But then I’m like HAH I’m not making your typical pies, that’s ridiculous! Sooooo, yes, I have been over planning on pies this year. Ginger and bourbon apple pie—check. Caramel pumpkin pie—absolutely. And, finally, a chocolate ganache pecan pie with a chocolate molasses cookie crust.

I always love to change-up the crusts that I do for my pies, whether it’s your typical pie dough, a sweet dough crust or, like this below, a chocolate gingerbread cookie ground up into crumbs, mixed with melted butter, then pressed into the tart pan! To me, a pecan pie is just a little bit on the sweet side, so I cut the syrupy filling and swapped it with my chocolate ganache tart filling (added toasted pecans, of course!). With this change, naturally, I had to do something a bit more fun for the crust. A gingerbread crust would have been amazing, but then I was like uhhh a gingerbread cocoa crust?  YES PLEASE!

This crust is spiced like a gingerbread cookie would be, not super, super sweet like a you’d think a cookie crust would be, and then it’s got some yummy dark chocolate cocoa powder mixed in—a win in every category if you’re asking holiday-obsessed Katie!

Here you have it, a little game changer in your Thanksgiving (or holiday!) menu! It’ll definitely be something that will wow your guests, especially if you accidentally cook a dry turkey, under salt your mashed potatoes or only set the table for 9 instead of 10! So, as Thanksgiving can be a little hectic, very loud, maybe some people had more than their share of wine, and others just fall asleep before dinner is even served—this pie will always be a win!

Best enjoyed the morning of, the day after, the next 5 weeks of holiday fun, with great company, a nice deep red, and most likely your stretchiest of pants!

ingredients

Butter—10 oz, or 1¼C

Sugar—7.25 oz, or 1C

Eggs—1

Molasses—2.5 oz, or ¼C

Honey—2 tsp

Flour—9.5 oz, or 2C

Cocoa Powder—1.5 oz, or ½C

Baking Soda—1 tsp

Cinnamon—2 tsp

Cloves—½ tsp

Ginger—1½ tsp

Nutmeg—1 tsp

Turmeric—½ tsp

Salt—1 tsp


Butter, melted—2 oz, or 4 TBL

Cookies, ground—6 oz, or 1.5C

Pecans, toasted—4 oz, or 1C


process

Sift together all of your dry ingredients—flour, cocoa, baking soda, cinnamon, cloves, ginger, nutmeg, turmeric and salt.

In the bowl of your mixer, cream together the butter and sugar until light and fluffy.

Once creamed, add in your egg, molasses and vanilla.

When all incorporated, slowly add in your dry ingredients until just combined.

Wrap the dough in plastic wrap and chill for at least 1 hour in the fridge before baking.

When you’re ready to bake the cookies, preheat your oven to 350˚ F.

Roll the cookie dough into balls about 2TBL’s in size—if you’re using them for the crust, this won’t be as important because you’ll be grinding them up!

Bake for about 12-15 minutes, until no longer ‘wet’-looking.

Allow to cool completely before grinding.

Toast your pecans in a 350˚F oven for about 8 minutes, until toasted. Cool.

When you’re ready to make your crust and tart, combine ground cookies with the melted butter.

Press crust into your tart pan, making sure that it’s about ¼” thick and even on the bottom as well as up the sides.

Bake in a 350˚F oven for about 12-15 minutes, until the crust has baked and is set.

Put all of your toasted pecans in the bottom of your cookie crust.

Make your chocolate ganache filling (found here!).

Pour into your crust and place into the refrigerator to set up for at least 6 hours.


Bon Appétit! 

Salty Chocolate Tart

Good morning, my wonderful baking friends! I have quite a confession to make, and I hope that you all will understand—this recipe below is amazingly quick and simple, I can hardly believe it myself. The dough has only 6 ingredients in it, and I know that they are in your pantry, and the chocolate ganache has 4 ingredients…yes, FOUR! I mean, I have made 3 of these tarts over just a couple of days, I promise that I have some sort of life outside of baking…

…which may be hard to believe, I know!

I made this recipe for a friend of mines birthday this week, whose love for baking is just about as crazy as yours truly. She is honestly all sorts of wonderful—an outdoors loving, musical obsessed, positivity radiating, lovely person, AND she was all about us blasting the Hamilton soundtrack at 9am at work the other day, sooo does it get any better than that?!

So to start with Miss Anna’s birthday chocolate tart, I used a simple pâte sucrée base (recipe found in my Lemon Blueberry Tart recipe!). It’s really just a sugar dough, it makes quite the vehicle for this type of tart, not the main star, but would totally win for best supporting role! ...And from there, a dark chocolate ganache. It is so simple to make, I don’t know why I haven’t made this (really) since school a couple of years ago.

Boiled cream—pour over the chocolate—stir to combine—add the butter—add the alcohol—put into baked tart shell—let set.

What I love is that while it is simple in steps and ingredients, the flavor is mind blowingly divine. You can play around with how dark you want your chocolate to be, but it’s going to end up so smooth and creamy, slightly sweet yet very rich, only a small sliver is required, or 3 small slivers if you’re me. Another fun addition you can do to this tart? For my friend’s, I added crushed up pretzels to the top of it, because I mean, duh, and the salty chocolate combination was undeniably delicious. Or you can just sprinkle coarse salt on top as well, and a glass of Cabernet Sauvignon or Carmenere goes a long way with this dessert as well!

This is certainly going to become a go-to for most dinner parties and celebrations, but it is also absolutely acceptable early on a Friday morning, dancing along to a little bit of Hamilton and enjoying for a birthday of a beautiful friend!

pâte sucrée ingredients and process

found here


chocolate ganache ingredients

Heavy Cream—10 oz, or 1 ¼ C

Dark Chocolate, roughly chopped—5 oz, ~10 squares if using a Ghirardelli bar

Butter, cubed—2.25 oz, or 4 ¼ TBL

Bourbon—0.5 oz, or 1 TBL


process

Set up all of your ingredients, as the heavy cream will boil very quickly.

Place the heavy cream in a small saucepot with the heat on medium.

While the cream is coming to a boil, put the chocolate in a medium heat-safe bowl.

Once the cream comes to a boil (watch out so it does not boil over!), pour it over the chocolate and allow it to sit like that for 3-4 minutes.

Using a wooden spoon, begin to stir the heavy cream-chocolate mixture.

Once it has homogenized, add in the butter.

Stir until melted and combined.

Add your alcohol of choice—in my case, bourbon, always!

Stir.

Pour into your prepared 10” tart pan.

Place in the refrigerator for about 4-6 hours or overnight so that the ganache can set.

To decorate: it is tasty all on its own, but sprinkling salt over top the entire tart really makes the chocolate pop; also, fresh fruit is always a great option as well!

Enjoy with a glass of red wine and good company.


Bon Appétit!

Rhubarb Plum Mini Pies

Raise your hand if you’re not entirely ready for the month of June to be here…

Raises hand.

Wasn’t it just my birthday? Didn’t Roberto just leave for a 2-month work trip? When did wearing dresses even become too hot? I’m just all sorts of behind on the times here. I love summer, just as I love all seasons, but the salty sea air, the fresh fruits and veggies from the garden, the no-makeuped face because a sunkissed face looks simply perfect—these things simply give me life!

As the next 4 months of my life consist of weddings, moving, trips, showers, our wedding…I’m truly trying to chill any chance I get, to really enjoy my last few months in West Virginia and to not let the stress of planning the upcoming “I dos” AND moving to another state overwhelm me. Little by little I have been exploring this incredible state, been staying up slightly later than my normal 9pm bedtime, and just all around seizing each and every day.

As I am trying to live in the moment as much as possible, something that has been on my mind lately is when can I have a huge garden, 3 dogs, 5 chickens and maybe a pig?! We are moving to beautiful Vermont after the wedding and looking into house buying—yes, insert a freaked out yet excited face—and all I want is a big enough yard to be able to 1. Have the mowed lawn smell all around me, and 2. Learn how to really garden like my mom always has. Some of my favorite memories growing up would be when my mom was like Oh, Kate, can you go pick a few containers full of blueberries before dinner? Always yes, always, always, always.

So yes, I have been craving that lifestyle for a while now—and then I got it into my head that I had to bake with rhubarb. While strawberry rhubarb is always a yes, how about plums in place of the strawberries?! Slightly sweet, a very different texture, just needed to spice it up a little bit. I used my go-to piecrust (always a dash of cinnamon), stuffed it with a fruity, citrusy filling, and baked them into tiny, adorable little things!

While baking a normal sized pie is, of course, always welcome, I wanted to make little individual sized pies—this was much more cutesy to gift to some of my friends! They fit perfectly into itty-bitty boxes that I had, tied them up with some string, I guess you could say it is one of my favorite things!

…I will always quote The Sound of Music…

Whether you’re itching to have a garden, like me, fully embracing summer, like me, craving a flaky pie crust, like me, or just loving life and all its beauty, like me, then these Rhubarb Plum Mini Pies will make your hot and hazy June days all the more sweeter!

crust ingredients

Flour—7.5 oz, or 1 ¼ C

Brown Sugar—1 TBL

Salt—½ tsp

Cinnamon—1 ½ tsp

Butter, cold—4 oz, or 8 TBL

Milk, cold—4 oz, or ½ C


process

In a bowl, combine the flour, brown sugar, salt and cinnamon.

Cut the butter into cubes, making sure that it keeps as cold as possible.

Add it to the flour mixture.

Using your hands or a pastry blender, rub the butter into the flour, breaking the butter up into tiny, pea or hazelnut sized pieces.

Once all of the butter has been coated in flour (basically smooshed!), slowly add in the milk, mixing as you go.

When all of the milk has been added, your dough should be slightly sticky.

Wrap in plastic and chill until you are ready to use!


filling ingredients

Rhubarb, diced—9 oz, or 2 C

Plum, diced—6 oz, or 1 C/1 medium

Sugar—4 oz, or ½ C

Brown Sugar—4 oz, or ½ C

Cornstarch—0.75 oz, or 2 TBL

Orange Juice—2 ½ TBL

Cinnamon—1 tsp

Butter, small cubes—1 oz, or 2 TBL

Eggs—1, for eggwash


process

In a large bowl, mix together the diced rhubarb, diced plum, sugars, cornstarch, OJ and cinnamon.

Reserve filling until you are ready to use.

Cut the butter into tiny cubes and set aside.


To make the pies—remove the dough from the refrigerator, and place on a floured work surface.

Roll out the dough to about ¼“ thick.

If you are using mini pie pans, use a cutter that is about ½-1“ bigger than the pan, and cut out 16 circles; you may reroll out the dough when needed.

Spray the bottom of your pie pan(s) and press the rolled out bottom crust gently, but firmly, into ever edge.

Fill the pies with enough of the filling to make a nice mound.

Eggwash the edges of the crust and place the top crust, making sure to press into the wash so that it will stick.

Crimp the edges with a fork, cut a vent in the middle of the pie with scissors or a knife, and refrigerate while you preheat the oven.

Once you have finished with all of your mini pies and they are in the fridge, preheat the oven to 425˚ F.

Brush the tops of each pie with the eggwash and sprinkle with sugar—I like to use turbinado sugar because they are bigger!

Bake in the oven for 12 minutes.

Turn the oven down to 375˚ F.

Bake for 7-10 minutes, until they are golden brown on top.

Remove from the oven and allow to cool just slightly.

Enjoy by themselves or with a yummy scoop of icecream on top!


Bon Appétit!

Pecan Pie Semifreddo

Is it ice cream? Is it gelato? No, it’s semifreddo!

Oh my goodness, my fellow dessert enthusiasts, I have become every ounce obsessed with this homemade semifreddo. Don’t have an ice cream machine but want something that is 1. Homemade 2. Ice cream and 3. Super tasty?! Look no farther, it is here!

As I continue my streak of Thanksgiving dessert twists, here, I give you a Pecan Pie Semifreddo—which means semi frozen in Italian. The texture in this semifreddo is that of a slightly frozen mousse, and yes, you do put it in the freezer! The combination of heavy cream to sugar to eggs allows for this ridiculously smooth and creamy dessert that melts in your mouth and doesn’t give you a brain freeze.

How is this anything like a pecan pie? Well, listen up, look at that gorgeous crust, it is packed with pecans, butter and, my favorite, brown sugar. While I love pecan pie and all of its sweetness, this crust has just the right amount of sugar so that you will most definitely be reminded of your old favorite.

To make this semifreddo really pop, I swirled in some homemade duche de leche. This brings up the sweetness level yet does not take away from that simple taste of the egg-heavy cream combination that you worked so hard on!

Who knew that one could be so infatuated with a dessert, let alone this play on pecan pie. But, I most certainly am, and I’m not even a little ashamed! Looking to show up that pecan pie this Thanksgiving? Surprise everyone with an even better pie—a semifreddo! Exploding with pecan goodness and a velvety dulce de leche yumminess, I swear, you’ll be passing out the recipe by the end of the night!

crust ingredients

Butter, melted—1.5 oz, or 3 TBL

Graham Cracker Crumbs—2 oz, or ½ C

Brown Sugar—1 oz, or 1/8 C

Pecans, chopped—2 oz, or ½ C


crust process

Preheat the oven to 350˚ F.

Combine all of your ingredients, you want it to have the consistency of wet sand.

Press into the bottom of your pan.

I like to use a tart pan for this. It looks very elegant, and quite pie-like, but using a spring form pan, loaf pan, whatever you choose works just as well!

Bake in the oven for 8 minutes, you will be able to smell the toasting crust.

Remove and allow to cool completely before putting your semifreddo in.


semifreddo ingredients

Heavy Cream—12.5 oz, or 1 ½ C

Sugar—8 oz, or 1 C

Eggs—3

Yolks—2


semifreddo process

Begin by whipping your heavy cream in your mixer, or by hand, until medium-stiff peaks form. You will know when this has occurred when you lift the whisk and your whipped cream has a slight curl to the end of it.

Reserve your whipped cream in another bowl in the refrigerator.

Wash and dry your mixing bowl.

Combine the sugar, eggs and egg yolks in your mixing bowl.

Place on top of a small saucepot that has been filled with about an inch of water, making sure that it is not directly touching your bowl.

Turn the burner on low and, with a whisk, constantly whip your egg sugar mixture until the sugar has dissolved—this should be around 120˚ F.

Once you have reached this stage, turn off your burner and put the bowl on your mixer with the whisk attachment.

Whip on medium-high until your eggs have turned a pale yellow and have formed ribbons.

To do the “ribbon test”: when you believe that your eggs have been whipped long enough, stop the mixer and dip the whisk attachment into the batter, go back and forth, making a line with the eggs. If they hold for 3-5 seconds without sinking back into your mixture, then you are good to go!

Now, take the whipped cream from the beginning and fold into your whipped eggs.

How to fold in the cream? First, put a small bit of the whipped cream in to temper, mixing quickly with your spatula, next put into about ½ of your remaining cream. As a chef of mine used to say, “12:00, 6:00, give it a quarter turn,” meaning simply that start with your spatula at 12:00 on your bowl, drag down to 6:00, and give the bowl a quarter turn. Do this until all of the cream is mixed in and is homogenous.

Transfer on top of your crust that has been baked and cooler.

Now, you may either put this in the freezer as is to freeze, or, if you want to add a little extra sweetness, mix in some caramel or dulce de leche! Recipe shown here.

I like to swirl in lots of dulce de leche so that I find yummy pockets in each bite!

Once frozen, remove from your pan, slice and serve.


Bon Appétit!