Homemade Caramel Corn + Nutella Stuffed Cookies

This recipe was brought to you by my weird urge to eat Nutella from a jar…which then turned into me needing something to dip into it, and then I made caramel corn…

So I have been having these strange I want to go to an amusement park feelings lately, which is out of the ordinary because I really dislike them. Growing up, it was always what we would do on our last day of school, the true start to summer, and I went along because why would I want to be the one girl who chickens out?! But honestly, they are everything I can’t stand—the dirtiness, the scary rollercoasters, the huge groups of people, being forced to go on the Tilt-A-Whirl about 10 times even though it makes you sick—you get the picture. Just lately, the thing I have been craving is the smell.

Yes. The smell of an amusement park to me is lots and lots of fried dough, French fries that have been doused in vinegar and then huge bags of kettle corn. There is this one not so great place on the ocean called Palace Playland in Old Orchard Beach, but you always went when you’re in that area, even if you did just come from Funtown/Splashtown (yes, what on point names!). Their pier fries have to be THE best things I have ever had—they come in one of those big paper cones and you just drown them in ketchup and vinegar…gosh I can’t wait to go back to Maine for some of those…

Anyways, let’s get my mind away from fries and onto these cookies. It’s been in the 90’s here in Charleston and all I can think about is how badly I want to stuff my face with some too-greasy fried dough covered in powdered sugar, play a game of skee ball and then lay out on the beach. Sadly, eating fried food is all I can do here—which is kind of the same thing as homemade caramel corn, right?!

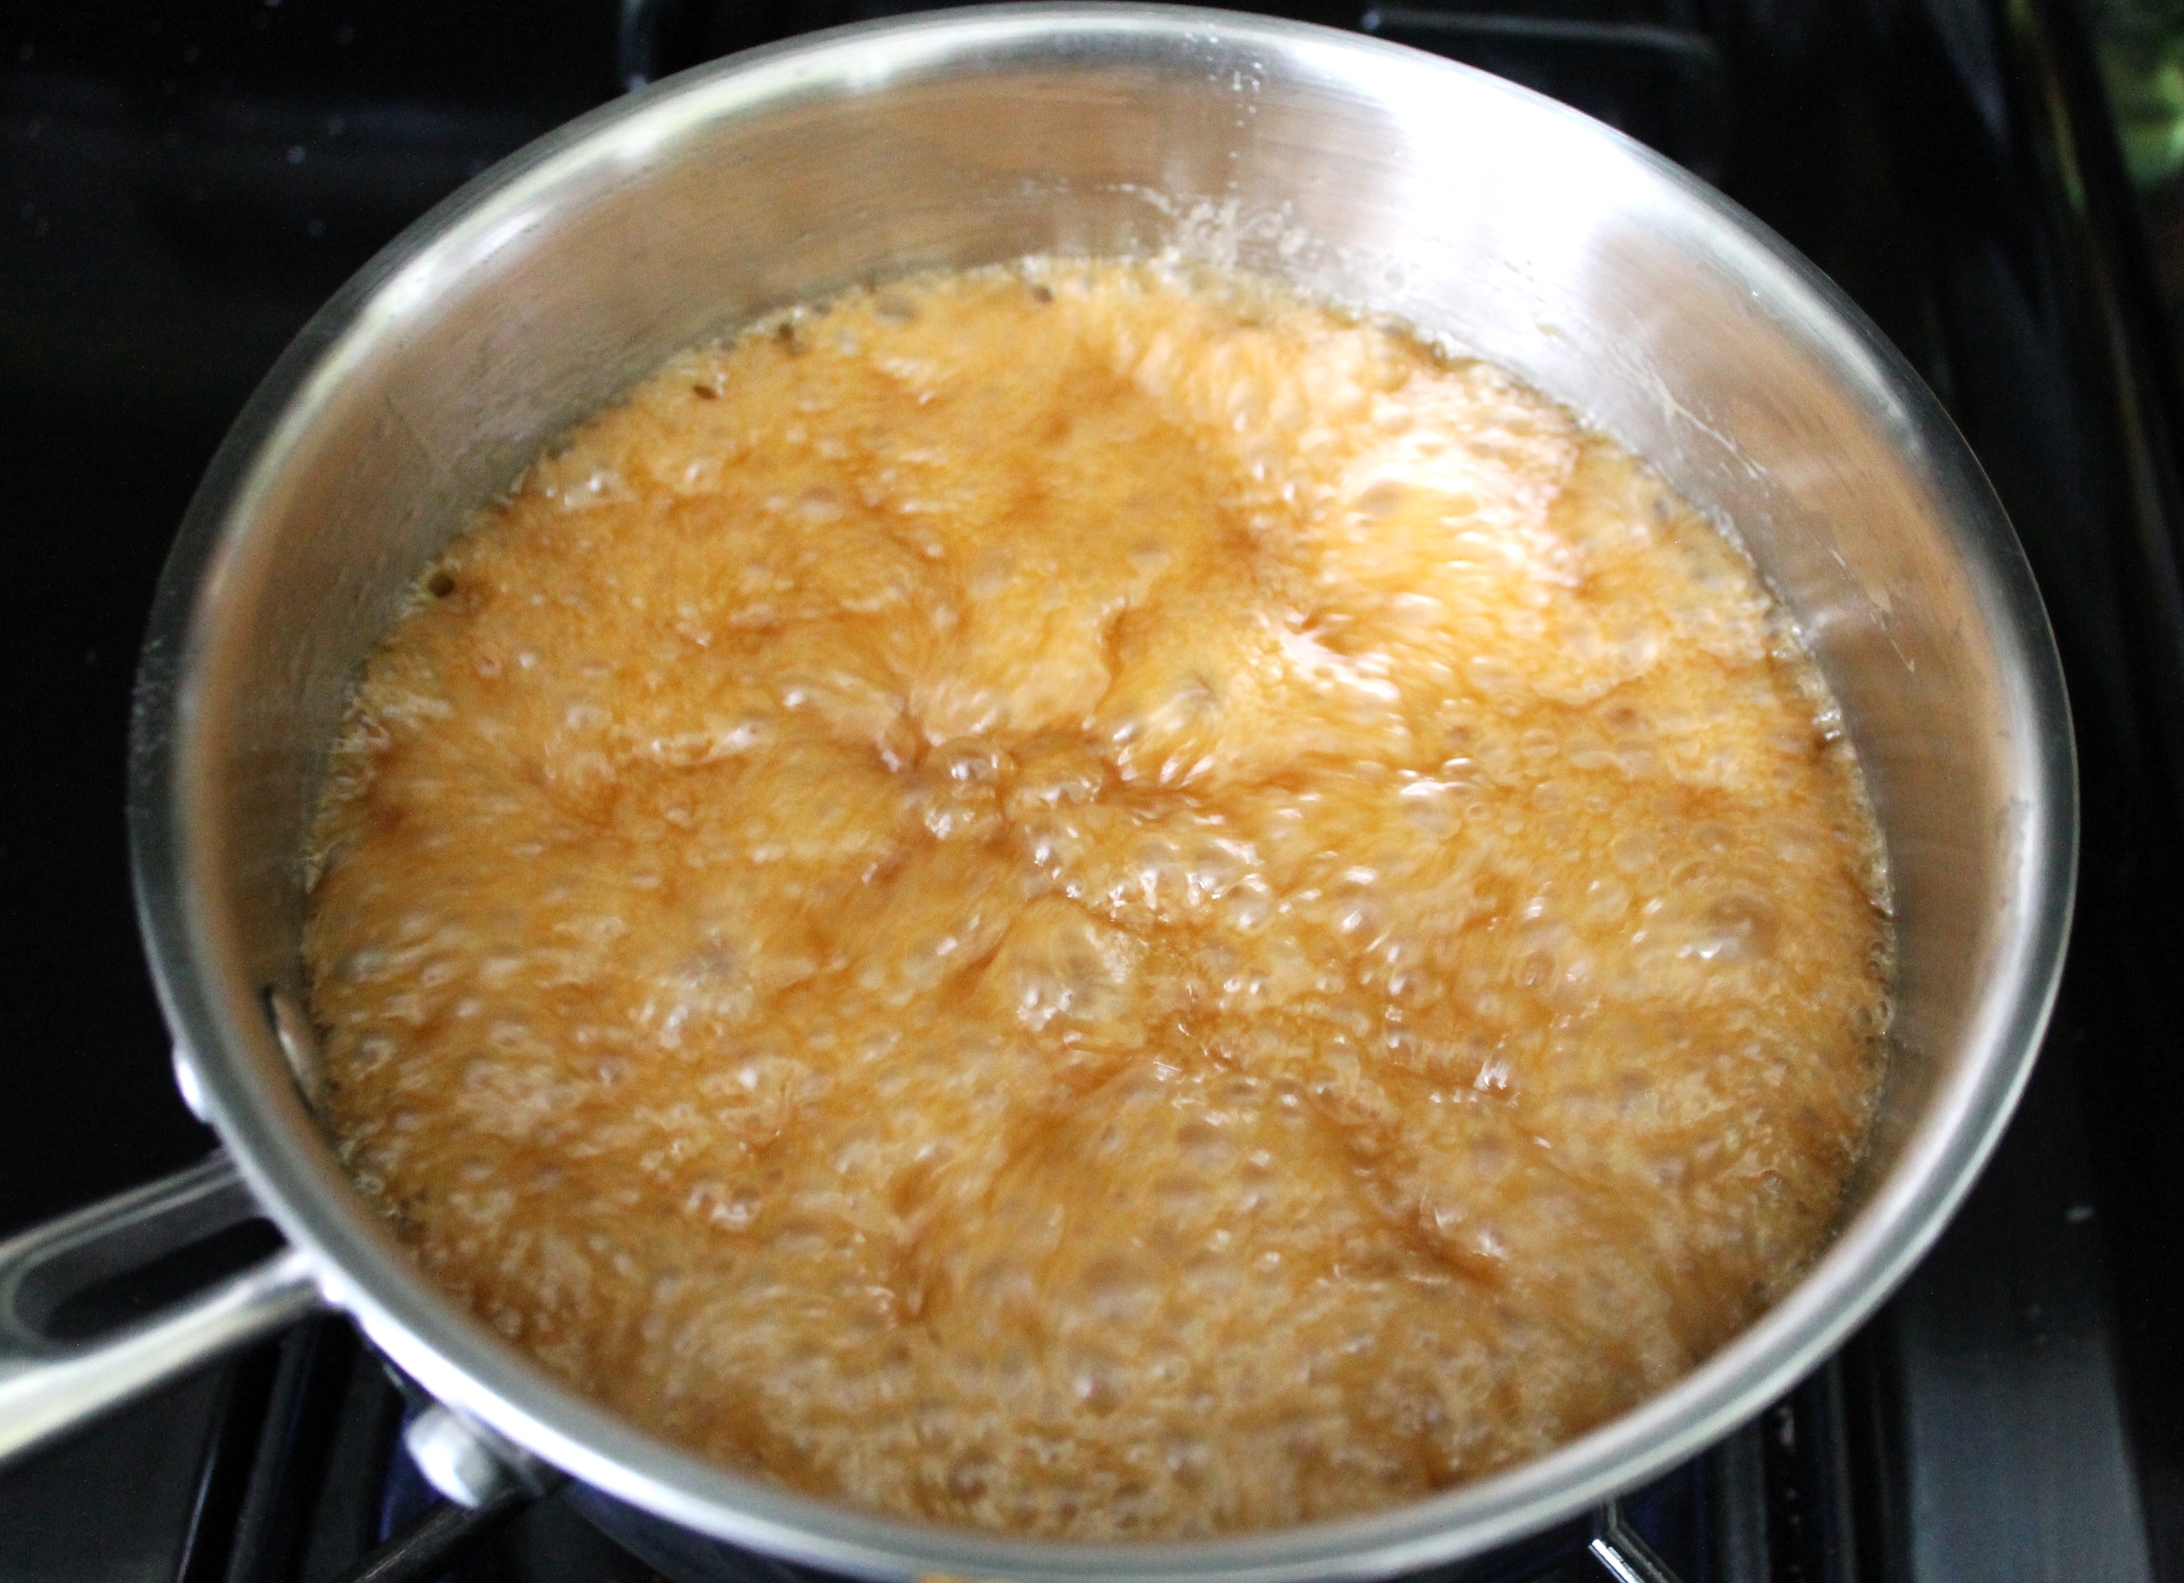
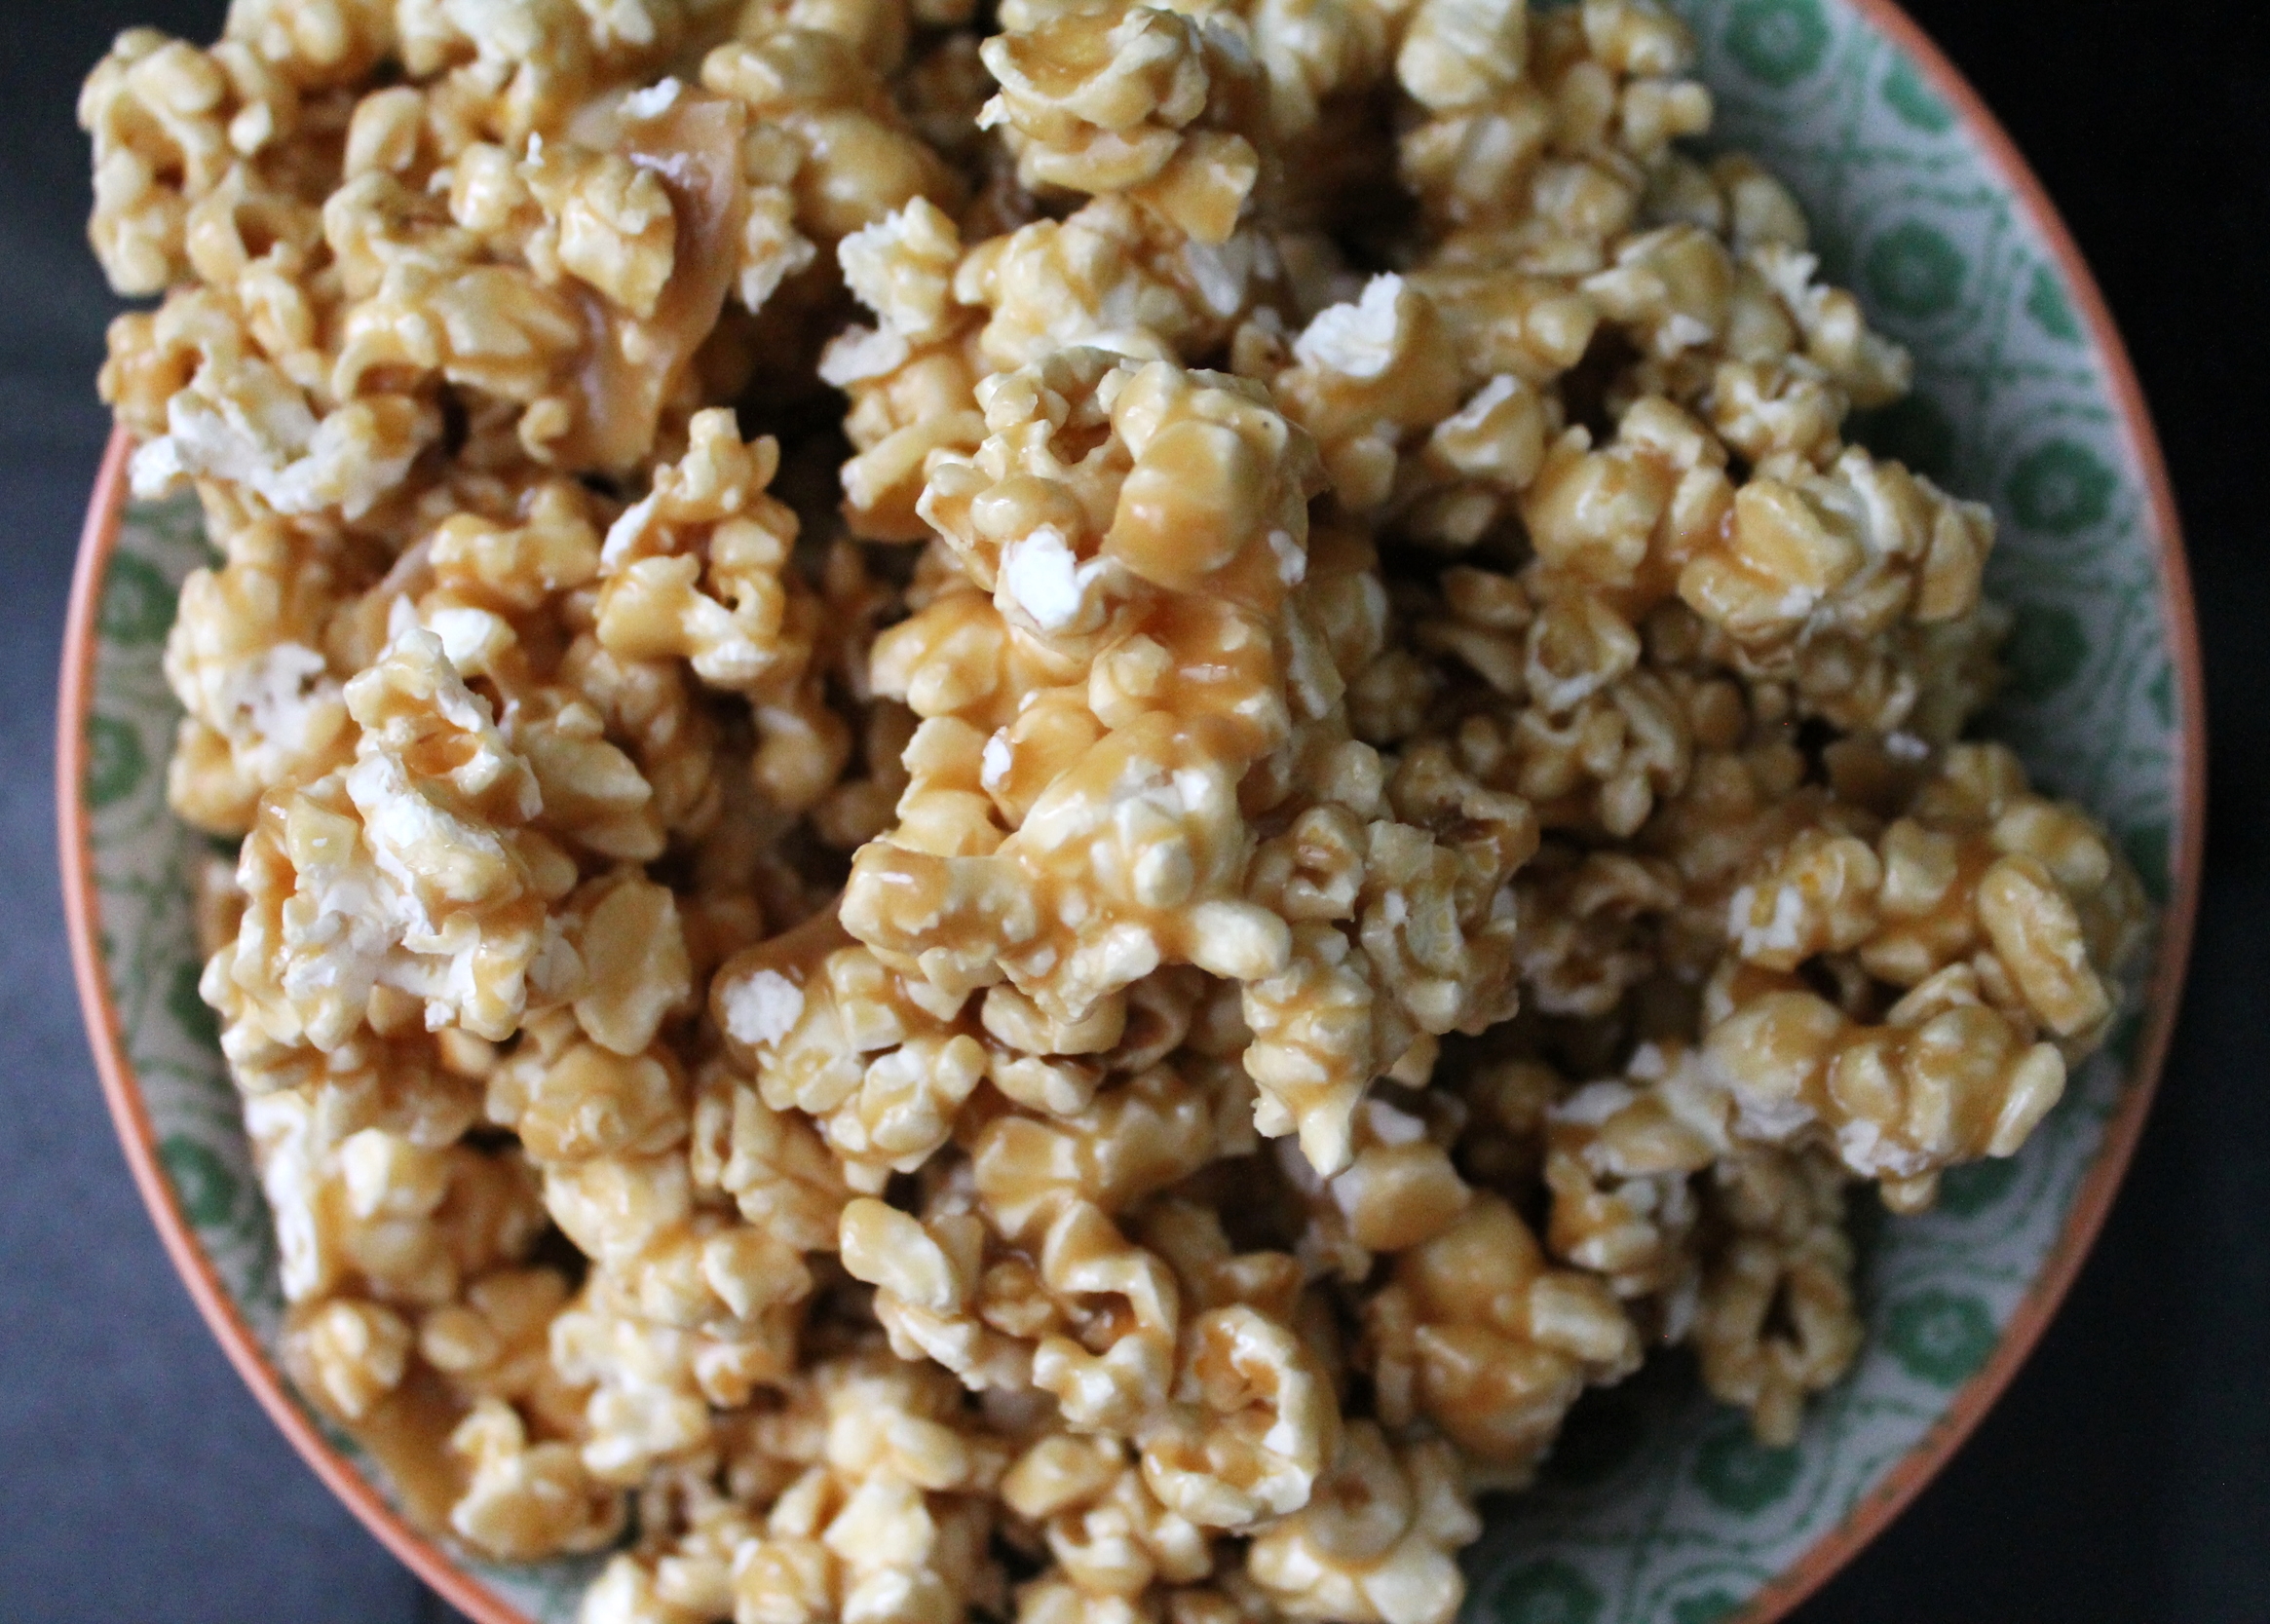
The caramel corn is so simple to make, it’s probably the easiest and most straightforward recipe out there. No thermometers to mess with, just simply boiling the ingredients until they are the caramel color you desire, pouring it all over your popcorn and letting the oven do the magic.

Note: you do not have to stuff these cookies with anything, I just think that they make it THAT much more exciting! Also, this caramel corn is insanely yummy as a snack all on its own as well.

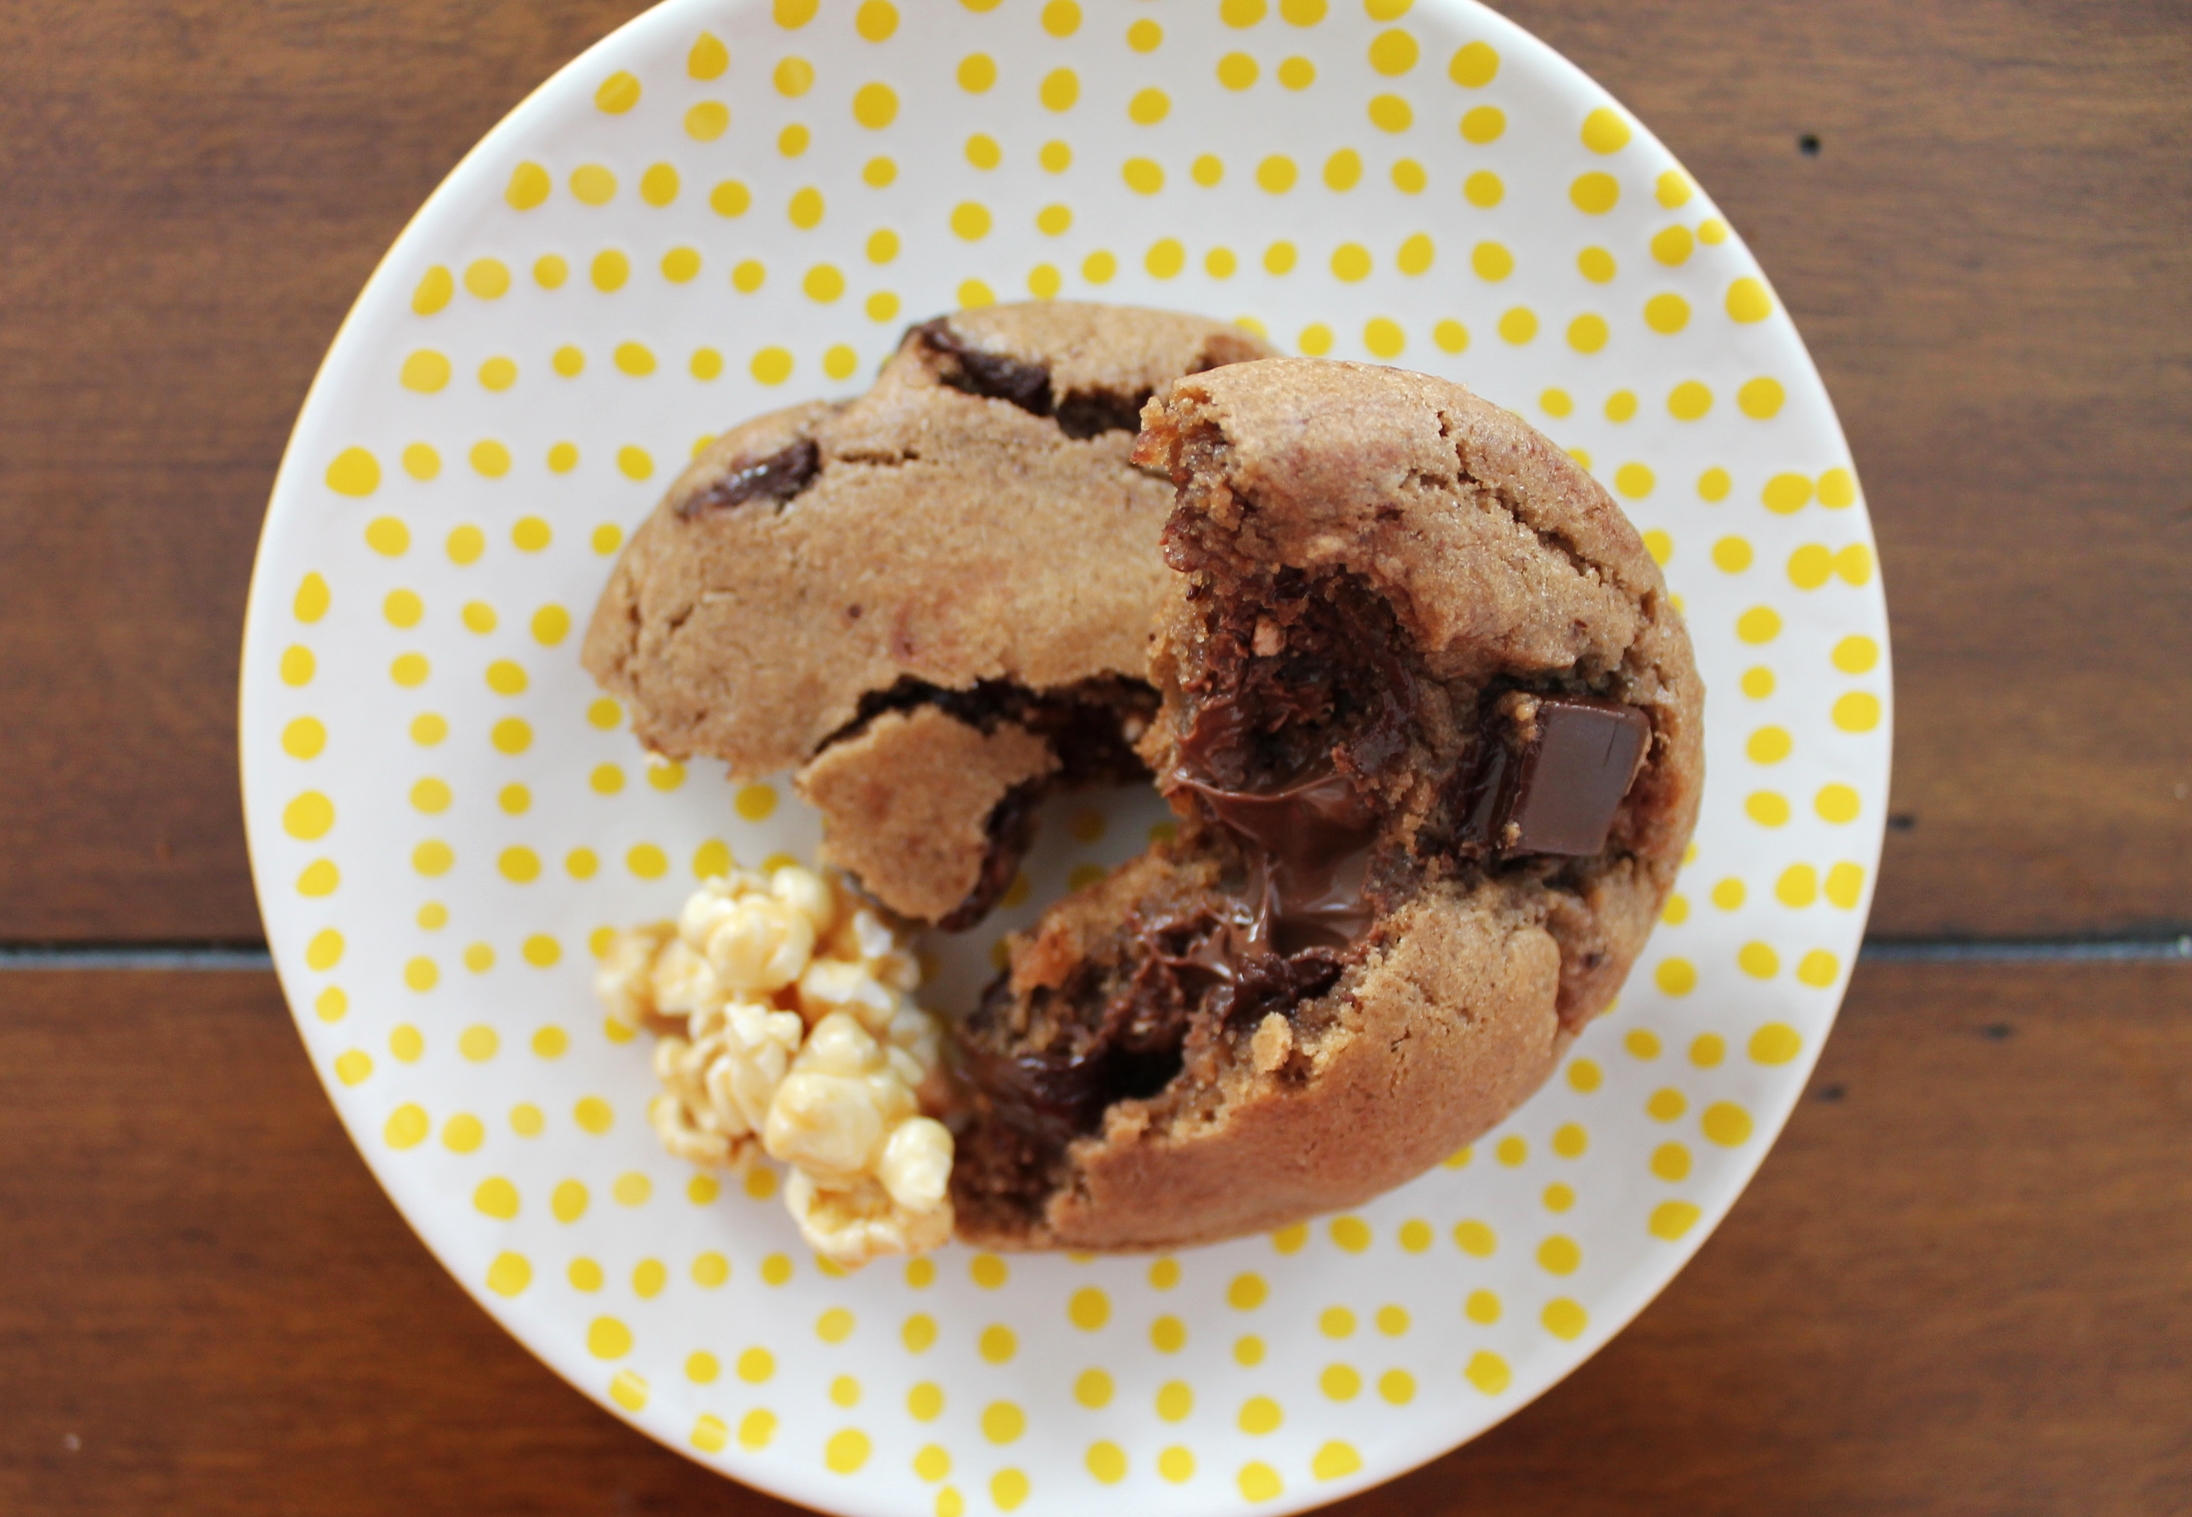
Next is the sweetest Nutella cookie you ever did taste. To “tame” it, I used very dark chocolate chunks, upped the salt a bit, and then gave it even more depth by stuffing the cookies with basically caramel-Nutella wrapped sweet+salty popcorn!

It’s a mouthful. Honestly…

The cookie on its own is divine, but adding the filling elements brings it to the next level. Does it help that it is half the size of my face? Absolutely! But really it’s just a fun cookie to have. You all know I am obsessed with everything fruit, especially during the summer when every variety seems to flourish, but I just couldn’t resist giving you all something a little on the bad side!

You all can stuff your faces with watermelon, strawberries, grilled corn on the cob—but I know when you’re craving some of the amusement park/pier food, you’ll be thanking me with this one!

caramel corn ingredients

Natural Popcorn, popped—1.5 oz, or 5 C

Butter—3 oz, or 6 TBL

Brown Sugar—6 oz, or ¾ C

Corn Syrup—2 oz, or 3 TBL

Cream of Tartar—¼ tsp

Salt—1 tsp


process

Pop your popcorn and spread the 5 cups on a sheetpan lined with parchment or a Silpat.

Preheat your oven to 200˚ F.

In a medium sized saucepot, combine the butter, sugar, corn syrup, cream of tartar and salt.

Cook the caramel on medium heat, bring to a boil and allow to boil for about 5 minutes.

Drizzle over the popcorn that is spread out on the pan.

With a spatula or wooden spoon, gently “toss” the popcorn and caramel together, making sure to coat each piece.

Place in your preheated oven for 1 hour, stirring every 20 minutes to insure that the popcorn is all covered with the caramel.

Allow to cool completely until you are ready to stuff the cookies—you will need to chop up the popcorn to do so!


cookie ingredients

Butter, room temperature—8 oz, or 2 sticks

Nutella—5.5 oz, or ½ C

Sugar—8 oz, or 1 C

Brown Sugar—8 oz, or 1 C + 2 TBL

Eggs—3

Vanilla—1 tsp

Flour—24 oz, or 5 ½ C

Salt—1 ½ tsp

Baking Soda—1 tsp

Dark Chocolate Chunks—9 oz, or 1 ½ C


process

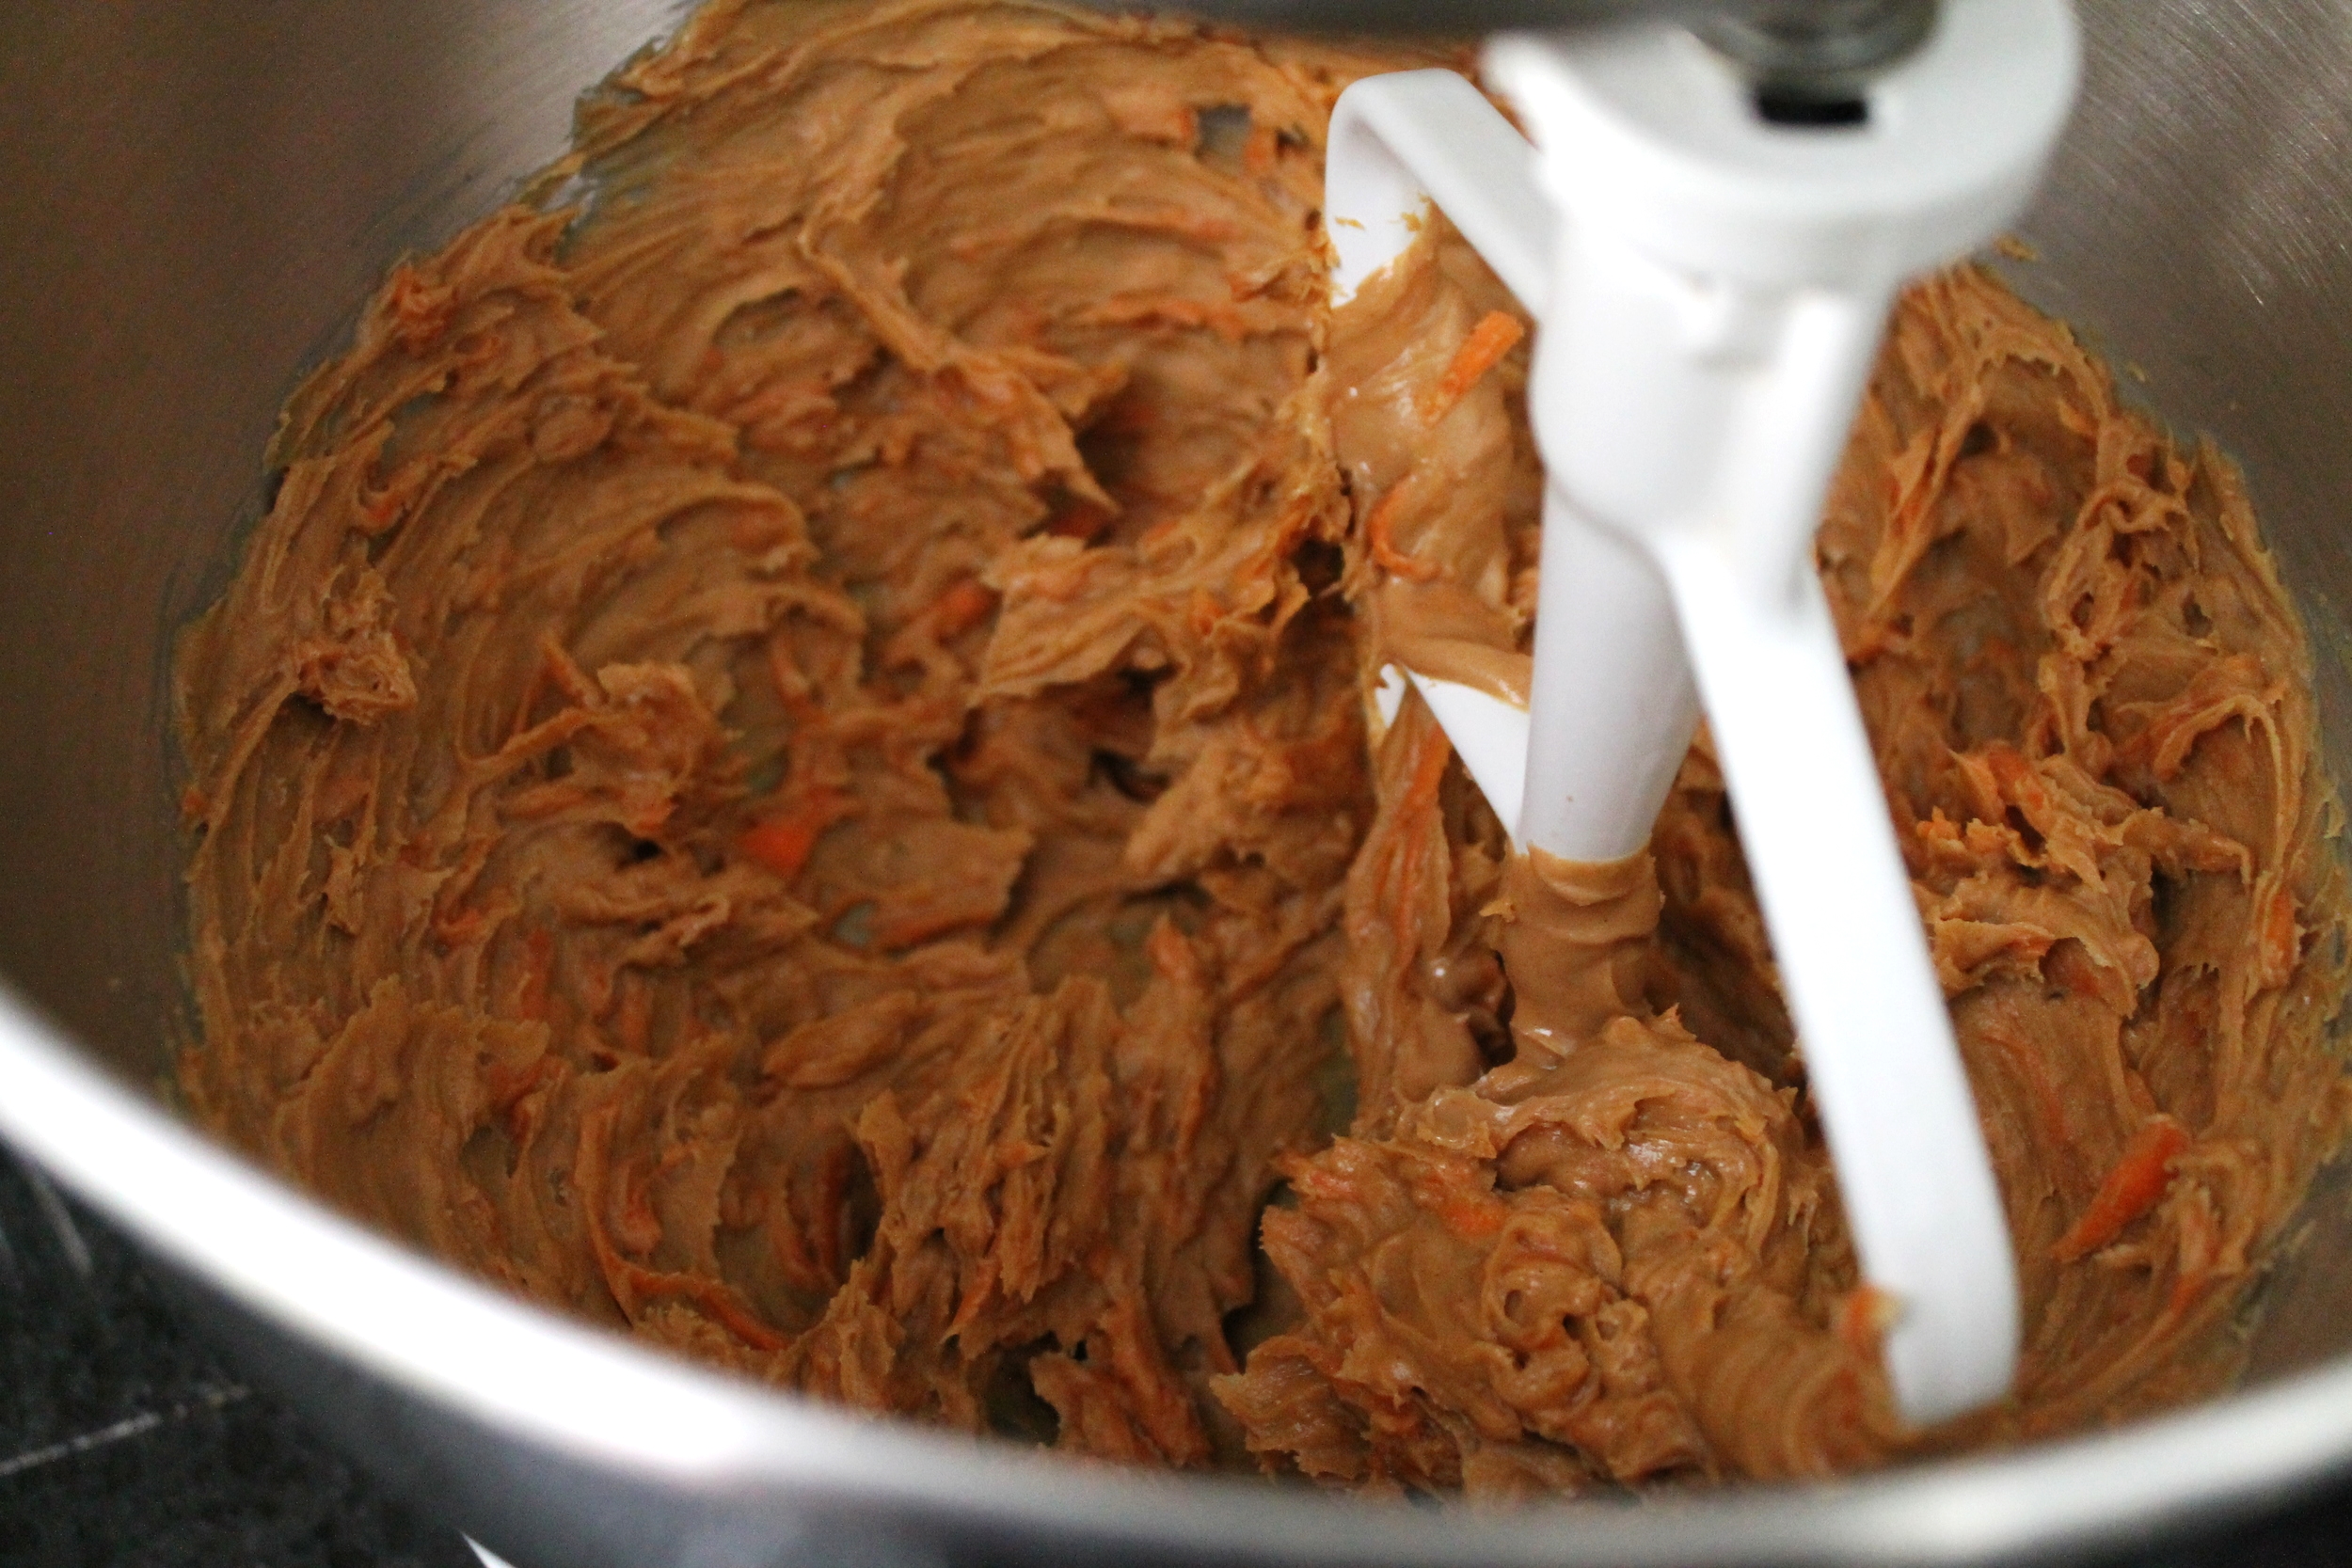
In the bowl of your mixer, cream together the butter, Nutella, and both sugars.

Once smooth and fluffy, add in the eggs, one at a time. Add in the vanilla.

In a separate bowl, sift together the flour, salt and baking soda.

With the mixer on low, slowly add this dry mixture to the dough.

Add in the chocolate chunks.

Transfer to another bowl and allow to chill for about 30 minutes.


When you are ready to bake, preheat your oven to 350˚ F.

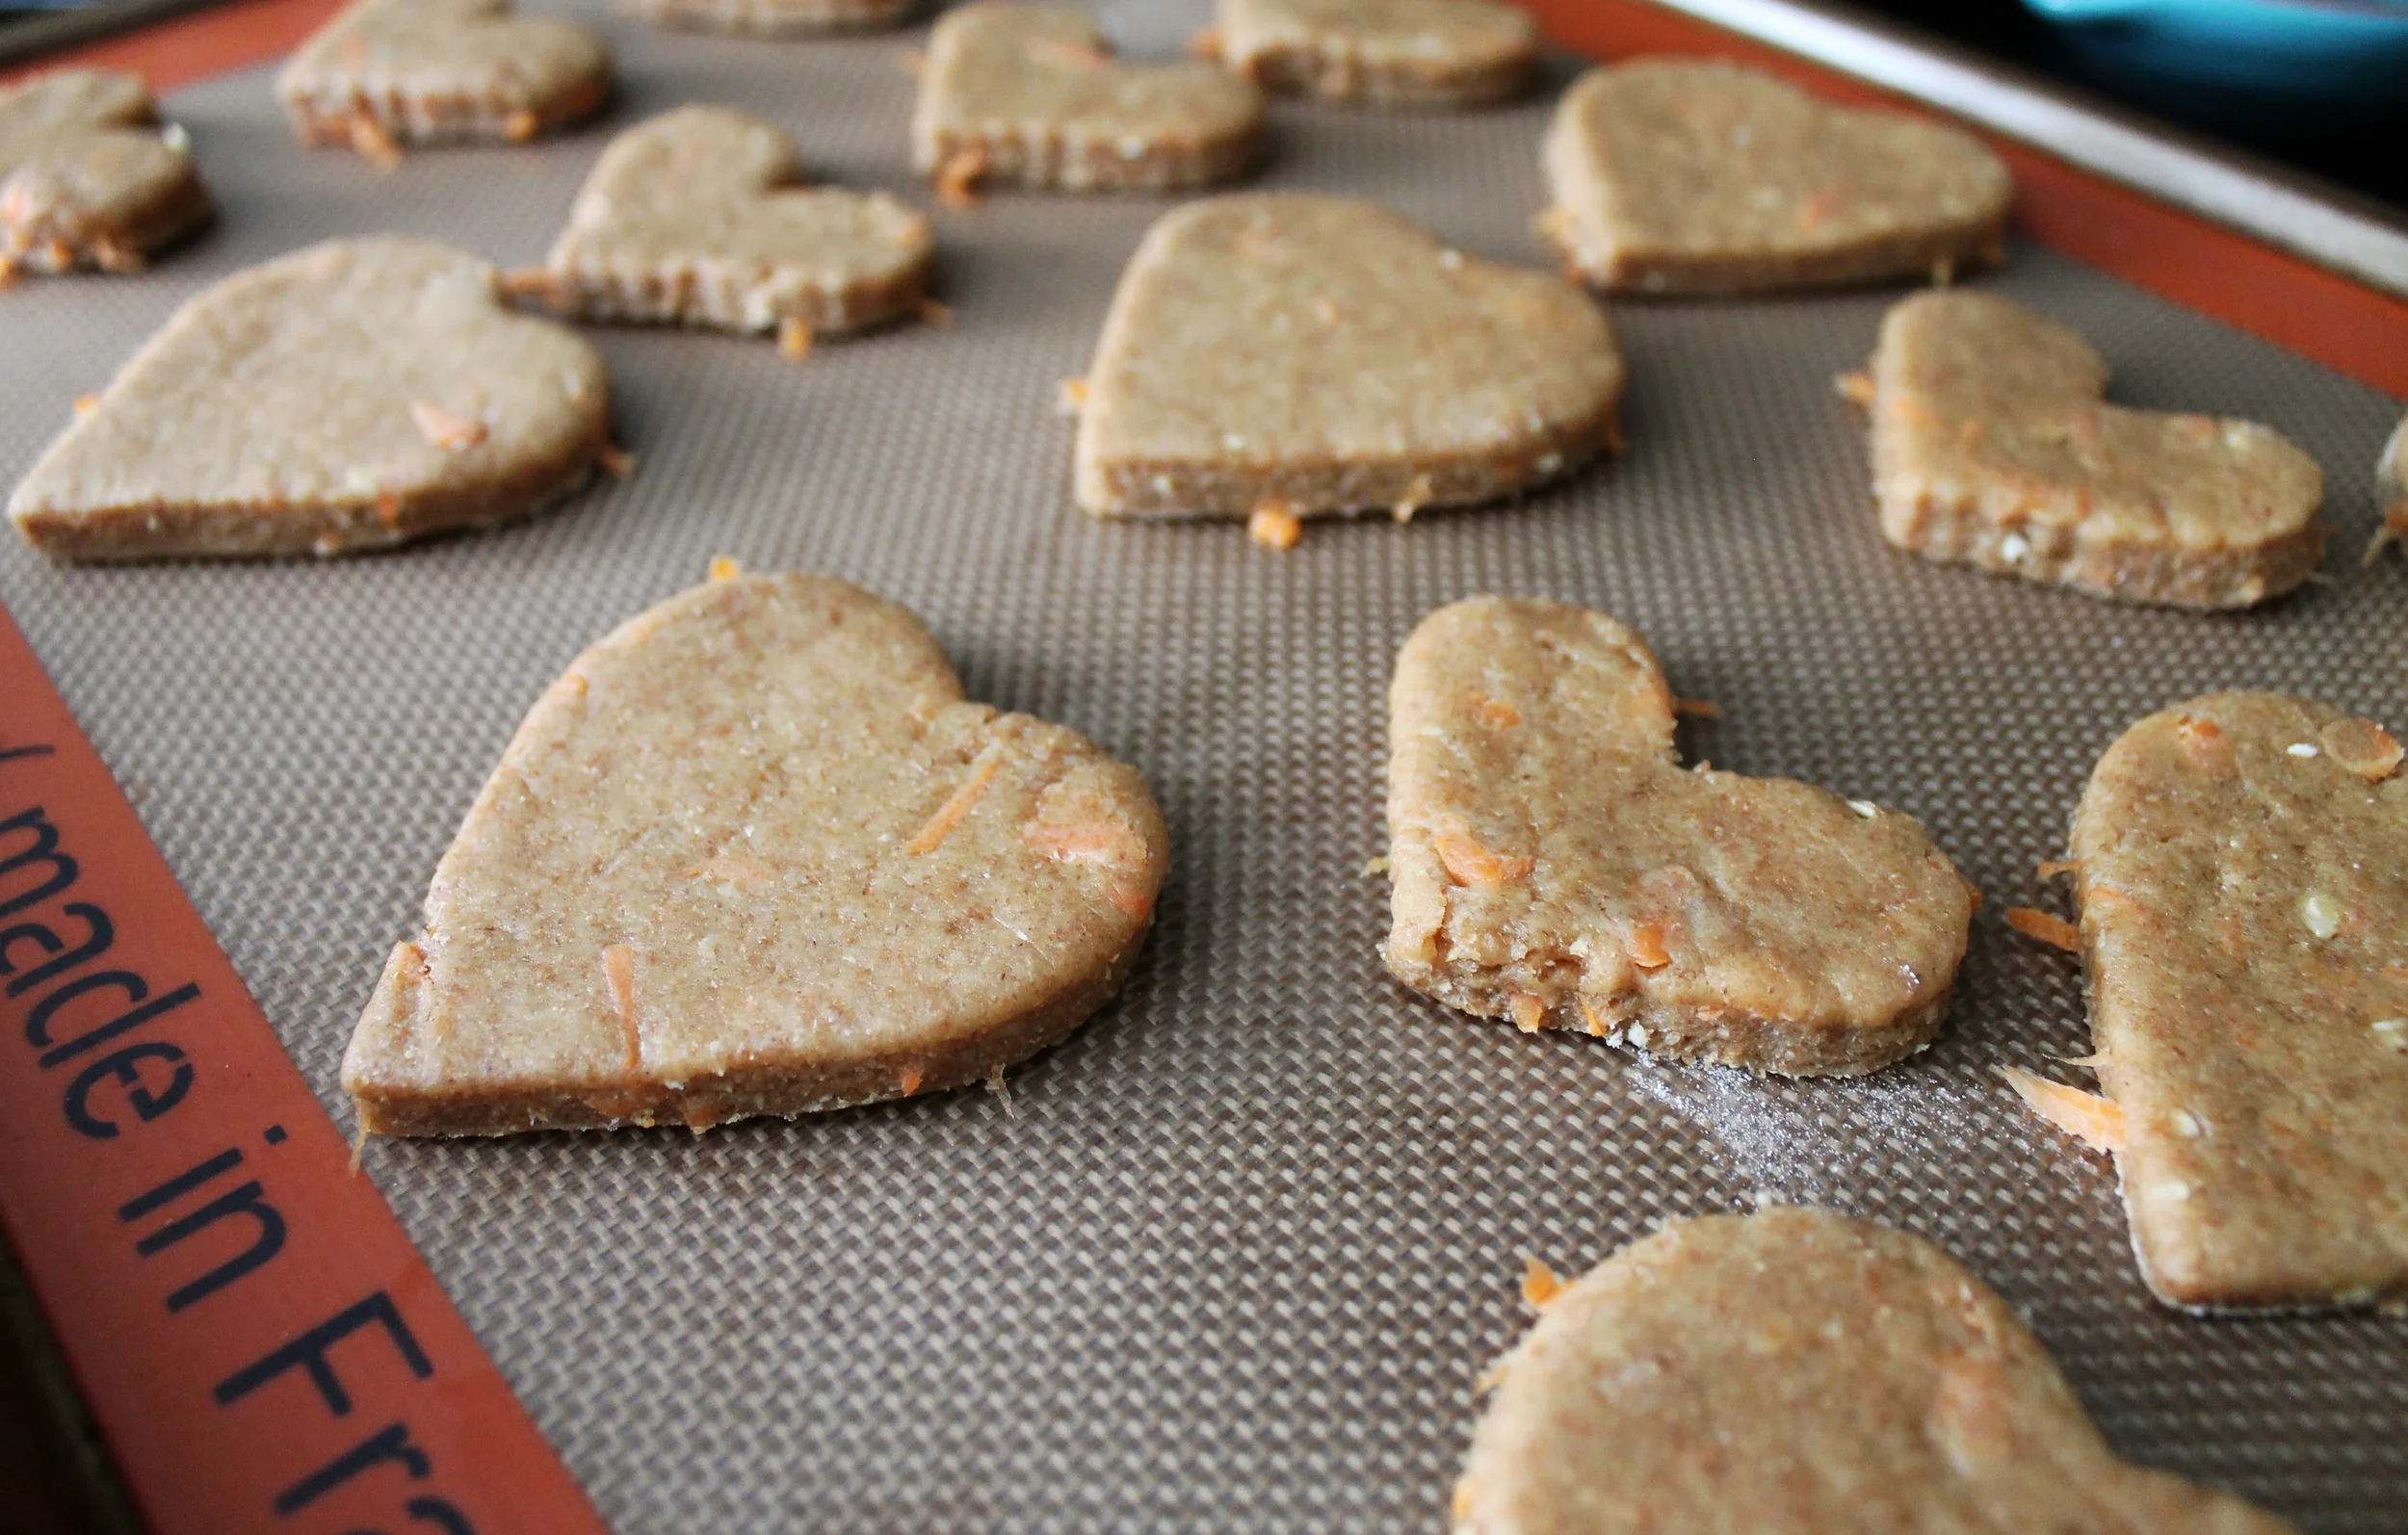
Take about 2 TBL of cookie dough, roll it into a ball and then flatten into a bowl shape so that you can stuff it.

Put about a ½ tsp of Nutella in the bottom of each little cookie bowl, and then the same amount of chopped caramel corn on top.

Cover with enough cookie dough to completely enclose the Nutella/popcorn filling.

About 8 of these cookies fit comfortably on a sheet tray, as they are very large!

Bake for 15-17 minutes.

Remove from the oven, allow to cool and enjoy!


Bon Appétit!

Rhubarb Plum Mini Pies

Raise your hand if you’re not entirely ready for the month of June to be here…

Raises hand.

Wasn’t it just my birthday? Didn’t Roberto just leave for a 2-month work trip? When did wearing dresses even become too hot? I’m just all sorts of behind on the times here. I love summer, just as I love all seasons, but the salty sea air, the fresh fruits and veggies from the garden, the no-makeuped face because a sunkissed face looks simply perfect—these things simply give me life!

As the next 4 months of my life consist of weddings, moving, trips, showers, our wedding…I’m truly trying to chill any chance I get, to really enjoy my last few months in West Virginia and to not let the stress of planning the upcoming “I dos” AND moving to another state overwhelm me. Little by little I have been exploring this incredible state, been staying up slightly later than my normal 9pm bedtime, and just all around seizing each and every day.

As I am trying to live in the moment as much as possible, something that has been on my mind lately is when can I have a huge garden, 3 dogs, 5 chickens and maybe a pig?! We are moving to beautiful Vermont after the wedding and looking into house buying—yes, insert a freaked out yet excited face—and all I want is a big enough yard to be able to 1. Have the mowed lawn smell all around me, and 2. Learn how to really garden like my mom always has. Some of my favorite memories growing up would be when my mom was like Oh, Kate, can you go pick a few containers full of blueberries before dinner? Always yes, always, always, always.

So yes, I have been craving that lifestyle for a while now—and then I got it into my head that I had to bake with rhubarb. While strawberry rhubarb is always a yes, how about plums in place of the strawberries?! Slightly sweet, a very different texture, just needed to spice it up a little bit. I used my go-to piecrust (always a dash of cinnamon), stuffed it with a fruity, citrusy filling, and baked them into tiny, adorable little things!

While baking a normal sized pie is, of course, always welcome, I wanted to make little individual sized pies—this was much more cutesy to gift to some of my friends! They fit perfectly into itty-bitty boxes that I had, tied them up with some string, I guess you could say it is one of my favorite things!

…I will always quote The Sound of Music…

Whether you’re itching to have a garden, like me, fully embracing summer, like me, craving a flaky pie crust, like me, or just loving life and all its beauty, like me, then these Rhubarb Plum Mini Pies will make your hot and hazy June days all the more sweeter!

crust ingredients

Flour—7.5 oz, or 1 ¼ C

Brown Sugar—1 TBL

Salt—½ tsp

Cinnamon—1 ½ tsp

Butter, cold—4 oz, or 8 TBL

Milk, cold—4 oz, or ½ C


process

In a bowl, combine the flour, brown sugar, salt and cinnamon.

Cut the butter into cubes, making sure that it keeps as cold as possible.

Add it to the flour mixture.

Using your hands or a pastry blender, rub the butter into the flour, breaking the butter up into tiny, pea or hazelnut sized pieces.

Once all of the butter has been coated in flour (basically smooshed!), slowly add in the milk, mixing as you go.

When all of the milk has been added, your dough should be slightly sticky.

Wrap in plastic and chill until you are ready to use!


filling ingredients

Rhubarb, diced—9 oz, or 2 C

Plum, diced—6 oz, or 1 C/1 medium

Sugar—4 oz, or ½ C

Brown Sugar—4 oz, or ½ C

Cornstarch—0.75 oz, or 2 TBL

Orange Juice—2 ½ TBL

Cinnamon—1 tsp

Butter, small cubes—1 oz, or 2 TBL

Eggs—1, for eggwash


process

In a large bowl, mix together the diced rhubarb, diced plum, sugars, cornstarch, OJ and cinnamon.

Reserve filling until you are ready to use.

Cut the butter into tiny cubes and set aside.


To make the pies—remove the dough from the refrigerator, and place on a floured work surface.

Roll out the dough to about ¼“ thick.

If you are using mini pie pans, use a cutter that is about ½-1“ bigger than the pan, and cut out 16 circles; you may reroll out the dough when needed.

Spray the bottom of your pie pan(s) and press the rolled out bottom crust gently, but firmly, into ever edge.

Fill the pies with enough of the filling to make a nice mound.

Eggwash the edges of the crust and place the top crust, making sure to press into the wash so that it will stick.

Crimp the edges with a fork, cut a vent in the middle of the pie with scissors or a knife, and refrigerate while you preheat the oven.

Once you have finished with all of your mini pies and they are in the fridge, preheat the oven to 425˚ F.

Brush the tops of each pie with the eggwash and sprinkle with sugar—I like to use turbinado sugar because they are bigger!

Bake in the oven for 12 minutes.

Turn the oven down to 375˚ F.

Bake for 7-10 minutes, until they are golden brown on top.

Remove from the oven and allow to cool just slightly.

Enjoy by themselves or with a yummy scoop of icecream on top!


Bon Appétit!

Raspberry Rosé Cake

You know how they say that you shouldn’t go to the grocery store hungry, because then you’re just going to buy all of the bad food? WELL! That’s sorta, kinda how this recipe stumbled into my head…

I was, as always, craving cake, but then also the day was pretty spectacular—the warmth of the summer sun was upon my skin, the sound of birds chirping was all over, the flowers were blooming gorgeously, and people were just happy. It’s days like these that no matter what, I can’t be brought down—and then I thought why not add a little rosé wine into the mix?!

And so I did.

I went to the store and bought too many bottles for a little taste-testing afternoon. No regrets!

…Except maybe the fact that I have been missing out for a whiiilllle. Like, can someone please tell me why I’ve never been a rosé drinker? Because I sure can’t! I’m a true Riesling gal in the warm months, I can’t get enough of it—but this cake has led me rethink my summer beverage choices. The crispness, slight sweetness, with just the hint of a red wine, there are no bad qualities to this wine!! Well, maybe the fact that I drank an entire bottle while perfecting the recipe—hey, what can you do!?

So, along with the glorious addition of wine to this recipe, fresh fruit also shows its face. Like, hellooooo juicy and luscious raspberries. Gosh, I am so obsessed with this season and all of the beauty it produces, fruit will be making many, many appearances over the next few months for sure! Et voila my friends, a masterpiece was created, and just in time for the true start of the summer—Memorial Day Weekend!

Yes, a barbeque, a big fruit salad, some cold beers, that may be your go to, but I promise that this cake will 1. Be a huge hit, 2. Fill up those alcohol filled tummies and 3. Get people to switch to an ice-cold glass of rosé…quite a classy BBQ if I do say so myself!

Oh, and did I mention that I soak the raspberries in the wine as well?! You’re welcome.

…And now we are at the end of this nice long rant about my newfound love for pretty pink wine. So see, my hunger made me want cake, which made me step out into the beautiful sunshine to pick up some fresh fruit, then some rosé, and then I made a beautiful, Welcome Summer cake. Not all cravings are bad, and I sure hope that this one satisfies yours!

cake ingredients

Butter, room temperature—4 oz, or 8 TBL

Sugar—8 oz, or 1 C

Eggs—2

Vanilla—2 tsp

Flour—12 oz, or 2 C

Baking Powder—2 ½ tsp

Salt—½ tsp

Milk—4oz, or ½ C

Lemon Juice—3.5 oz, or ½ C

Lemon Zest—2 medium


process

Preheat your oven to 350˚ F.

In the bowl of your mixer, cream the butter and sugar.

Once light and fluffy, add in the eggs and vanilla. Scrape.

In a separate bowl, sift together the flour, baking powder and salt.

Alternating between the sifted ingredients and the milk/lemon juice, slowly add to the mixer in 4-5 increments.

Add in the zest.

Once you have all of the ingredients combined and mixed together, pour into 2-6” cake pans that have been sprayed with nonstick spray and lined with parchment or a light dusting of flour.

Bake the cakes for 35-40 minutes, until the top springs back slightly when touched.

*Note: if you do not have 2-6” cake pans, cut the recipe in half and just make in two separate batches!*

Allow to cool completely before building your cake


buttercream ingredients

Butter, room temperature—12 oz, or 1 ½ C/3 sticks

Confectioner’s Sugar—18 oz, or 4 C

Vanilla—1 tsp

Rosé Wine—2 oz, or 4 TBL


process

In the bowl of your mixer, cream the butter until very, very smooth.

In a separate bowl, sift the confectioner’s sugar, and then slowly add to the creamed butter.

When all smooth and incorporated, add in the vanilla, and then slowly stream in the rosé.

Optional—if you want a light pink color, add in just the smallest drop of red food coloring!

Turn the mixer up to high and whip the buttercream for about a minute, this will make it light, fluffy, and easy to apply to the cake!


filling ingredients

Raspberries—6 oz, or ~1C

Rosé—2 oz, or 4 TBL


process

In a small bowl, combine the berries and the wine.

Smash a little bit with the back of a spoon, and allow to marinate just slightly before putting them in between your two cake layers.


assembly

Once both of your cake layers have cooled completely, trim off the tops of each of the cakes so that they are flat in both sides.

Place one cake layer on either a plate or a turntable, whatever you are going to decorate on.

Fill either a piping bag, or a plastic baggie that seals shut, with the buttercream; make a moat around the outside edge of your cake, about ½” thick—this will help make sure that your cake is level, and the filling will not ooze out of the cake.

Take a dollop of buttercream and spread evenly inside of the moat you just made.

Slightly strain the wine soaked raspberries, and add on top of the buttercream.

Place your second layer of cake on top of the first, making sure to press just slightly.

Take another big spatula-full of buttercream and place on the top of your cake, smoothing it out.

Now, some of that will go over the sides, which is great, and you can just use it to cover the sides of your cake as well.

Once you have finished and are satisfied, you make decorate however you would like—naturally I went for the star sprinkles—and take a nice big piece to enjoy.


Bon Appétit!

Peanut Butter Carrot Dog Cookies

I am going to just start by saying that this is, by far, the best recipe that I have on this site! I mean, it’s a cookie recipe for two of my furry, four legged best friends—Doc and Jillie!

For any and all of you who follow me on social media, you know that saying that I am obsessed with those two cuties is an understatement! They live with my mom, in Maine, and let me tell you that absence sure does make the heart grow fonder. I am one of those crazy ones who calls my mom to chat with them on the phone, who is always asking for photos, who spends more time with them when I am home visiting than anyone else…

…Roberto just loves that about me!

So, why did I decide to make this recipe right now of all times?! WELL! I was able to go home for a few days this past weekend, and I just couldn’t resist making these. This weekend was jam packed with friends and family, truly nonstop—and so little Doc and Jillie deserved a special treat as well!

What I love about this recipe is that there are only a handful of ingredients in them, and they can all, most likely, be found in your pantry right now. There’s no weird additives, no names you can’t pronounce, just some wholesome, healthy foods to keep your pups happy!

To start, I knew that carrots were a must. These two will whine forever sometimes until they get their carrot snacks—plus it’s super cute to have them do little tricks for them, of course! Also, any way to get some great vegetables into their diets is good with me. Next, a fat, such as peanut butter, is a great alternative to butter any day. Please make sure your pets are not allergic to peanuts/nuts before using any type of nut butters in these cookies!

I have used a combination of oats and whole wheat flour, but if you would rather use an almond meal, or another flour that you know your pets prefer, that is 100% an option. Luckily, the gluten structure is not important in these cookies!

An egg, some milk and/or water will bind these together, and before you know it, you have a great dough!

You may cut these cookies into any shape you would like. I have used a big and a little heart shaped cutter because, well, these two babes have stolen my heart forever! And to make all of you doggie parents out there feel at ease, both Doc and Jillie gobbled these up—and I even taste tested the batch a couple of times to make sure it wasn’t overly sweet as well as had a good texture…they are people-safe, too!

So, to all of my fellow pet infatuated folks out there, give those little ones something to show how much you appreciate them—the ones who will always snuggle, always play, always go for a walk, and always love you—they deserve it!

ingredients

Carrots, shredded—2oz, or ¾ C

Peanut Butter—8 oz, or 1 C

Egg—1

Water—4 oz, or ½ C

Milk—2 oz, or ¼ C

Whole Wheat Flour—12 oz, or 2 C

Oats—1 oz, or ¼ C


process

Preheat your oven to 325˚ F.

In the bowl of your mixer, combine the shredded carrots and peanut butter.

Add the egg.

Alternating between the liquid and the dry ingredients, add to the mixer.

Once all is mixed together well, turn out your dough onto a lightly floured work surface.

Roll out the dough until it is about ¼” thick.

Using whatever cutters you would like—I used large and small heart cutters because, well, there’s a big and little doggie receiving these!—cut out cookies until you have no more dough left!

Unlike normal roll out cookie dough, this dough can be rolled and rerolled as many times as needed.

Put on a baking sheet lined with parchment paper, a Silpat or nonstick spray.

Bake for 15 minutes, flip them, and then another 15 minutes, so that they can get nice and toasty on each side.

*Note: if you want them softer or crunchier, the baking time may be adjusted, the 15 minutes is more on the crunchy side!*

Allow to cool and let your sweet little doggies enjoy!


Bon(e) Appétit!

Chocolate Lemon Poppyseed Muffins

It’s Mother’s Day, it’s Mother’s Day!

I mean how can one not be this excited?! I am in love with my mom and my birthday always falls right around this weekend (sometimes on the big day!), and so there are always celebrations galore. Go figure that I would do another muffin recipe—last year I literally posted Mother’s Day Muffins

This year we are going crazy with freshness, lightness, and chocolateyness. I don’t know about you, but it seems like moms are just obsessed with that in desserts. Something about the simplicity, the vibrancy, the freshness in lemon that seems to scream Moms are going to love me!

Then I added in chocolate, because, well, chocolate, my friends…and topped them with a crumb. Let me tell you, a lemon poppyseed muffin with a crumb topping is a game changer! The addition of a couple of unexpected things in these little muffins is what really makes it unique for me—who am I kidding, was chocolate really a huge surprise?! But definitely a good one!

So, my friends, if you’re looking to wow mom, who you all should if you’re close enough to be with yours (sadly, West Virginia to Maine isn’t driving distance…), these will do the trick! I mean how many times has she woken up to breakfast in the oven, the coffee brewing, maybe some beautiful tulips on the table and Michael Bublé playing in the background?! For the almost 26 years of my life, my mom always does all of those things for me, she’s basically Superwoman, and I have no clue how she gets it all done.

This Sunday I encourage you to swap places with her for just the one day—let her eat in the living room and you make her bed!—all starting with a little coffee, a couple of these Chocolate Lemon Poppyseed Muffins, and a crazy amount of love!

crumb ingredients

Brown Sugar—2 oz, or ¼ C

Flour—3 oz, or ½ C

Butter—2 oz, or ¼ C/4 TBL


process

Combine brown sugar and flour together in a bowl.

Cut the butter up into hazelnut-sized cubes.

Add the butter in with the dry ingredients and mix.

Using either a pastry cutter or your hands, rub the butter into the sugar-flour until it resembles little bits of sand.

Set aside until ready to use.


muffin ingredients

Butter, room temperature—4 oz, ½ C/8 TBL

Sugar—6 oz, or ¾ C

Eggs—2

Greek Yogurt—4oz, or ½ C

Vanilla Extract—1 tsp

Flour—12 oz, or 2 C

Baking Soda—1 tsp

Baking Powder—1 ¼ tsp

Salt—½ tsp

Poppyseeds—0.25 oz, or 1 TBL

Lemon Zest—1 medium lemon

Lemon Juice—4 oz, or ½ C

Dark Chocolate Chips—6 oz, or 1 C


process

Preheat your oven to 375˚ F.

In the bowl of your mixer, cream together the butter and sugar.

Scrape down the sides of your bowl and add in the eggs, one at a time.

Add in the vanilla and Greek yogurt—mix until all combined.

Sift together your flour, baking soda, baking powder and salt.

Add the lemon zest and poppyseeds.

Slowly add this to your mixer, making sure to scrape down the sides of the bowl when needed.

Once you have added all of the dry ingredients, slowly stream in the lemon juice.

Add the chocolate chips.

Line a muffin pan, and fill each cup ¾ of the way with muffin batter.

Sprinkle a healthy sized portion of the crumb you made on top, making sure to cover the top completely.

When you have filled all of your cups, put in your preheated oven and bake for 18-20 minutes, until slightly golden on top.

Remove from the oven and allow to cool slightly before eating.


Bon appétit!