Candy Cookie Cake

Happy Halloween, my friends!

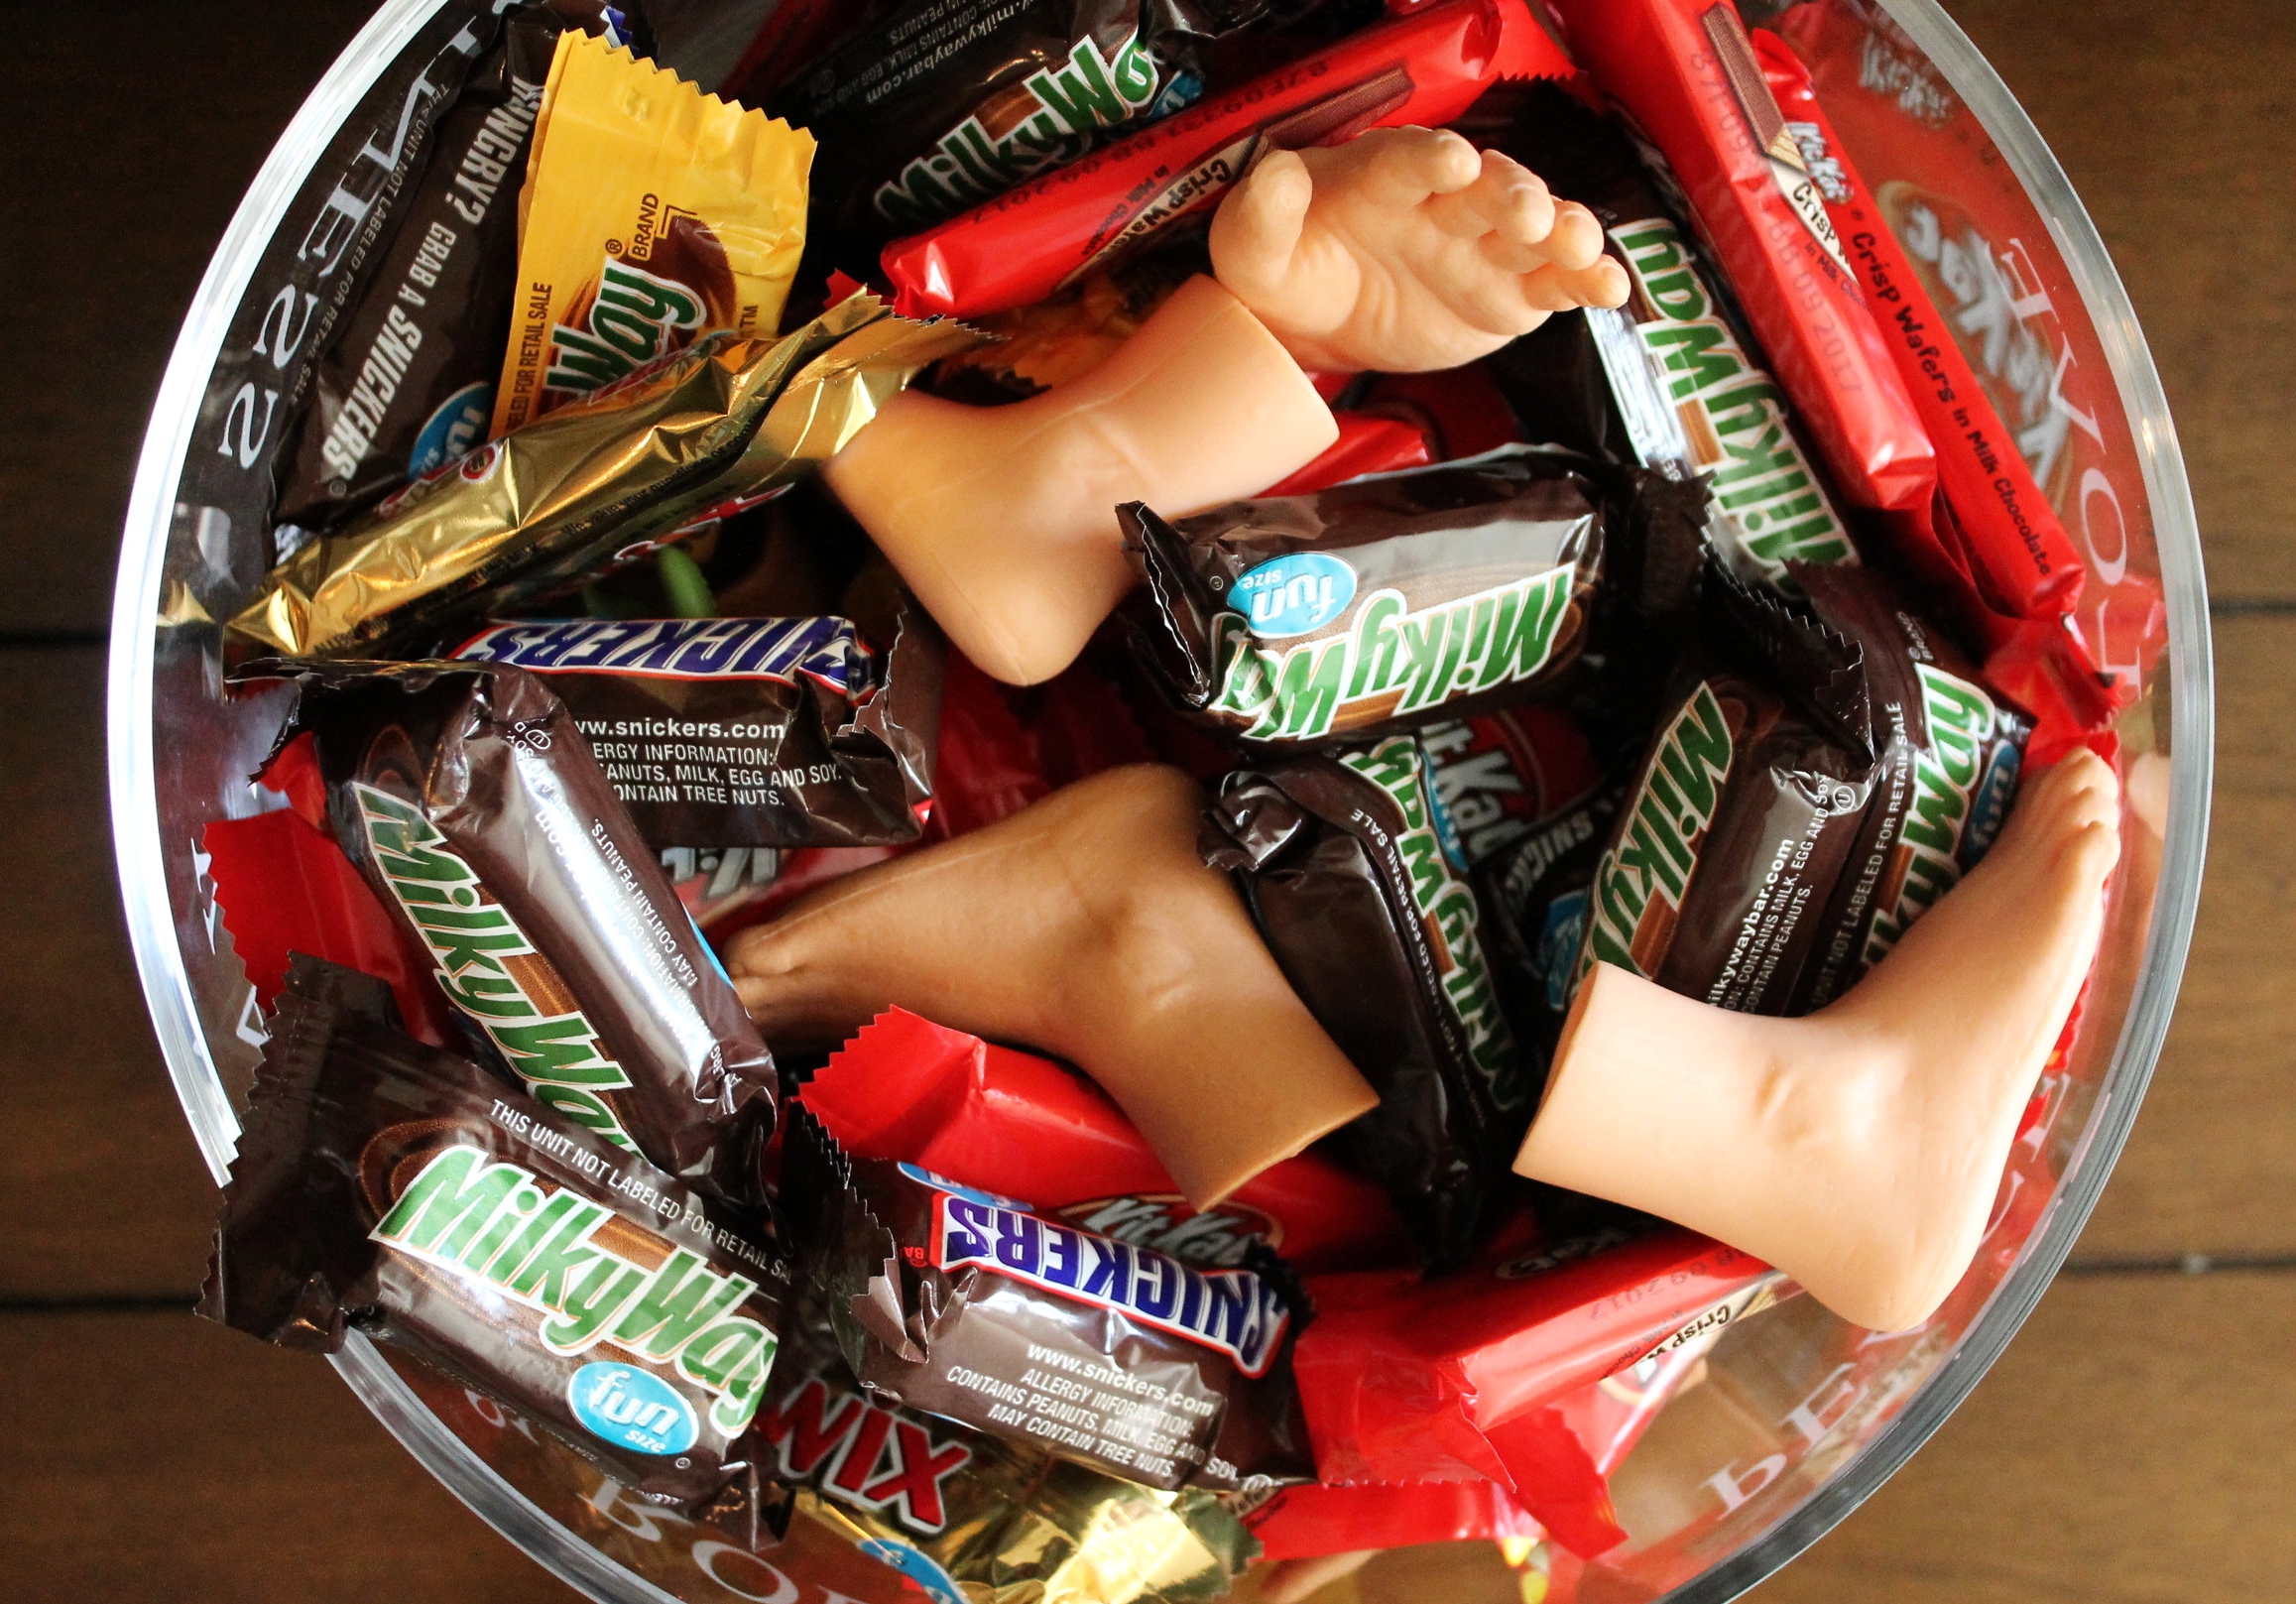
What are your plans?! Trick-or-treating? Passing out candy? Ridiculous parties? Or, if you’re like me, you'll be devouring all of the candy you had to buy, knowing that no one will come up to your apartment door ringing the bell…

Yes. That’s me. I can’t resist the candy aisle for any holiday, and when you can get an assorted bag of all of the best mini-size chocolates, you go for it! As a chocolate-obsessed gal, I just can’t help myself and I’m not ashamed. Funny story—I recently did a small “about me” for my job’s website and had to write about my favorite foods…all I could think of was, well, chocolate…

Yes, Katie’s favorite food is chocolate…who am I?!

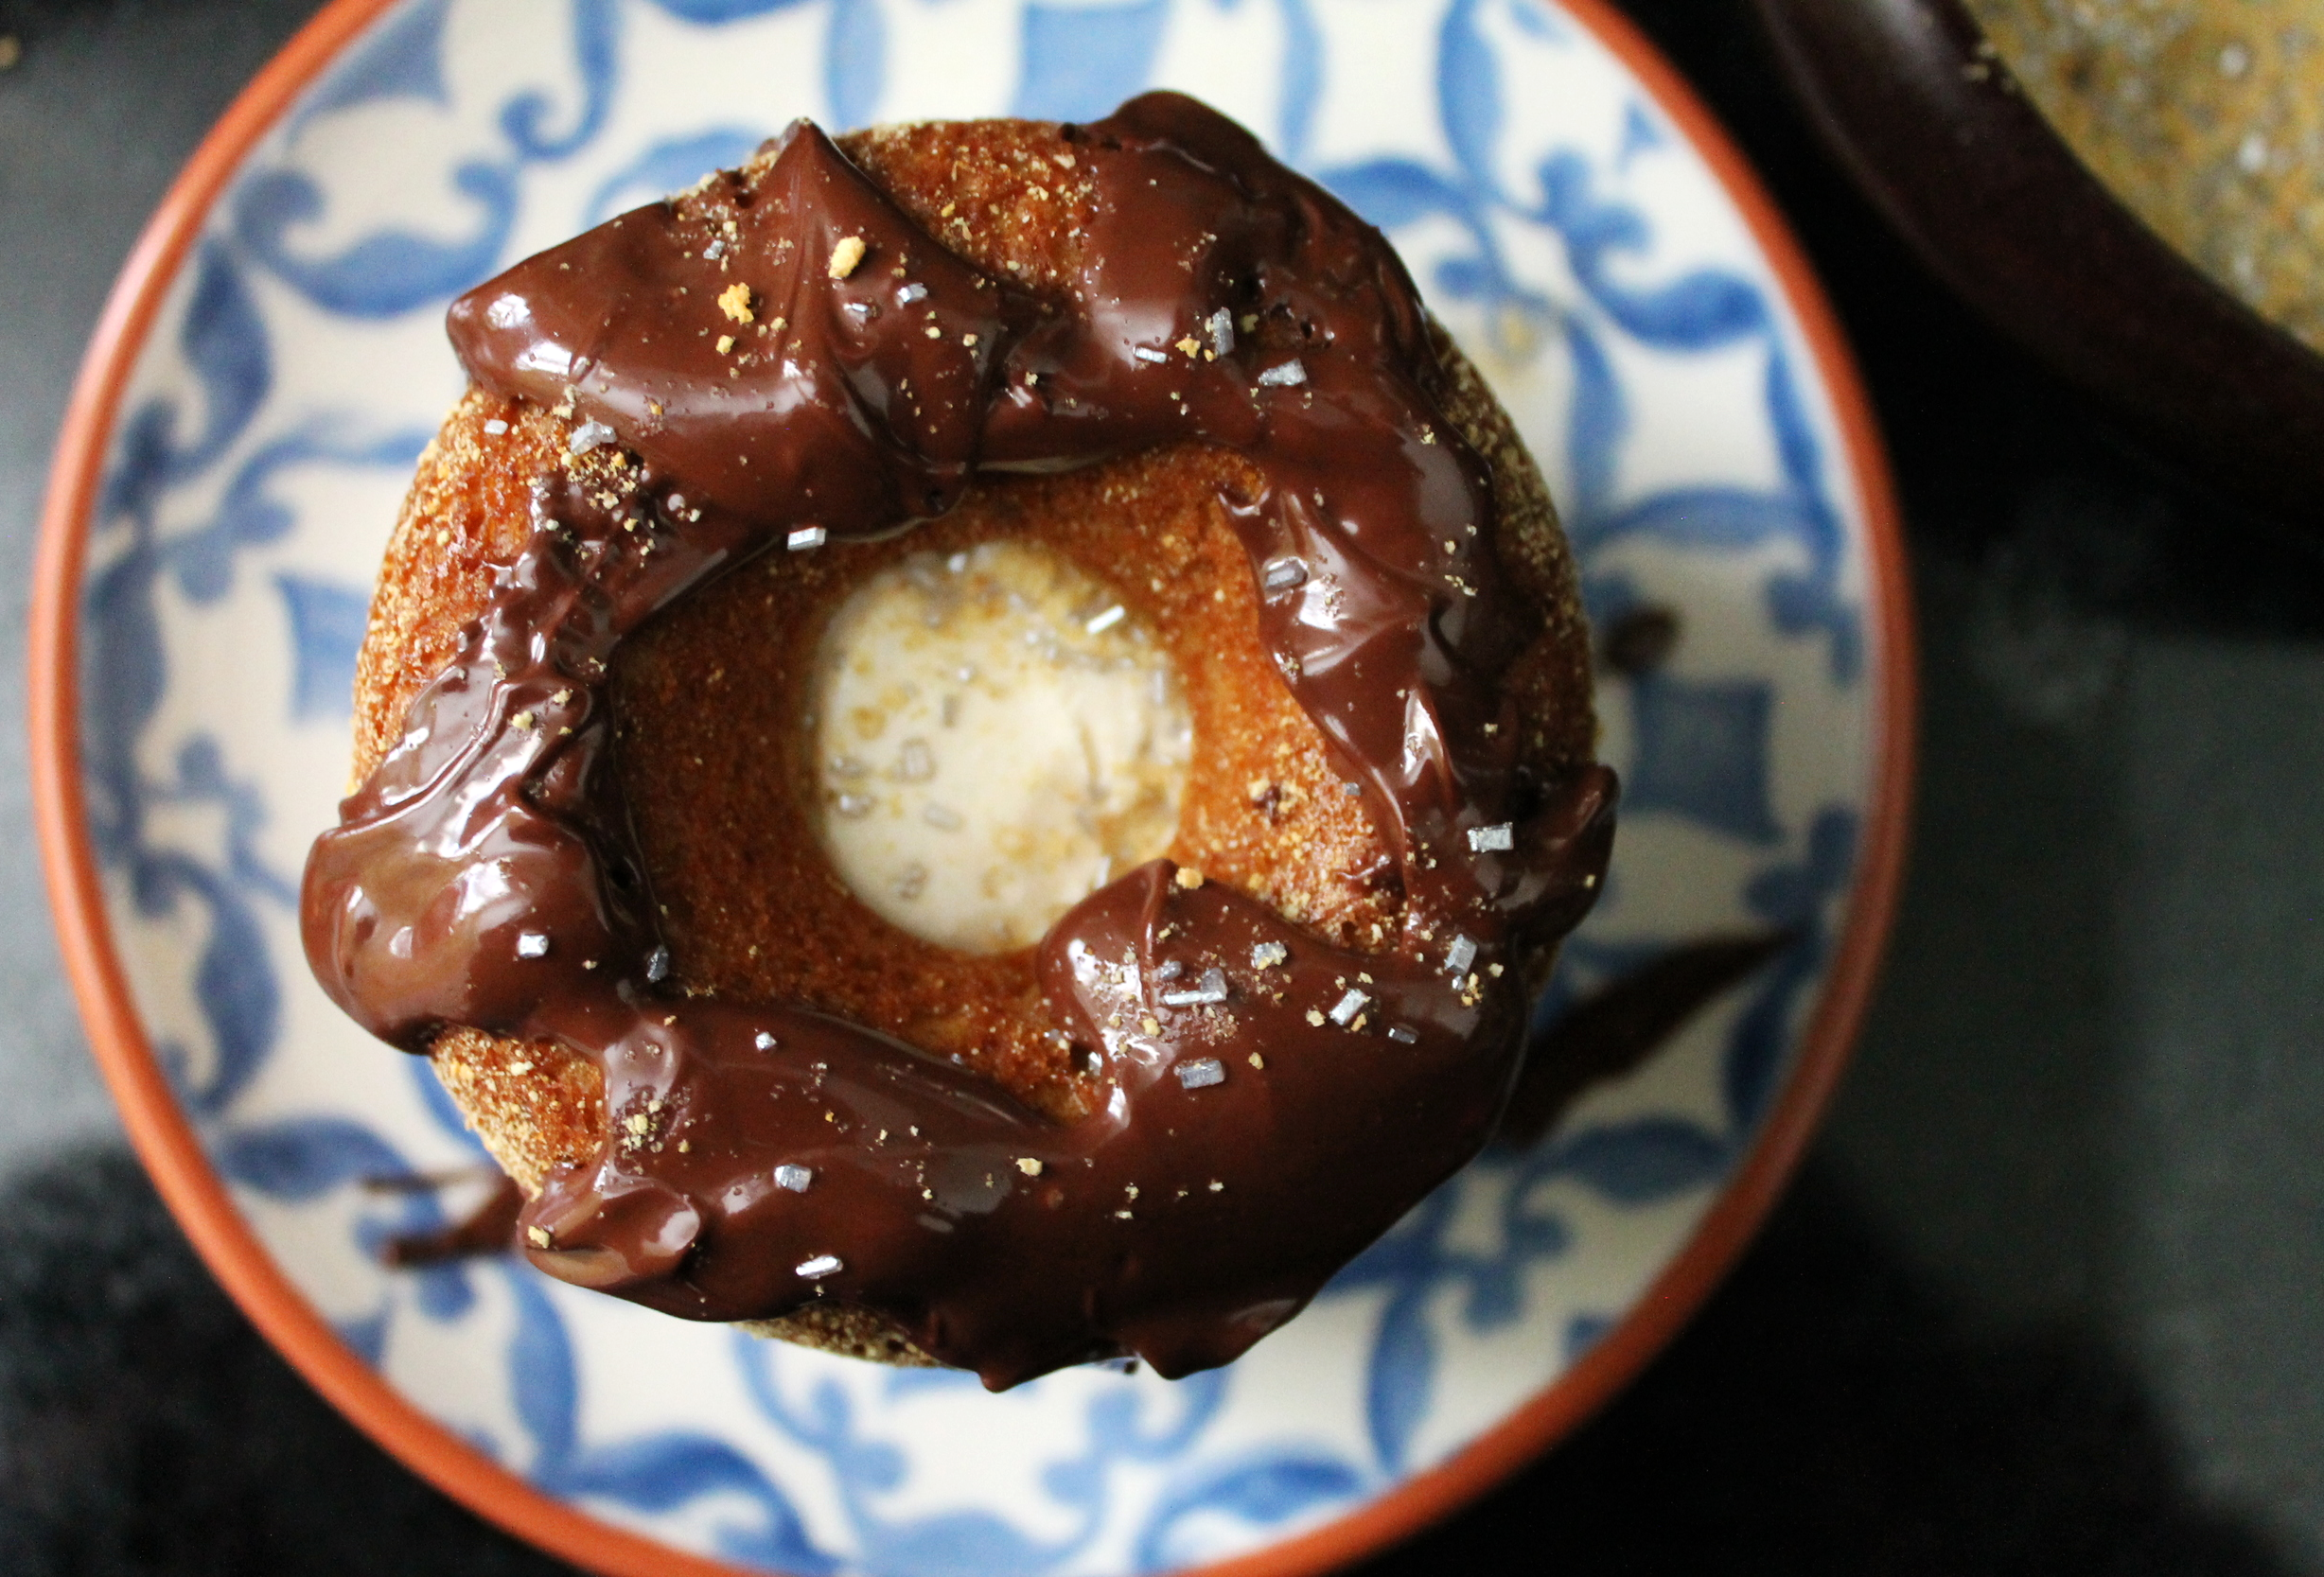
ANYWAYS! Back to this glorious cookie cake. As I mentioned in my post here, cookie cakes are just like a dream of mine—and I always am tempted to buy one when walking past Mrs. Fields. So, of course, challenge accepted, and I had to make this, especially since I’m trying to use the pounds of Halloween candy that I bought so I don’t binge eat it every night.

I also feel like, if I was to get actual Trick-or-Treaters and if handing out baked goods was acceptable, this would be the most incredible treat ever!! Like, oh yeah, if you go to Katie’s house, you can get slices of a cookie cake that is stuffed with candy…basically a 2 for 1! Ahh in my wildest dreams…

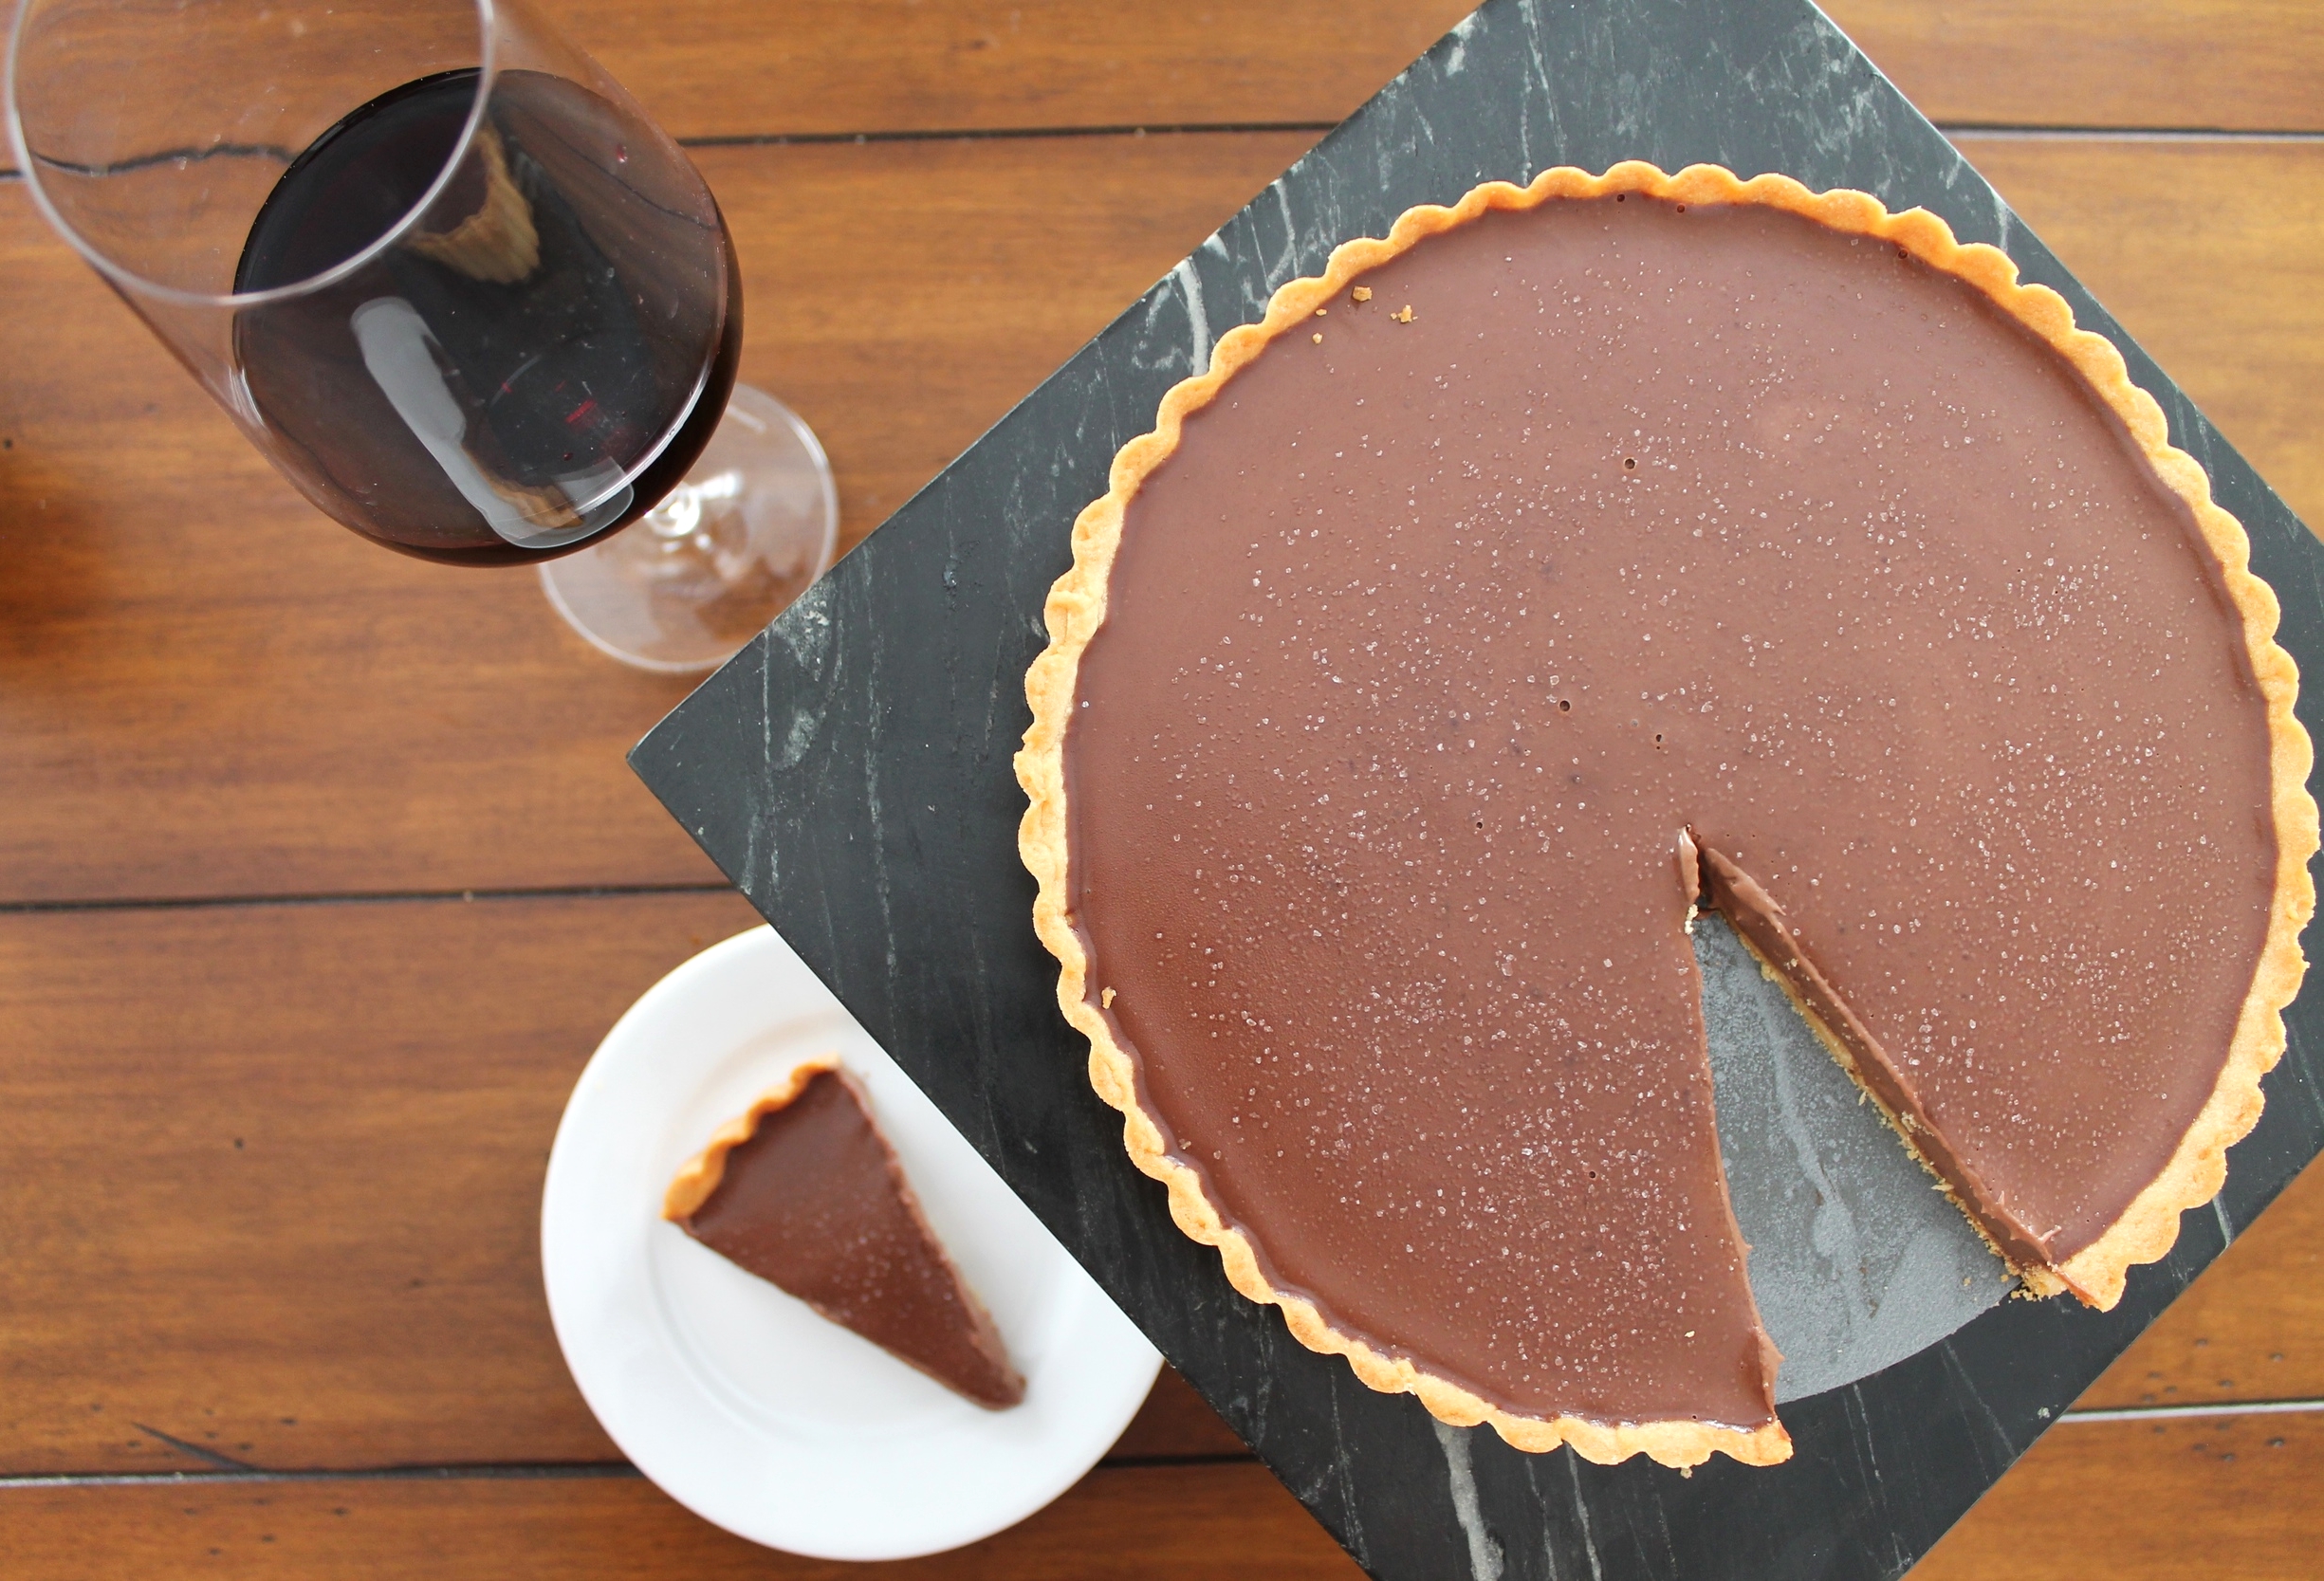
AND what I love so much about this is that you can put anything you want in it—yum! I mean, Kitkats, Twix and Snickers are the best chocolates to choose, but I won’t judge if you chose something a little less exciting and wonderful. So, if you’re like me and you bought way too much candy, this is a perfect way to use it! Bake up a few of these cakes, invite over some friends, watch Hocus Pocus, or even Saw, drink so wine—really there’s nothing you can do wrong with this candy-filled cake. While I do sometimes miss the weeks of costume making and end up wearing basically a black dress with cat ears, this new tradition I have of putting on big sweats and stuffing my face with candy and wine (maybe “Crazy Dog Lady” is this costume?) is something that I can get on board with!


cookie ingredients

Butter—4 oz, or ½ C

Brown Sugar—3 oz, or 1/3 C

Sugar—1 oz, or 2 TBL

Eggs—1

Vanilla—½ tsp

Flour—6 oz, or 1 C

Salt—½ tsp

Baking Soda—½ tsp

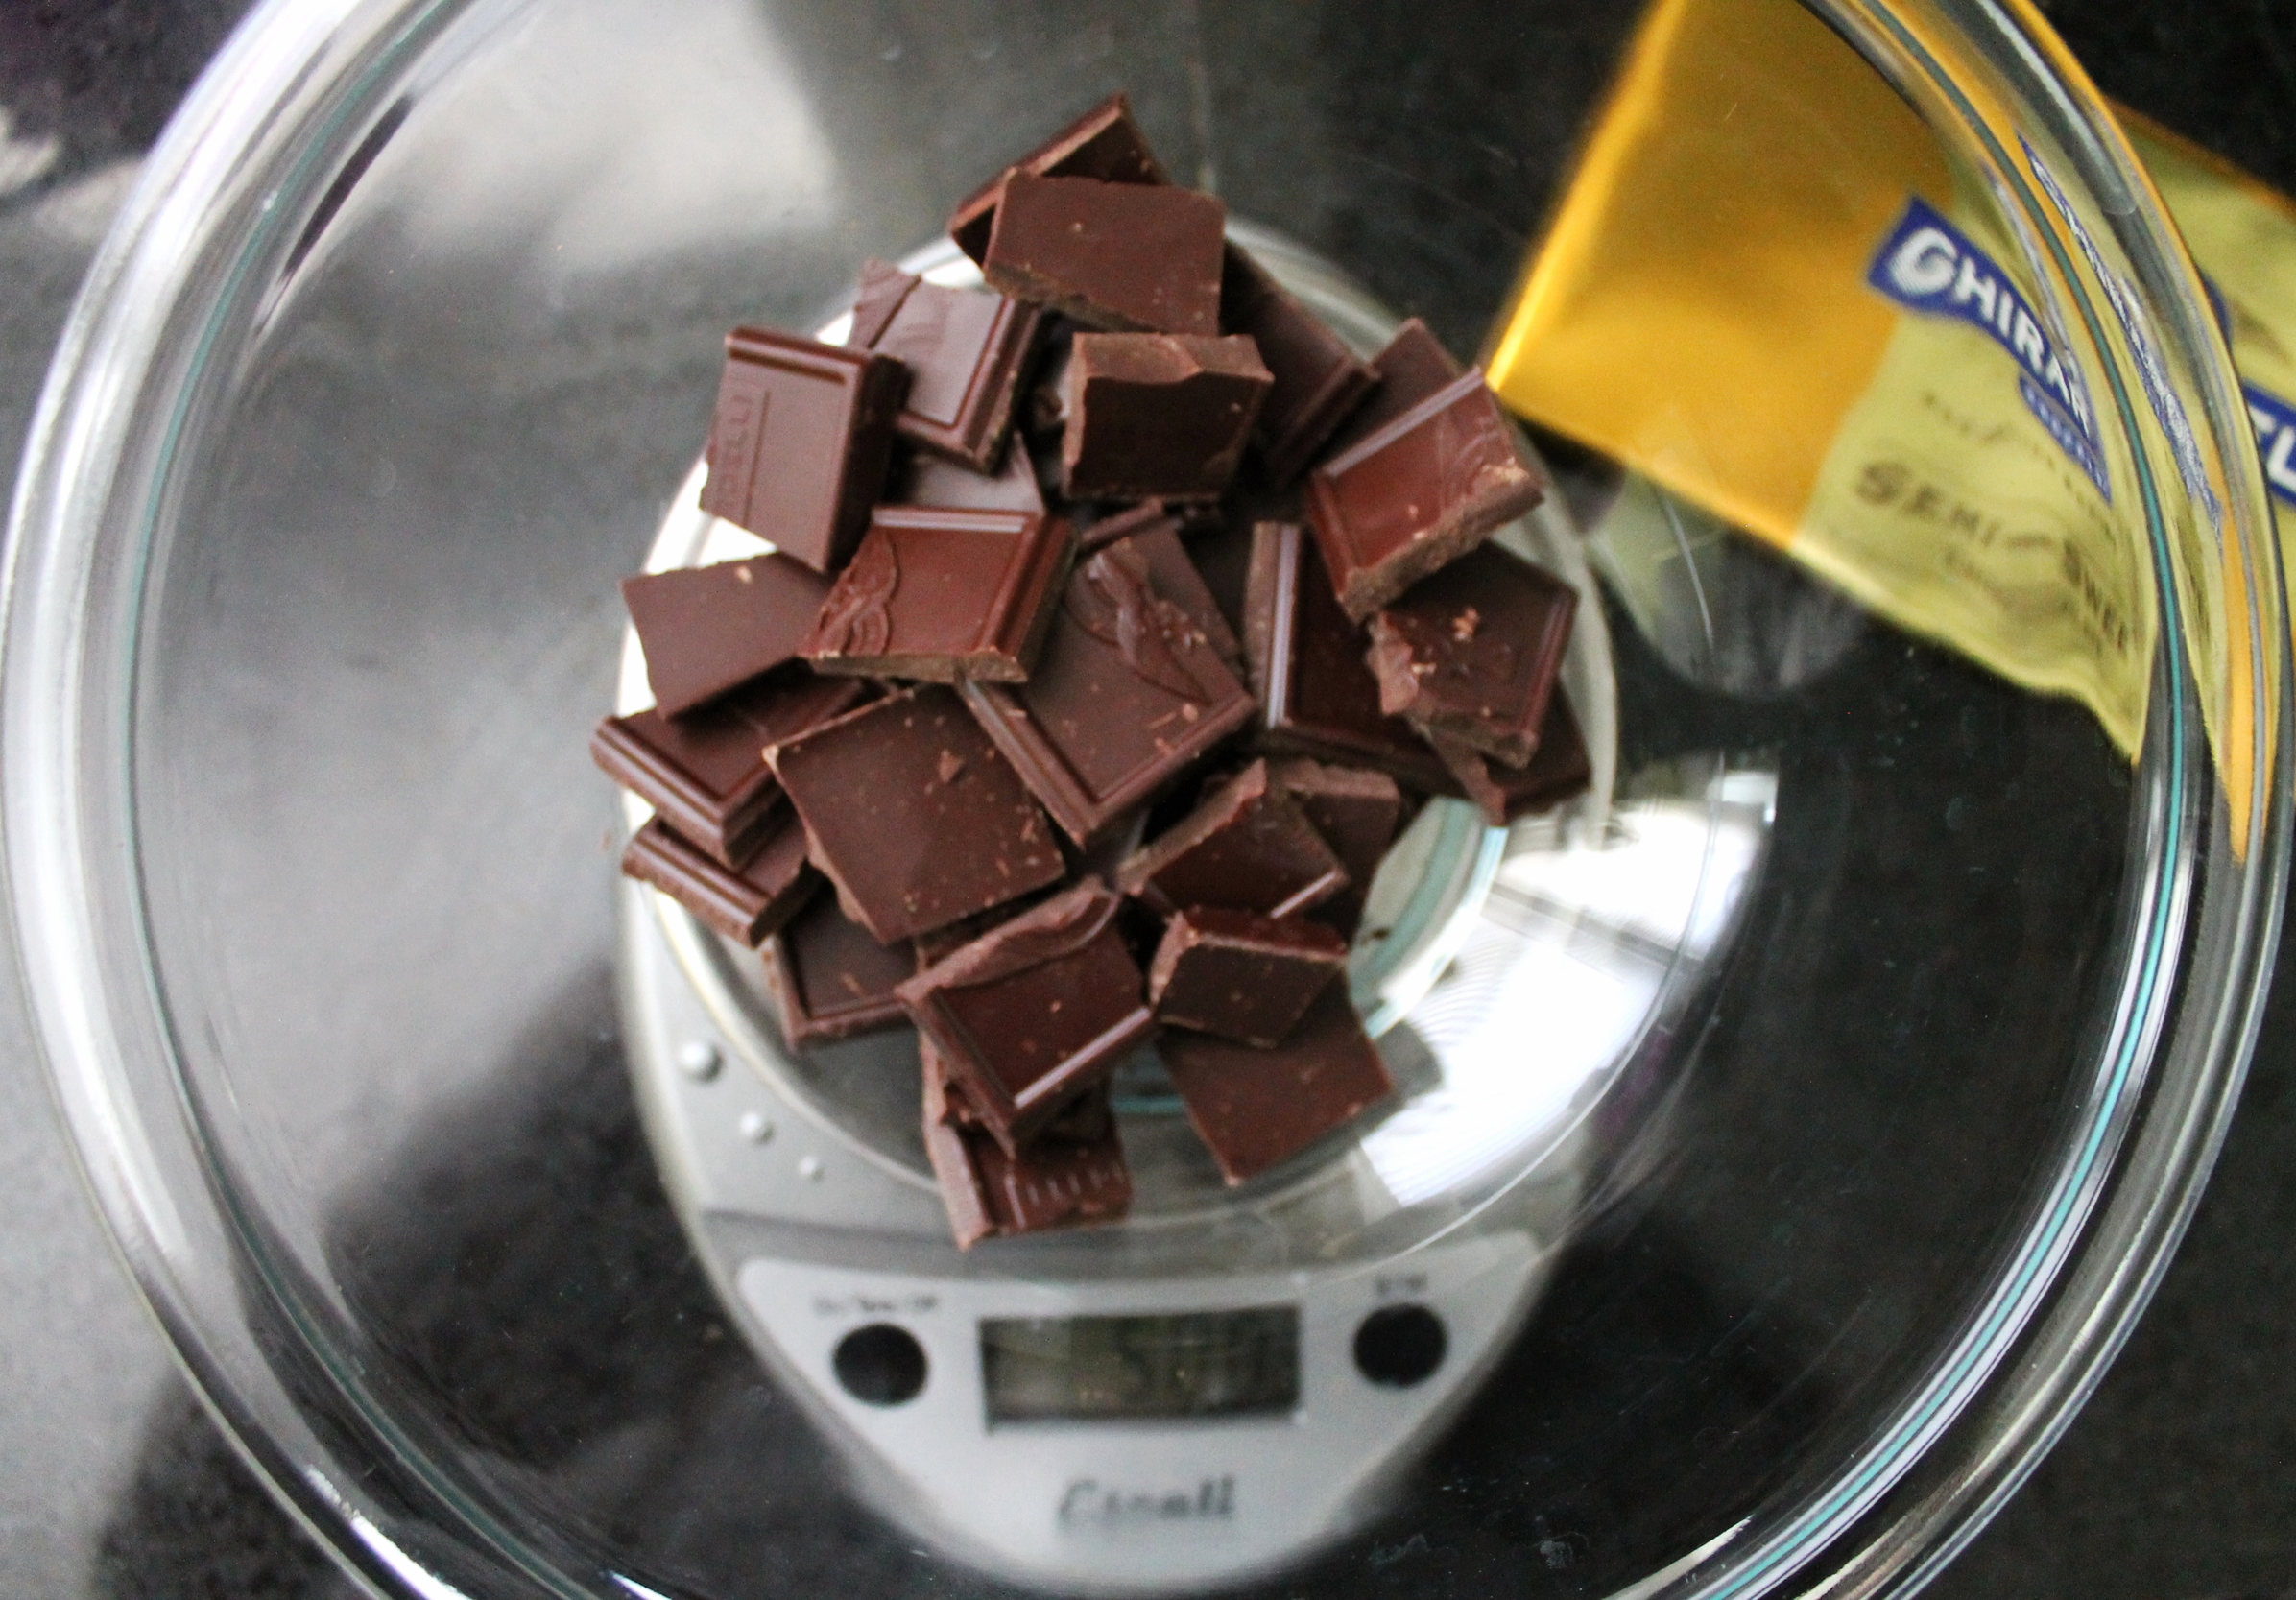
Halloween Candy, chopped—3 oz, or ¾+ C


process

In the bowl of your mixer, cream together the butter and sugars until light and fluffy.

Add in the egg and vanilla.

Sift together the flour, salt and baking soda. Slowly add this into your creamed mixture.

Scrape down the sides of your bowl.

Add in your chopped candy (reserve a small handful)—whatever you like best!

In terms of Halloween candy, I chose chocolate because, to me, that goes yummiest with this cookie cake! From there, pick your favorites. Mine happen to be Twix, Snickers and Kit Kats, but the candy aisle is your oyster!

Spray a spring form pan or a tart pan with nonstick spray.

Press the cookie dough in the pan, leaving about ½ an inch around the edge so that the cookie can spread slightly.

Sprinkle the remaining chopped candy on top of the cookie dough.

Refrigerate for at least 30 minutes so that it will firm up.

When you are ready to bake, preheat your oven to 350˚ F.

Bake your cookie cake for about 20 minutes, until the edges are slightly golden.

The center may look underbaked, but it will finish baking from the heat of the pan outside of the oven.

Allow to cool completely before decorating!


buttercream ingredients

Butter—2 oz, or ¼ C

Shortening—0.5 oz, or 1 TBL

Confectioner’s Sugar, sifted—5 oz, or 1 C

Cocoa Powder, sifted—0.5 oz, or 2 TBL

Milk—0.5 oz, or 1 TBL


process

In the bowl of the your mixer, cream the butter and shortening until smooth and fluffy.

Sift together the confectioner’s sugar and the cocoa powder.

Slowly add this into the mixer, scraping down the sides when necessary.

Add the milk in about a teaspoon at a time—you may need more if you want it a little creamier.

Scrape down the sides of the bowl, and then turn the mixer up to medium-high to give the buttercream a nice, final whip.


When your cake is completely cooled, you can begin to decorate with the buttercream!

Put it into a piping bag with whichever tip you’d like to use—a star tip will make nice rosettes or a rope, but it’s whatever look you’re going for.

Pipe around the outside boarder, decorate with some sprinkles or some more candies of your choice, and devour!


Bon Appétit!

Apple Pie Cinnamon Rolls

Remember when I said that July was crazy? And I promised to never go that long without a recipe again? And then I went missing for two months…

So…hi…

I’m Katie! I love chocolate, dogs and running. I also could go on crunchy leaf walks all day, listen to Christmas music year round, and I thoroughly enjoy eating 4-5 spoonfuls of peanut butter each day.

Did I mention that I have been terrible in this relationship of ours? I promised to give you oodles and oodles of mouthwatering, button popping recipes in return for your love and devotion to my blog. And now we are here, and I am re-introducing myself because I am sure that you have forgotten who I even am!

I’m not going to bother you with long stories of why I was MIA, ohhh just got married, went on a honeymoon, and MOVED...but I am now BACK! And, while it may take some time to get back to my regularly scheduled posting, I promise to never let you down again.

How has your fall been? Full of pumpkins and candy corn and leaves and sweaters and apple picking and warm coffee and cold nights?! Please answer yes to all of those.

If the colors don’t make you obsess about this absolutely incredible season, then I sure hope the fireplaces do, or the fact that you can comfortably wear leggings and huge sweaters because 1. It’s not too cold out and 2. Sometimes a little extra room is needed for all of those Halloween candies that you just had to have.

This is also the time of year that I start to get way too excited for the holidays. I knowwww it’s still October, but sometimes humming a little Jingle Bells gets the best of me. Have no fear! That will all be kept to myself, and I will not start truly decorating and watching Elf on a daily basis until the day after Thanksgiving!

So, my sweet, loving, always-there-for-me friends, I have the perfect fall brunch (or really any day of the week) addition. I threw so many spices and so many apples into the middle of buttery cinnamon rolls, then topped it all with oats, and boom.

Apple Pie Cinnamon Rolls.

Can we read that one more time?! Apple. Pie. Cinnamon. Rolls.

There is no such thing as too much butter, especially when it’s mixed with a crazy amount of cinnamon and nutmeg. The salivating has begun.

When you stuff these rolls with way more apples than it can handle, I mean HELLO! It’s just gorgeous. Absolutely stunning.

A glaze is optional, but I have not added it to these simply because I want you to taste every single spice covered, butter soaked, apple bite in these!

While I may have been out of your life for a little while, I promise that the couple of pounds I’m giving back to you through these cinnamon rolls will make up for it!


dough ingredients

Milk (110˚-115˚F)—4 oz, or ½ C

Molasses—1.5 oz, or 2 TBL

Sugar—4 oz, or ½ C

Yeast—1 packet

Butter, soft—4 oz, or ½ C

Eggs—2

Milk—4 oz, or ½ C

Flour—18-20 oz, or 3 ½-4 C

Cinnamon—2 tsp

Nutmeg—1 tsp


process

In the bowl of your stand mixer, combine the milk (warm), molasses, sugar, and yeast.

Let sit about 10 minutes so that the yeast can begin to activate—you’ll notice the yeast bubbling and thickening.

While the activation process begins, combine the eggs and second milk in a bowl.

In another bowl, combine your flour, cinnamon and nutmeg. Start with the 3 ½ C of flour, more may be added later.

After the 10 minutes, with the mixer on low and using the dough hook, stream in your eggs and milk.

Add in the softened butter, a tablespoon or so at a time.

Once all combined, slowly begin to add in your flour/spice mixture.

When all added, turn the mixer up to medium-high speed and let the dough hook knead for about 10 minutes.

If you notice that the dough is still sticky about 5 minutes in, you may add more flour, about a tablespoon at a time, until the dough begins to hold its shape better.

After mixing the dough for 10 minutes on medium-high speed, transfer to an oiled bowl, cover with plastic wrap and a towel, and allow to rise until it has doubled in size.


filling ingredients

Brown Sugar—6 oz, or 1 C

Butter—6 oz, or ¾ C

Cinnamon—2 TBL

Nutmeg—1 tsp

Apples—3 medium, diced


process

In the bowl of your mixer, cream together the butter, sugar and spices.

Cut up the apples to a small dice.

Reserve both the apples and the butter mixture until you’re ready to use them in the cinnamon rolls.


assembly

When your dough has doubled in size, turn the dough out onto a floured work surface.

Knead the dough just slightly with your hands and form it into a ball.

Using a rolling pin, roll into a rectangle about 24”x10”.

Spread the brown sugar/butter mixture all over the rolled dough.

Sprinkle the apples evenly on top.

Starting at the bottom, roll up the dough into a large log.

Cut this into 12 (roughly) even pieces—I like to cut it in half, and then make 6 even slices from each half.

Place these rolls into a well-buttered baking dish.

Allow to rise again, until the cinnamon rolls are all squished together.

Now you have two options—you may either 1. Bake right away, or 2. Put in the refrigerator overnight for the following morning.

If you decide to reserve until the following morning, or at least a few hours, do not let rise a second time and immediately put in the fridge after you put the rolls in the buttered dish.

If you decide to bake them right away, preheat your oven to 375˚ F.

Bake for about 25-30 minutes, until golden brown.

Remove from the oven, allow to cool just slightly, and enjoy!


Bon Appétit!

Blueberry Cupcakes with Toasted Meringue

Oh, hello there. Can we be friends again, please?!

July was one hell of a month—two of my friends got married, I spent over a week in Maine for my own wedding stuff, marathon training got really intense!! Just everything is happening in a beautiful 2-3 month period, and I can’t bring myself to chill for a sec and bake! I mean I did allow myself to binge read the new Harry Potter book in a couple of days—that’s as wild as I get!

I love when life is crazy busy and exciting, but like, hold up, can I have a day or two when I can think about nothing and just nap?! Maybe I’ll take a nice winter hibernation this year…

So, while being at my mom’s house, I forgot how much I absolutely love waking up every morning and picking fresh raspberries and blueberries from all of the bushes we have around the house! It doesn’t get much better than that—I mean maybe when I would bring my dogs with me to pick them and they would smush their faces into the berries, then leave them on the ground. I suppose that was pretty cute…even though they wasted so many beautiful berries…

ANYWAYS! That there is the inspiration for these moist, berry-filled cakes I’ve made for you. There is just something so satisfying about homegrown produce, and when you can bake with it, I mean, that is the ultimate! Oh wait, then I added some meringue on top—even torched it with my brand new flame! This has been on my “must have” list for like, a lifetime, and my friends were too kind to have gotten it for me!

And let me tell you, it does so much more than just torch meringue, it lights candles, it lights cupcake liners on fire, it makes fruit taste burnt, it’s just all-around fun!

When I stopped lighting nonsense on fire with my new torch, I actually toasted the meringue, and Oh. My. Gosh. Hi campfire on you gorgeous little blueberry cakes! If I hadn’t felt such a sugar high, I would have just torched ALL of the meringue and eaten it like that. The balance of the sugary meringue, the tart berries and the toastiness on top of it all—it’s one of the most perfect bites in my opinion!

I can’t get over it, clearly shown by all of my exclamation points in the last paragraph! And now!

Being at home, in Maine, means the ocean, the fresh air, the weird accents, bonfires, family, lots of dog snuggles, and, of course, fruit picking! Having a beautiful bowl of handpicked berries on the back patio on a cool summer morning is just beyond comforting and relaxing. While these cupcakes are not exactly that, it’s pretty damn close!—I give you yummy blueberries stuffed into cupcakes and topped with (way too much) toasted meringue!

It’s light, it’s happy, it’s summery, and it screams all things Katie! 

cake ingredients

Butter—2 oz, 4 TBL

Sugar—2.75 oz, or 1/3 C

Vanilla Extract—½ tsp

Eggs—2

Plain Yogurt—4 oz, or ½ C

Flour—5.5 oz, or 1 C

Oats—1 oz, or ¼ C

Baking Powder—½ tsp

Salt—½ tsp

Cinnamon—1 tsp

Blueberries—5 oz, or ~1 C


process

Preheat your oven to 350˚ F.

In a large bowl, combine the flour, oats, baking powder, salt and cinnamon.

In the bowl of your mixer, cream together the butter and sugar.

Once light and fluffy, add in the vanilla and eggs.

Scrape down the sides of the bowl.

Alternating between the yogurt (I prefer Greek!) and the dry ingredients, add about ½ of each at a time until you have finished both.

Fold in the blueberries.

In a lined muffin pan, fill each cup up about halfway with the cake batter.

Bake in your preheated oven for 15-18 minutes, until the top springs back just slightly.

Allow to cool completely before putting the meringue on top!


For the meringue, it is this recipe here, but I halved it to use for this recipe (you can even quarter it if you’d like). Also, torching the meringue is, of course, optional, but if you have a cute little kitchen torch, I highly suggest using it—adds for a great toasty flavor!


Bon Appétit!

Graham Cracker Donut Ice Cream Sandwiches

Hello, my friends! I am back, and I am sorry! I haven’t posted for weeks, and I promise I have a sort of excuse, and I am giving you an insane recipe that may trump all ice cream sandwiches…ever…

So. Let’s see. Since I last posted, my brother visited me in WV, my fiancé came back from two too-long months away for work, we went to Germany for a week for a birthday party of a dear friend, and now I am back—about to head home to Maine for a week for even more fun festivities! Basically, the month of July is all about traveling and not staying in one place for too long, which I am loving because it’s just been amazing.

First off, Germany. Need I say more? We were in Munich and then a small town outside of the city for many celebrations. Oh, and guess what? My best friend is living in Munich for a couple of years, so hello to Luci-Katie time!!

Secondly, we are headed to Connecticut to see two of my incredible friends (who I met in WV, go figure!) tie the knot! I am so excited, like can’t contain my excitement, can’t wait to see my friend in a gold sequined dress, can’t wait to dance the night away with the two brides, kind of pumped. I’ve been counting down the days to this weekend in forever. Ugh. SO MUCH LOVE!

And last, but not least, I am then headed to beautiful little Maine for a week. This includes dress alteration #1, my bachelorette party, bridal shower, so much dog snuggles and friend cuddles…tell me how could this be any better?! Oh shoot, and beach time. Lots and lots of beach time—heart eye emoji here, please.

By the time I am back, it’ll be almost August and summer will have slipped away…ugh why did I have to make that so sad so quickly?!

Back to the happiness and sugar-high!

Okay, okay…so I made these ice cream sandwiches, right? But what is so mind-blowing about them to me is that they use graham cracker donuts. Like, this is basically a s’more, but with an ice cream center and two fluffy donuts to hold it altogether. Yeah, this girl is ALL about the campfires, bonfires, s’more fires…but with the heat clouding my thoughts, I needed something to cool me down some.

And boom—donuts + ice-cream = new obsession!

Yes, you can use whatever flavor ice cream you want, I chose peach because we just made it at work, and it just screams summertime in my opinion! Final touch? Drizzle on melted chocolate for an even messier, even tastier treat.

Yep…mouth salivating, going to walk to the freezer to get one right now...

So, while I may have been MIA for a couple of weeks, and will be going up and down the east coast quite a bit over the remainder of the month, I hope that you all can forgive me and make these ASAP! Trust me, this drippy mess is worth every sticky little bite!

ingredients

Flour—5.5 oz, or 1 C + 1TBL

Graham Cracker Crumbs—1.75 oz, or 1/3 C

Brown Sugar—4 oz, or ½ C

Baking Soda—¾ tsp

Salt—½ tsp

Eggs—1

Milk—4 oz, or ½ C

Vanilla Extract—1 tsp

Butter, melted—2 oz, or 4 TBL


process

Preheat your oven to 375˚ F.

In a bowl, combine the flour, crumbs, brown sugar, baking soda and salt.

In another bowl, mix together the egg, milk and vanilla.

Add the wet ingredients into the dry. Mix until almost combined.

Add in the melted butter.

Mix.

Pour your donut batter into either a piping bag or a large sealable baggie.

Spray your donut pan with nonstick spray.

Fill each section about ½ - ¾ full of batter.

Bake in your preheated oven for 8 minutes, until the donut springs back when touched.

Allow to cool before assembling ice cream sandwiches.


assembly

Once your donuts have cooled, it’s time to fill them!

For this recipe, I used homemade peach ice cream that I had made at work, but any and all flavors will work!

Take one generous scoop of ice cream and put it in the center of your donut.

Gently press down with either a spoon or an offset spatula.

Place another donut on top, press firmly to hold in place.

Now you may either wrap in plastic wrap and put in the freezer, or cover the ouside with more graham cracker crumbs and sprinkles, and then freeze!—clearly the second option is the route I took.

While the ice cream sandwiches are firming up, melt some chocolate over a double boiler.

Drizzle over the ice cream sandwiches, and now it’s time to eat!


Bon Appétit!

Salty Chocolate Tart

Good morning, my wonderful baking friends! I have quite a confession to make, and I hope that you all will understand—this recipe below is amazingly quick and simple, I can hardly believe it myself. The dough has only 6 ingredients in it, and I know that they are in your pantry, and the chocolate ganache has 4 ingredients…yes, FOUR! I mean, I have made 3 of these tarts over just a couple of days, I promise that I have some sort of life outside of baking…

…which may be hard to believe, I know!

I made this recipe for a friend of mines birthday this week, whose love for baking is just about as crazy as yours truly. She is honestly all sorts of wonderful—an outdoors loving, musical obsessed, positivity radiating, lovely person, AND she was all about us blasting the Hamilton soundtrack at 9am at work the other day, sooo does it get any better than that?!

So to start with Miss Anna’s birthday chocolate tart, I used a simple pâte sucrée base (recipe found in my Lemon Blueberry Tart recipe!). It’s really just a sugar dough, it makes quite the vehicle for this type of tart, not the main star, but would totally win for best supporting role! ...And from there, a dark chocolate ganache. It is so simple to make, I don’t know why I haven’t made this (really) since school a couple of years ago.

Boiled cream—pour over the chocolate—stir to combine—add the butter—add the alcohol—put into baked tart shell—let set.

What I love is that while it is simple in steps and ingredients, the flavor is mind blowingly divine. You can play around with how dark you want your chocolate to be, but it’s going to end up so smooth and creamy, slightly sweet yet very rich, only a small sliver is required, or 3 small slivers if you’re me. Another fun addition you can do to this tart? For my friend’s, I added crushed up pretzels to the top of it, because I mean, duh, and the salty chocolate combination was undeniably delicious. Or you can just sprinkle coarse salt on top as well, and a glass of Cabernet Sauvignon or Carmenere goes a long way with this dessert as well!

This is certainly going to become a go-to for most dinner parties and celebrations, but it is also absolutely acceptable early on a Friday morning, dancing along to a little bit of Hamilton and enjoying for a birthday of a beautiful friend!

pâte sucrée ingredients and process

found here


chocolate ganache ingredients

Heavy Cream—10 oz, or 1 ¼ C

Dark Chocolate, roughly chopped—5 oz, ~10 squares if using a Ghirardelli bar

Butter, cubed—2.25 oz, or 4 ¼ TBL

Bourbon—0.5 oz, or 1 TBL


process

Set up all of your ingredients, as the heavy cream will boil very quickly.

Place the heavy cream in a small saucepot with the heat on medium.

While the cream is coming to a boil, put the chocolate in a medium heat-safe bowl.

Once the cream comes to a boil (watch out so it does not boil over!), pour it over the chocolate and allow it to sit like that for 3-4 minutes.

Using a wooden spoon, begin to stir the heavy cream-chocolate mixture.

Once it has homogenized, add in the butter.

Stir until melted and combined.

Add your alcohol of choice—in my case, bourbon, always!

Stir.

Pour into your prepared 10” tart pan.

Place in the refrigerator for about 4-6 hours or overnight so that the ganache can set.

To decorate: it is tasty all on its own, but sprinkling salt over top the entire tart really makes the chocolate pop; also, fresh fruit is always a great option as well!

Enjoy with a glass of red wine and good company.


Bon Appétit!